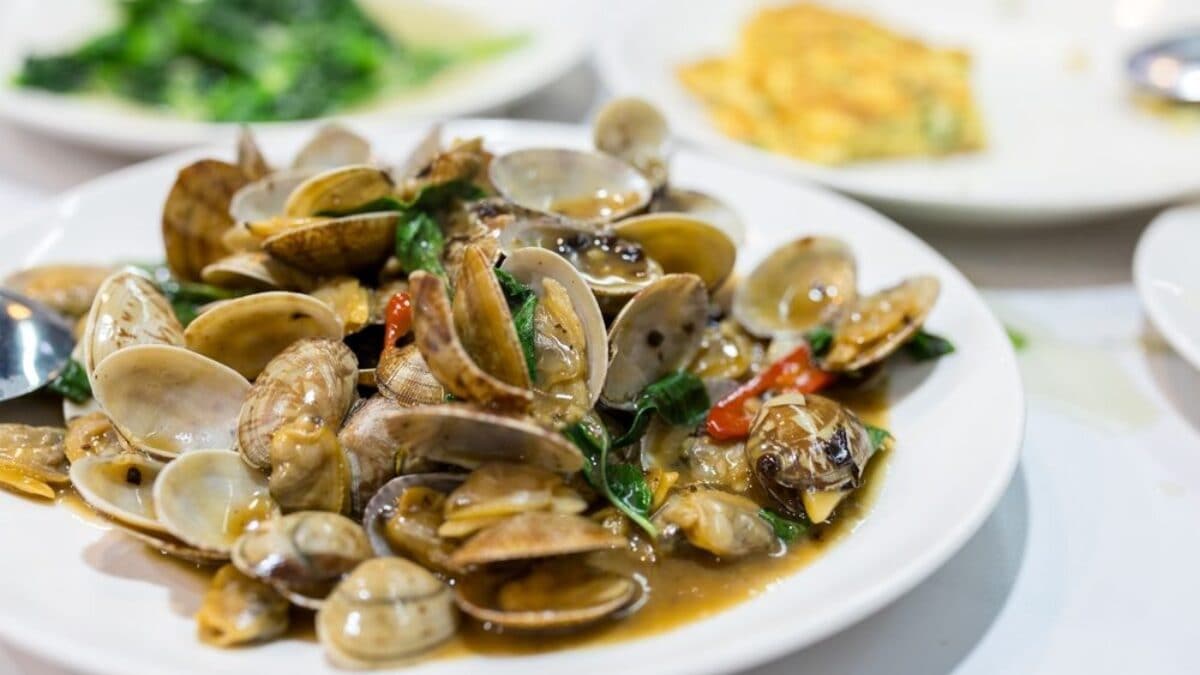
Among the most popular seafood ingredients, clams are the protagonists of great classics like spaghetti, but also of risottos, soups, and sautés. Preparing them seems simple: rinse them, put them in the pan, and wait for the shells to open. In reality, this very apparent ease can lead to underestimating some crucial steps.
The most common problem is sand, but it's not the only one: improper storage, overcooking, or unfiltered stock can also completely compromise the result. However, there's no need for complicated procedures: just start with a tested product, carefully inspect the shells, clean them thoroughly, and stop cooking at the right time. From purchasing to final seasoning, let's look at the most common mistakes to avoid when cooking clams.
1. Choosing Them Without Traceability
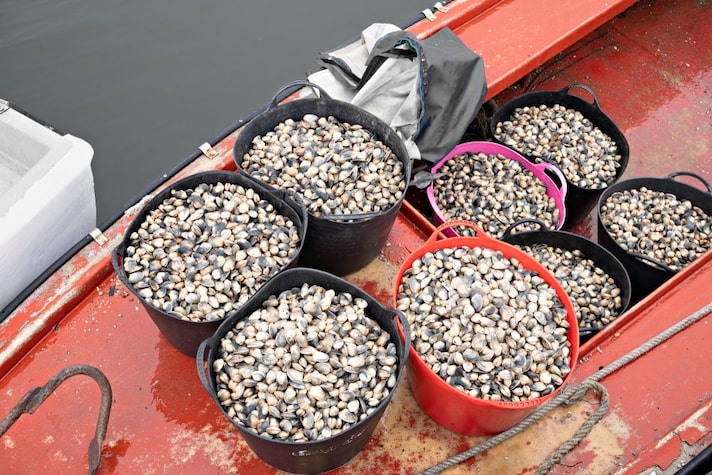
The first mistake occurs before they even enter the kitchen. Clams should be purchased from fishmongers, supermarkets, or authorized retailers, accompanied by the necessary information to identify their origin and supply chain. As filter-feeding mollusks, they can accumulate substances and microorganisms present in their tissues in the waters in which they live. For this reason, it's not enough for them to smell good or look fresh; they must come from controlled areas and have been marketed according to established procedures. It's therefore best to avoid clams sold loose, unlabeled, or collected independently on unregulated beaches, lagoons, and seabeds.
2. Evaluating Them Only By Size
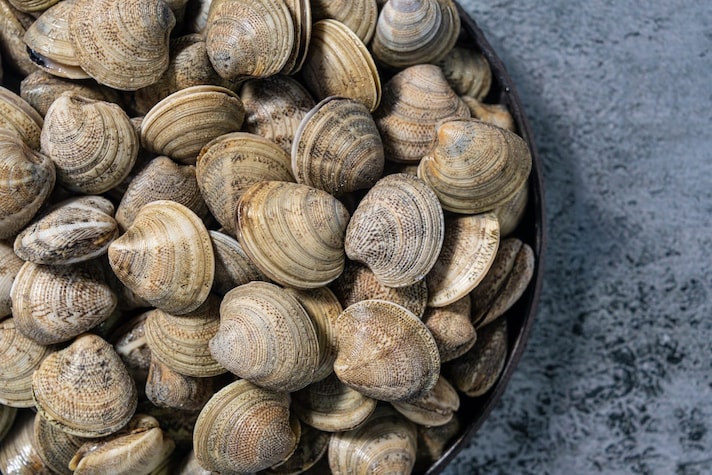
Size isn't an absolute indicator of quality: clams, lupini, and other varieties can vary in size, texture, and amount of flesh, but that doesn't mean larger ones are automatically better. When purchasing, it's best to check that the shells are intact, moist, and mostly closed. There shouldn't be many broken clams, excess cloudy liquid, or acidic or ammonia-like odors. Mixing clams of very different sizes in the same pan can also cause problems: smaller ones open quickly, while larger ones may take a little longer, with the risk of overcooking the smaller ones.
3. Storing Them Incorrectly or For Too Long
After purchasing, clams shouldn't sit in your cart, car, or kitchen counter for hours: heat accelerates deterioration and can kill the mollusks. It's best to buy them at the end of your shopping trip, transport them quickly, and use a cooler during warmer months or for long journeys. Once you get home, they should be placed in the refrigerator immediately, following the instructions on the package.
Ideally, they should be cooked the same day they are purchased, or within 12 hours at the latest, as long as they have been stored properly and are still alive. They shouldn't be sealed in a completely airtight container or left submerged in water for many hours: it's best to place them in a damp cloth, as they can survive—for a short time, as we've seen—on their own liquid. However, avoid squeezing the cloth too tightly to allow them to breathe.
4. Not Checking Their Shells
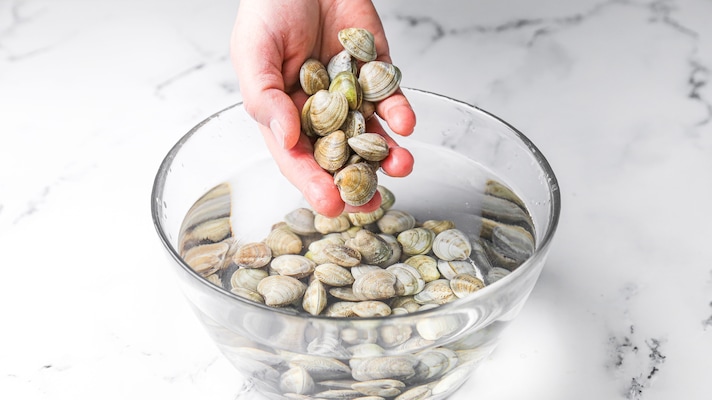
Before cleaning, inspect the clams individually: the shells should be closed or close when gently touched or tapped. Any clams with broken or badly chipped shells should be discarded. The same applies to fully open clams that don't respond to contact, and any clams that emit an unusual odor. Inspection is important because a single dead or debris-filled clam can compromise the liquid released during cooking.
5. Relying Too Much on Purging
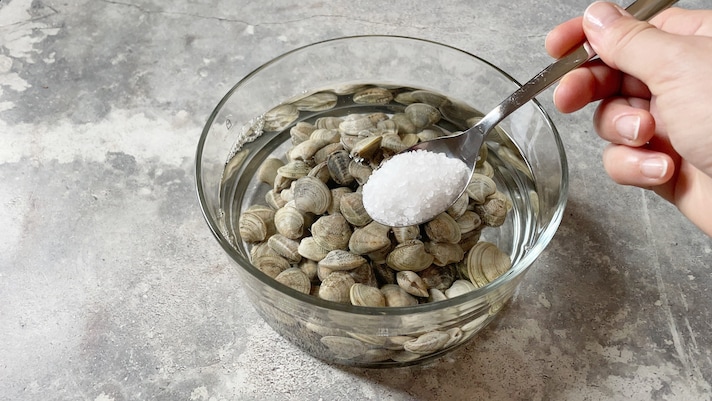
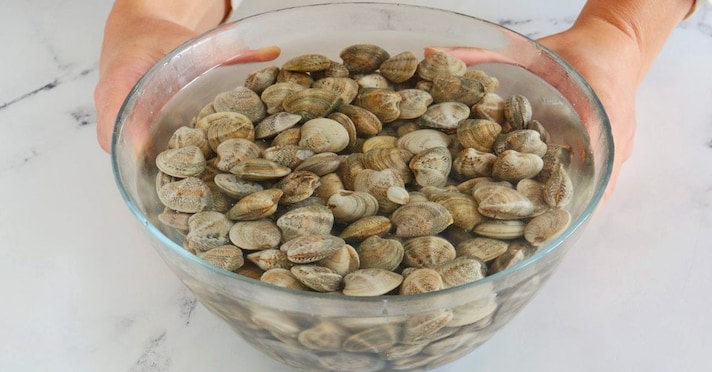
Clams purchased through regular channels have already undergone the required checks and treatments before being sold. Therefore, home purging doesn't make them safe and can't replace professional purification: it can only help remove any sand residue. Often, rinsing them several times under cold running water, moving them around by hand and checking for any sand deposits, is sufficient. If they release a lot of sand, they can be left for a limited time in cold, lightly salted water, avoiding soaking for several hours or overnight. It's not necessary to add flour, semolina, vinegar, lemon, or other ingredients: these remedies mainly make the water cloudy and aren't a substitute for carefully checking the mollusks.
6. Not Throwing Away Those Full of Sand
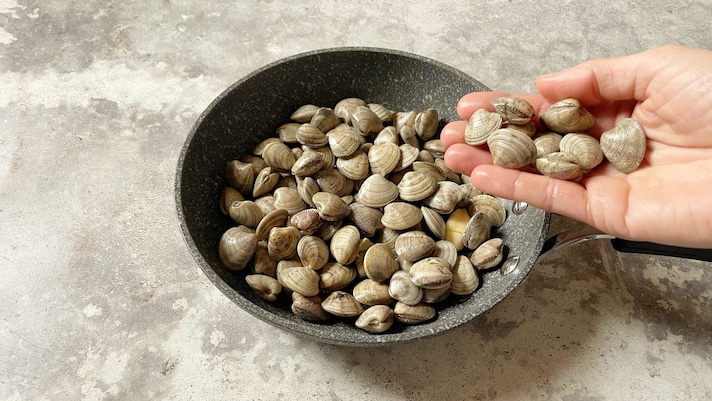
Even after washing, some clams may remain completely filled with sand, mud, or debris: just one can ruin the cooking liquid and, consequently, the entire dish. Before adding them to the pan, it's helpful to gently tap them, one at a time, against the sink or in an empty bowl. Full clams may feel unusually heavy, produce a duller sound, or release sediment immediately.
Suspicious clams should be discarded: it's a simple check, but particularly important when their liquid will be used to season pasta or risotto.
7. Using an Unsuitable Pan
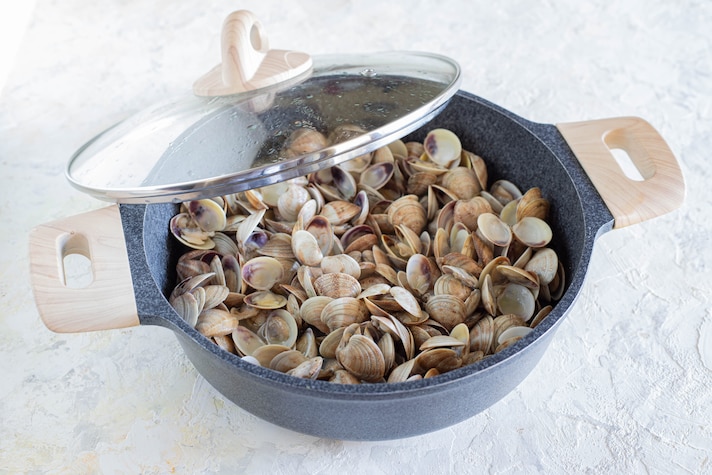
Clams need space to open evenly; a pan that's too small or overfilled forces the mollusks into multiple layers: those on the bottom receive too much heat, while those on the surface open more slowly. It's best to use a wide container with a tight-fitting lid and cook very large quantities in batches. During cooking, simply shake the pan once or twice to distribute the heat. Constant stirring with a spoon is unnecessary and can crack the shells.
8. Adding Too Much Liquid
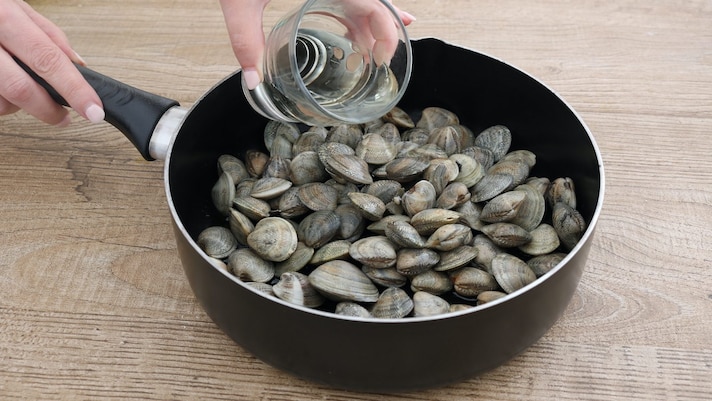
Clams naturally release a flavorful juice when opened, so they shouldn't be submerged in water or cooked in a large amount of wine. For a classic preparation, all you need is a hot pan, a little oil, your chosen herbs, and, if desired, a small amount of white wine. Salt should also be added with caution: clam juice is naturally salty and should only be tasted after straining.
9. Not Filtering the Liquids
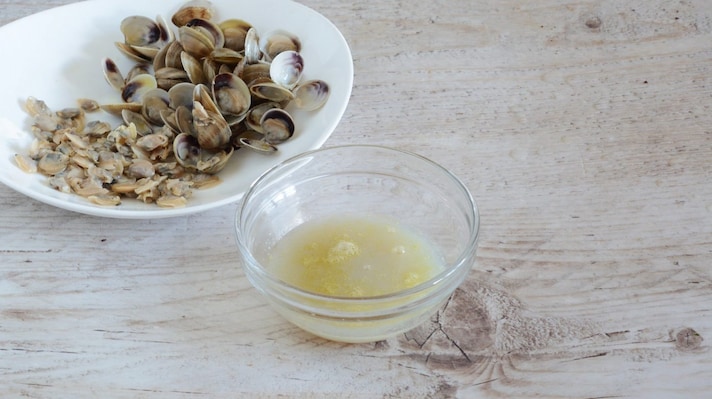
The liquid released by the clams is one of the most valuable elements of the dish, but it can contain sand, shell fragments, and other residues, even when thoroughly washed. After removing the clams, it's helpful to let the bottom of the pan sit for a few moments to allow the heavier impurities to settle. The liquid should then be filtered through a very fine-mesh strainer, preferably lined with cheesecloth or heavy-duty paper towels. It's best not to use the remaining liquid at the bottom of the pan, where sediment tends to collect. Before adding the liquid to the dish, you should also taste it, as it can already be quite salty.
10. Cooking Them Together With the Pasta
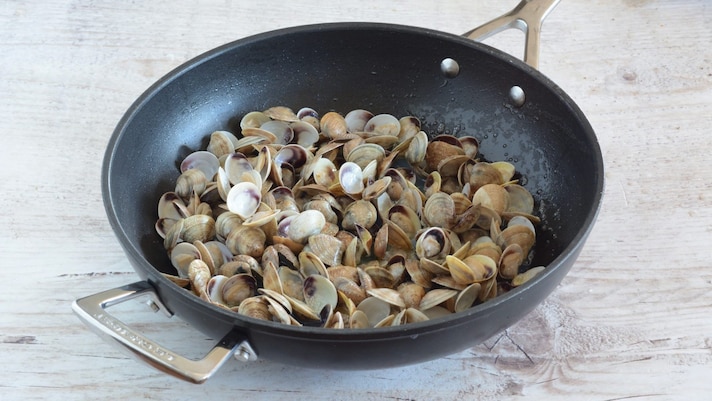
Placing raw clams directly into the pan where the pasta is to finish cooking is one of the biggest mistakes you can make: it makes it difficult to monitor both the opening of the shells and the presence of sand. It's best to open them separately, in a large, covered pan. This way, you can eliminate the defective ones, gradually remove the ready ones, and carefully strain the released liquid. Only after these steps can the cooking liquid be used to stir the pasta, with the clams being added again only at the end.
11. Cooking Them For Too Long
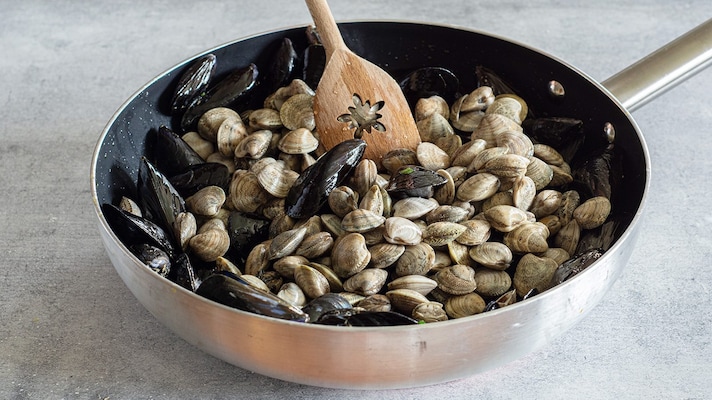
Clams open quickly, and not all at the same time: leaving the pan on the heat until the last shell has opened will make the already cooked ones dry and rubbery. As they open, you can remove them with tongs or a slotted spoon and transfer them to a covered bowl. When most of the shells have opened, cooking should be finished. Any clams that remain completely closed should be discarded: do not continue cooking the rest of the clams or pry the shells open with a knife to extract the meat.
12. Heating Them Too Much
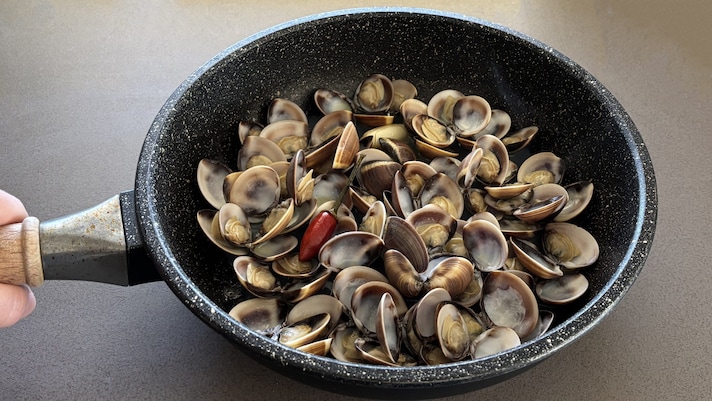
Once opened, clams should be separated from the bottom and kept moist with a little filtered liquid. If they remain in the pan throughout the entire cooking process, they will undergo a second cooking and become small, dry, and tough. It's best to shell some of them, leaving the rest whole, and adding them back only at the last moment, just enough to warm them through. Any leftovers should also be reheated quickly, avoiding having to repeatedly return them to the heat.

