
This creamy banana ice cream is your go-to frozen dessert when you're craving something sweet, wholesome, and incredibly easy to make. With just three ingredient, bananas, cream, and icing sugar—you can whip up a luscious treat that’s perfect for summer afternoons, kids' parties, or a light post-dinner indulgence. No fancy machines or long prep times required!
What Is Banana Ice Cream?
Banana ice cream, often called “nice cream,” is a frozen dessert made primarily from blended frozen bananas. Originally popularized as a dairy-free, vegan-friendly alternative, this version includes cream and icing sugar to create a richer, smoother texture—closer to classic ice cream. It’s a brilliant way to reduce food waste by using overripe bananas, and it has become a staple among health-conscious dessert lovers and homemade ice cream fans alike.
Why Everyone Will Love This Recipe
- It’s naturally sweet thanks to the bananas—no need for artificial flavors.
- Only three ingredients make it budget-friendly and foolproof.
- It's a no-churn recipe, so no ice cream maker is necessary.
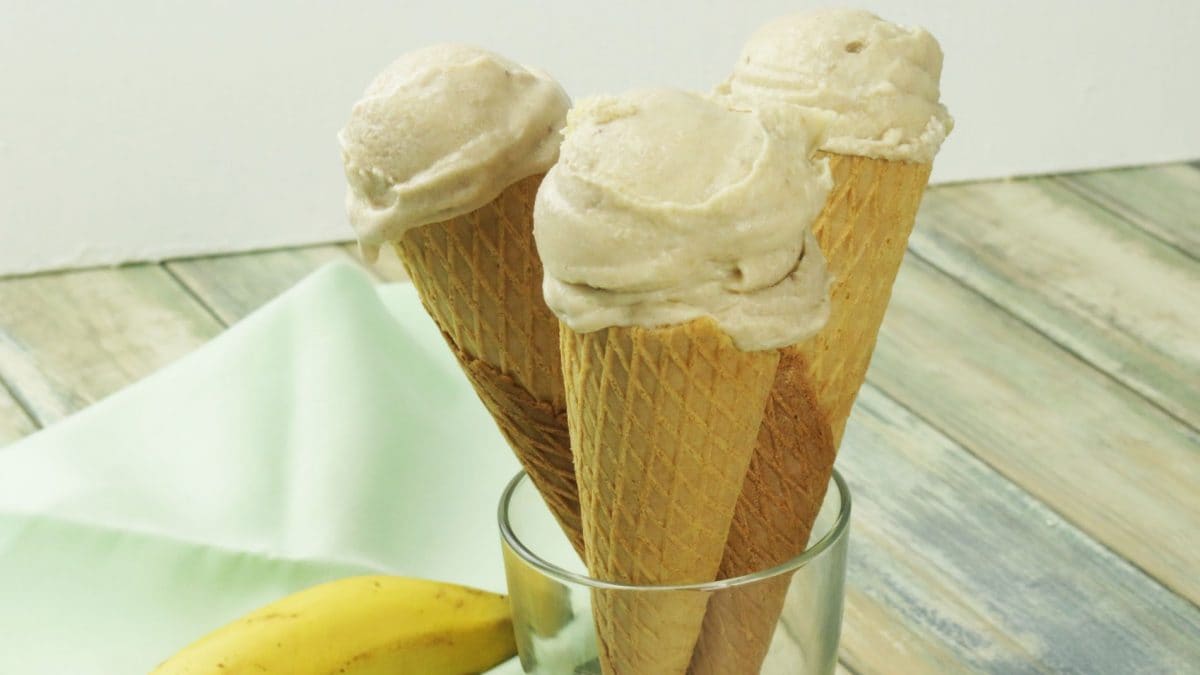
- A hit with both kids and adults—serve it in cones or bowls!
Pro Tips for the Best Banana Ice Cream
- Use ripe bananas with brown spots—they’re sweeter and blend smoother.
- Freeze the banana slices individually on a tray before transferring them to a container—this prevents clumping.
- Want a vegan version? Swap the cream with full-fat coconut milk.
- For extra flavor, add a splash of vanilla extract or a pinch of cinnamon.
Frequently Asked Questions
Can I Make This Ice Cream Without Cream?
Yes! You can replace the cream with coconut cream or even a splash of oat milk for a dairy-free version.
How Long Should I Freeze the Bananas?
Freeze banana slices for at least 4 hours, ideally overnight, to ensure they’re solid and ready for blending.
What If My Blender Can’t Handle Frozen Fruit?
Let the bananas thaw for 5–10 minutes before blending, or use a high-powered food processor for best results.
Can I Add Mix-Ins Like Chocolate Chips or Nuts?
Absolutely! Stir in chopped nuts, chocolate chips, or swirls of peanut butter after blending for extra indulgence.
How Sweet Is It?
The bananas provide natural sweetness, and the icing sugar adds a gentle boost. You can always reduce or skip the sugar if your bananas are very ripe.
How to Store Banana Ice Cream
Transfer the ice cream to an airtight container and freeze for up to 5 days. When ready to serve, let it sit at room temperature for about 10 minutes to soften slightly before scooping. This ensures a smoother texture.
How to Freeze Banana Ice Cream
You can freeze the blended banana mixture immediately after processing. Pour it into a freezer-safe container and freeze for at least 2 hours before serving for a firmer texture. If preparing in advance, consume within 1 month for optimal flavor and creaminess.
Ingredients
How to Make No-Churn Banana Ice Cream
;Resize,width=712;)
Start by peeling your bananas—ripe ones work best, especially those with speckled skins. They’re sweeter and will give your ice cream that naturally creamy texture. Slice them into small rounds, about half an inch thick, and spread them out on a tray or plate lined with parchment paper. This step is important: freezing the slices individually helps prevent them from clumping together later. Once they’re arranged in a single layer, pop them into the freezer for at least four hours, or better yet, overnight. When the bananas are frozen solid, it’s time to blend.
Start by peeling your bananas—ripe ones work best, especially those with speckled skins. They’re sweeter and will give your ice cream that naturally creamy texture. Slice them into small rounds, about half an inch thick, and spread them out on a tray or plate lined with parchment paper. This step is important: freezing the slices individually helps prevent them from clumping together later. Once they’re arranged in a single layer, pop them into the freezer for at least four hours, or better yet, overnight. When the bananas are frozen solid, it’s time to blend.
;Resize,width=712;)
Transfer the slices into a powerful blender or food processor. Add the icing sugar—this just helps balance the flavor, especially if your bananas aren’t super ripe. Then pour in the heavy cream, which adds richness and gives the final ice cream a more indulgent, silky texture.
Transfer the slices into a powerful blender or food processor. Add the icing sugar—this just helps balance the flavor, especially if your bananas aren’t super ripe. Then pour in the heavy cream, which adds richness and gives the final ice cream a more indulgent, silky texture.
Now, blend everything together. At first, the mixture might look a bit crumbly or chunky, but be patient. Use a spatula to scrape down the sides and keep pulsing. Eventually, the bananas will break down and turn into a smooth, luscious cream. You’ll know it’s ready when it resembles soft-serve ice cream.
;Resize,width=712;)
Now, blend everything together. At first, the mixture might look a bit crumbly or chunky, but be patient. Use a spatula to scrape down the sides and keep pulsing. Eventually, the bananas will break down and turn into a smooth, luscious cream. You’ll know it’s ready when it resembles soft-serve ice cream.
If you like your ice cream on the softer side, you can serve it right away—just scoop it into cones or bowls and enjoy! But if you prefer a firmer texture, transfer the mixture into a freezer-safe container. Smooth out the top, cover it, and freeze it for another 2 to 3 hours until it sets.
And that’s it! A rich, creamy banana ice cream made with only three ingredients—no ice cream maker required.
;Resize,width=767;)
