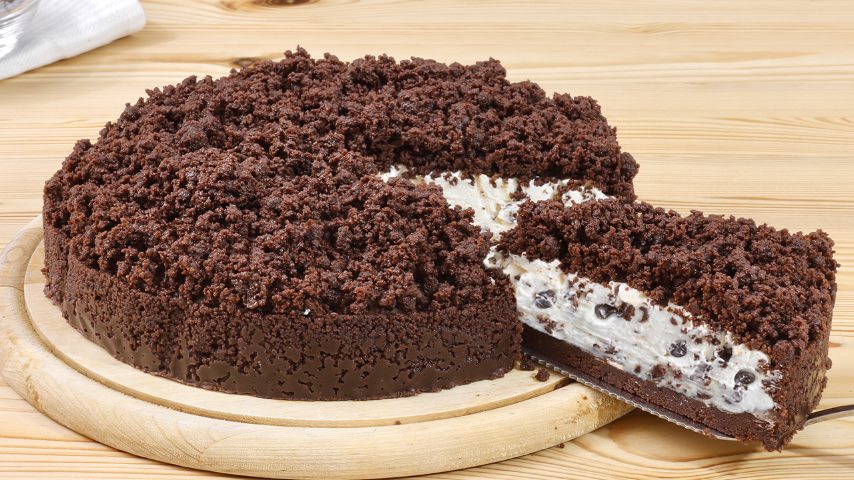
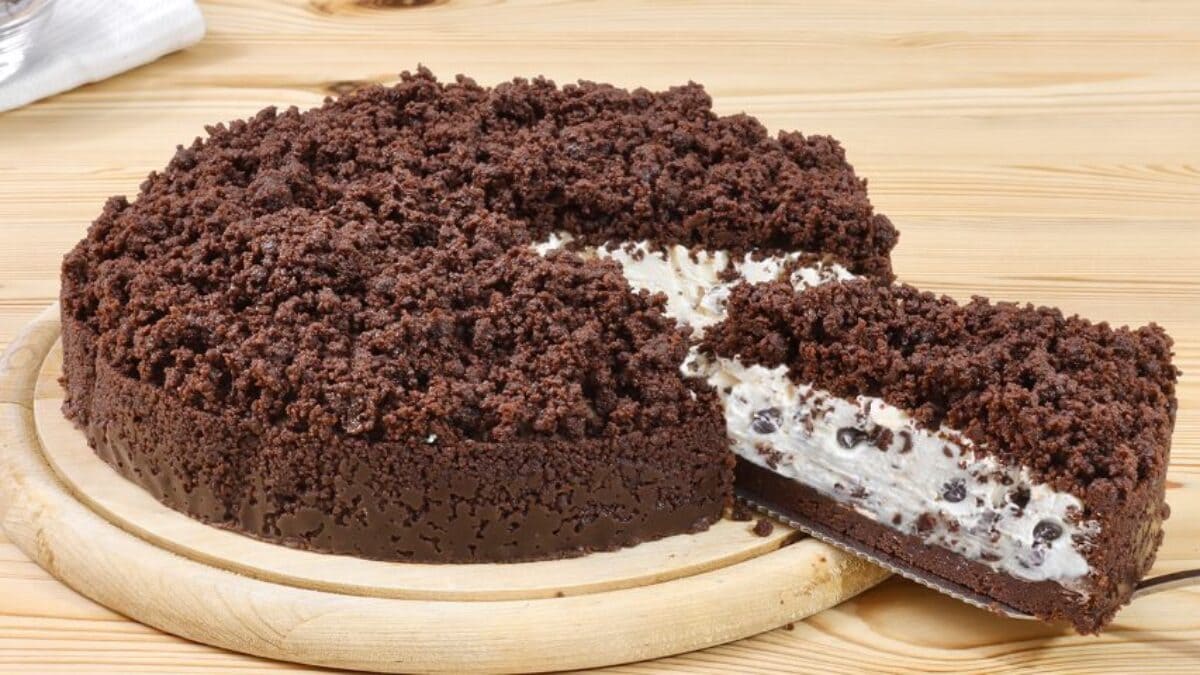
This chocolate no-bake cake takes a much more relaxed approach to dessert-making. It combines a rich cocoa biscuit crust with a smooth mascarpone cream filling, chocolate chips, and a sprinkle of chocolate biscuit crumbs on top.
Give the cake at least two hours in the fridge to set, and you will have a chilled chocolate dessert. This cake is perfect for chocolate lovers, beginner bakers, or busy home cooks. Serve it after Sunday lunch, make it for a birthday celebration, or enjoy a slice with an afternoon coffee.
What Is Chocolate No-Bake Cake?
Chocolate no-bake cake relies on refrigeration rather than baking to develop its texture. Instead of preparing a traditional sponge cake in the oven, this recipe uses crushed cocoa biscuits mixed with melted butter to create a firm, chocolatey shell.
Icebox cakes, especially popular in the United States during the twentieth century, traditionally used layers of biscuits or wafers and whipped cream that softened together during refrigeration. European kitchens also developed their own versions of biscuit-based desserts, often combining chocolate, cream, and other rich ingredients.
Pro Tips for the Best Chocolate No-Bake Cake
- Aim for fine, even crumbs rather than large biscuit chunks. A food processor makes this easy, but you can also place the biscuits in a food bag and crush them with a rolling pin.
- Pour the melted butter over the crushed biscuits and stir until the crumbs are coated. The mixture should resemble damp sand and hold together when pressed between your fingers.
- A springform pan is ideal because its removable sides make serving considerably simpler. You can also line the base with baking parchment to reduce sticking.
- Cold fresh cream whips more readily and holds its structure better than warm cream.
- Watch the cream as it thickens and stop when the filling is firm enough to hold its shape. Overwhipping can cause the mixture to become grainy or separate.
Frequently Asked Questions
Can I Use Digestive Biscuits Instead of Cocoa Biscuits?
Yes, digestive biscuits can work well if cocoa biscuits are unavailable. The flavour will be less chocolatey in the crust, but the mascarpone filling and chocolate chips will still provide plenty of chocolate flavour.
Which Cream Is Best for This Recipe?
Use cold whipping cream that can hold firm peaks. Avoid single cream because it is not designed to whip into a firm structure.
Can I Freeze Chocolate No-Bake Cake?
You can freeze this cake, although the texture of the mascarpone and whipped cream filling may change slightly after thawing. Freeze it in a suitable airtight container or wrap individual slices securely and use it within about one month.
How Can I Stop the Biscuit Crust From Crumbling?
The key is getting the ratio of crumbs to butter right and pressing the mixture firmly into the pan. Make sure the crumbs are finely crushed and evenly coated with melted butter.
How to Store Leftover Chocolate No-Bake Cake
Because this cake contains mascarpone and fresh cream, proper refrigeration is essential. Store it in the refrigerator at 5°C or below, and use it within two to three days. As a general food-safety precaution, perishable food should not remain at room temperature for more than two hours, or one hour in very hot conditions.
Ingredients
How to Make Chocolate No-Bake Cake

Place the cocoa biscuits in a food processor and pulse until they become fine crumbs. Meanwhile, melt the butter in a small saucepan over low heat or in a microwave.
Place the cocoa biscuits in a food processor and pulse until they become fine crumbs. Meanwhile, melt the butter in a small saucepan over low heat or in a microwave.

Mix the crushed biscuits and the melted butter.
Mix the crushed biscuits and the melted butter.

Transfer two-thirds to the pan, and using the back of a spoon, press the crumbs across the base and up the sides of the pan. Place the prepared biscuit shell in the refrigerator while you make the filling.
Transfer two-thirds to the pan, and using the back of a spoon, press the crumbs across the base and up the sides of the pan. Place the prepared biscuit shell in the refrigerator while you make the filling.

Using an electric mixer, combine mascarpone, cold fresh cream, and powdered sugar until the mixture becomes thick.
Using an electric mixer, combine mascarpone, cold fresh cream, and powdered sugar until the mixture becomes thick.

Add the chocolate chips to the whipped mascarpone cream and mix with a spatula.
Add the chocolate chips to the whipped mascarpone cream and mix with a spatula.

Remove the chilled crust from the fridge and spoon the mascarpone mixture into the biscuit shell, spreading it to fill the base.
Remove the chilled crust from the fridge and spoon the mascarpone mixture into the biscuit shell, spreading it to fill the base.

Take the reserved biscuit mixture and sprinkle it evenly over the cream filling. Distribute the crumbs across the entire surface, making sure the edges are covered as well as the centre.
Take the reserved biscuit mixture and sprinkle it evenly over the cream filling. Distribute the crumbs across the entire surface, making sure the edges are covered as well as the centre.

Place the assembled cake in the refrigerator for at least two hours. Then, unmould, slice, and serve. Enjoy!
Place the assembled cake in the refrigerator for at least two hours. Then, unmould, slice, and serve. Enjoy!


