
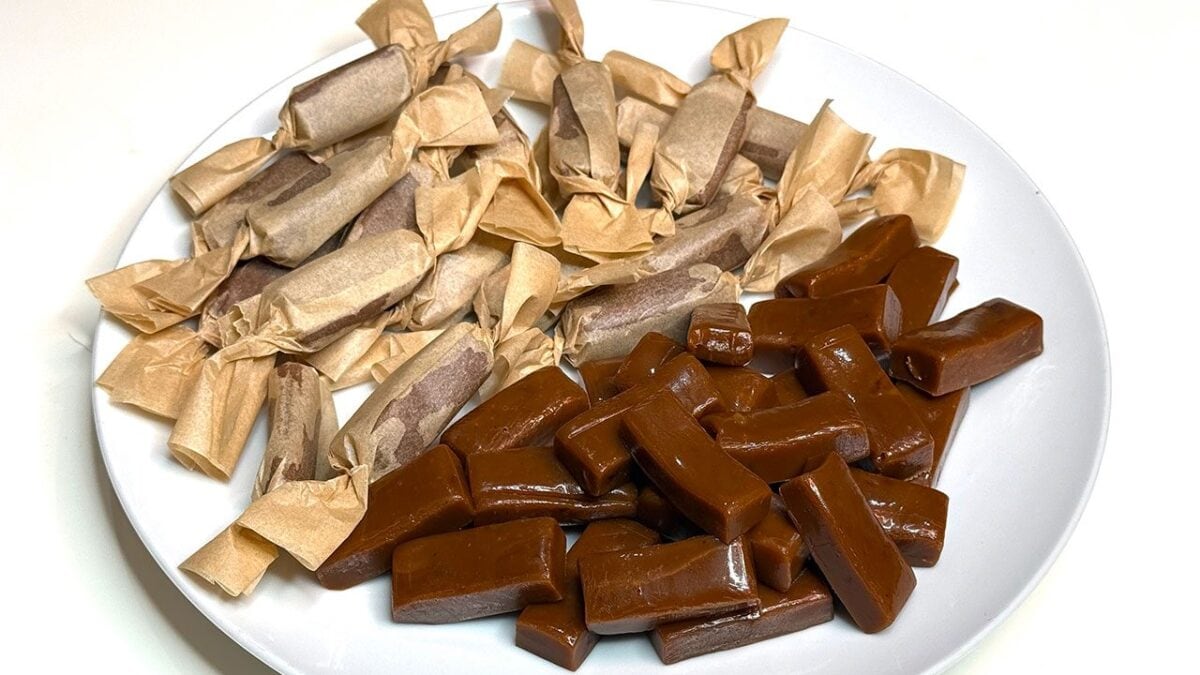
There's something special about unwrapping a homemade caramel candy. Soft, buttery, and just chewy enough, it's the kind of little treat that feels both nostalgic and indulgent.
These homemade soft caramels, also known as caramelle mou in Italy, combine butter, sweetened condensed milk, honey, granulated sugar, and brown sugar to create a rich, golden candy with a smooth texture.
The preparation is surprisingly straightforward. Everything melts together in a saucepan before cooking to a precise temperature. Once the mixture has set, it's cut into small pieces and wrapped individually.
The result is a batch of sweet, buttery candies that are perfect for sharing, adding to a dessert platter, or packaging as a homemade gift.
What Are Mou Candies?
Mou is a term used in Italy for soft, chewy caramel candies, often made with milk, butter, and sugar.
Unlike hard caramel candies, which have a brittle texture, mou candies remain pliable and tender enough to chew.
They're closely related to the soft milk caramels popular in many countries, including American-style homemade caramels.
The main difference between soft and hard caramel candies comes from the cooking process and the amount of moisture remaining in the mixture.
For this recipe, the caramel is cooked to 248–252°F (120–122°C), a temperature range that produces a concentrated sugar mixture capable of setting into chewy candies as it cools.
The addition of condensed milk, butter, and honey gives these Italian-style mou candies their distinctive rich flavor.
Why Everyone Will Love This Recipe
These homemade caramel candies have a deep, buttery flavor and a pleasantly chewy texture that makes them hard to resist.
The combination of granulated sugar and brown sugar creates a rounded caramel taste, while honey adds its own delicate sweetness.
Sweetened condensed milk contributes richness and helps give the finished candies their characteristic creamy consistency.
Another advantage is the short ingredient list. There's no need for special flavorings or complicated decorations.
And once the caramel has set, cutting and wrapping the candies is a simple finishing touch that makes them look like something from a traditional candy shop.
Tips for Making the Best Homemade Soft Caramels
- Use a reliable candy thermometer. The final temperature is essential for getting the right texture. A few degrees can make a noticeable difference.
- Choose a heavy-bottomed saucepan. It distributes heat more evenly and helps prevent the milk and sugars from scorching.
- Stir carefully and consistently. The mixture contains condensed milk, which can stick to the bottom as it thickens. Keep the heat controlled and scrape the pan gently.
- Prepare the mold before cooking. Once the caramel reaches the correct temperature, it needs to be poured immediately before it begins to set.
Frequently Asked Questions
What Is the Difference Between Soft Caramels and Hard Caramels?
Soft caramels contain ingredients such as butter and milk and are cooked to a temperature that allows them to remain chewy. Hard caramels are generally cooked to a much higher temperature, producing a brittle texture once cooled.
Why Are My Homemade Caramels Too Soft?
The caramel may not have reached the required cooking temperature, leaving too much moisture in the mixture. Check that the thermometer reaches 248–252°F (120–122°C) before removing the saucepan from the heat.
Why Did My Caramels Turn Out Too Hard?
The mixture may have cooked beyond the intended temperature. As more moisture evaporates, the caramel becomes firmer. For a softer result, avoid exceeding the recipe's temperature range.
Can You Make Soft Caramels Without a Candy Thermometer?
A thermometer is strongly recommended for this recipe. Although traditional candy-making methods sometimes use cold-water tests, measuring the temperature directly is more reliable and easier to reproduce.
Can You Use Maple Syrup Instead of Honey?
Maple syrup would change both the flavor and the sugar composition of the mixture. Because candy texture depends on precise sugar ratios, it's best to use the honey specified in the recipe unless a substitution has been tested.
Why Are My Caramels Grainy?
Graininess can occur when sugar crystallizes during cooking. Make sure the sugars dissolve thoroughly at the beginning, avoid scraping dried sugar crystals from the sides of the pan into the mixture, and use gentle, controlled heat.
How to Store
Once the homemade soft caramels have set and been cut, wrap each piece individually in parchment paper or candy wrappers suitable for food.
Place the wrapped candies in an airtight container and store them in a cool, dry place.
For a conservative storage approach, especially because these caramels contain condensed milk and butter, refrigerate them and use within 2 weeks. This is a quality guideline, not a laboratory-validated shelf life.
Allow refrigerated candies to sit briefly at room temperature before eating if you prefer a softer, chewier texture.
Keep them away from direct sunlight and warm environments, which can cause the candies to soften and stick to their wrappers.
How to Freeze
Homemade soft caramels can be frozen for longer storage.
Wrap each candy individually, then place the wrapped pieces in a freezer-safe airtight container or bag.
Freeze for up to 3 months for the best quality.
When ready to enjoy, transfer the desired number of candies to the refrigerator to thaw, keeping them wrapped to reduce moisture collecting on the surface.
Allow them to come to a comfortable eating temperature before serving.
Ingredients
How to make Mou Candies

Place the butter in a heavy-bottomed saucepan and melt it gently over low heat.
Alternatively, melt the butter in a microwave-safe bowl using short intervals, then transfer it to the saucepan.
Place the butter in a heavy-bottomed saucepan and melt it gently over low heat.
Alternatively, melt the butter in a microwave-safe bowl using short intervals, then transfer it to the saucepan.

Once the butter has melted, add the sweetened condensed milk, honey, granulated sugar, and brown sugar.
Add a small pinch of fine salt to balance the sweetness.
Stir everything together with a heat-resistant spatula or wooden spoon until the ingredients are well combined.
Once the butter has melted, add the sweetened condensed milk, honey, granulated sugar, and brown sugar.
Add a small pinch of fine salt to balance the sweetness.
Stir everything together with a heat-resistant spatula or wooden spoon until the ingredients are well combined.

Place the saucepan over low to medium-low heat and continue stirring gently as the sugars dissolve.
At first, the mixture will look fairly fluid, with a pale golden color.
As it heats, the butter, condensed milk, honey, and sugars will gradually combine into a smooth caramel mixture.
Continue cooking, stirring regularly and carefully scraping the bottom of the pan to prevent sticking.
Place the saucepan over low to medium-low heat and continue stirring gently as the sugars dissolve.
At first, the mixture will look fairly fluid, with a pale golden color.
As it heats, the butter, condensed milk, honey, and sugars will gradually combine into a smooth caramel mixture.
Continue cooking, stirring regularly and carefully scraping the bottom of the pan to prevent sticking.

Place the saucepan over low to medium-low heat and continue stirring gently as the sugars dissolve.
At first, the mixture will look fairly fluid, with a pale golden color.
As it heats, the butter, condensed milk, honey, and sugars will gradually combine into a smooth caramel mixture.
Continue cooking, stirring regularly and carefully scraping the bottom of the pan to prevent sticking.
Place the saucepan over low to medium-low heat and continue stirring gently as the sugars dissolve.
At first, the mixture will look fairly fluid, with a pale golden color.
As it heats, the butter, condensed milk, honey, and sugars will gradually combine into a smooth caramel mixture.
Continue cooking, stirring regularly and carefully scraping the bottom of the pan to prevent sticking.

As soon as the caramel reaches the target temperature, remove the saucepan from the heat.
Working carefully, pour the hot caramel immediately into the prepared mold.
As soon as the caramel reaches the target temperature, remove the saucepan from the heat.
Working carefully, pour the hot caramel immediately into the prepared mold.

Use a heat-resistant spatula to spread the caramel evenly if necessary, taking care not to handle it directly.
Allow the mixture to cool slightly at room temperature, then transfer it to the refrigerator once it is no longer steaming.
Use a heat-resistant spatula to spread the caramel evenly if necessary, taking care not to handle it directly.
Allow the mixture to cool slightly at room temperature, then transfer it to the refrigerator once it is no longer steaming.

Leave the caramel to chill until completely firm.
Once firm, lift the caramel slab out of the mold using the parchment paper overhang and transfer it to a cutting board.
Leave the caramel to chill until completely firm.
Once firm, lift the caramel slab out of the mold using the parchment paper overhang and transfer it to a cutting board.

Using a sharp knife, cut the caramel into small squares or rectangles of your preferred size.
If the knife begins to stick, lightly grease the blade with a neutral oil and wipe it clean between cuts.
Using a sharp knife, cut the caramel into small squares or rectangles of your preferred size.
If the knife begins to stick, lightly grease the blade with a neutral oil and wipe it clean between cuts.

Cut small pieces of parchment paper large enough to wrap each candy individually.
Place one caramel in the center of each piece of paper, fold the wrapper around it, and twist the ends to secure it.
Repeat until all the homemade mou candies are wrapped.
Cut small pieces of parchment paper large enough to wrap each candy individually.
Place one caramel in the center of each piece of paper, fold the wrapper around it, and twist the ends to secure it.
Repeat until all the homemade mou candies are wrapped.
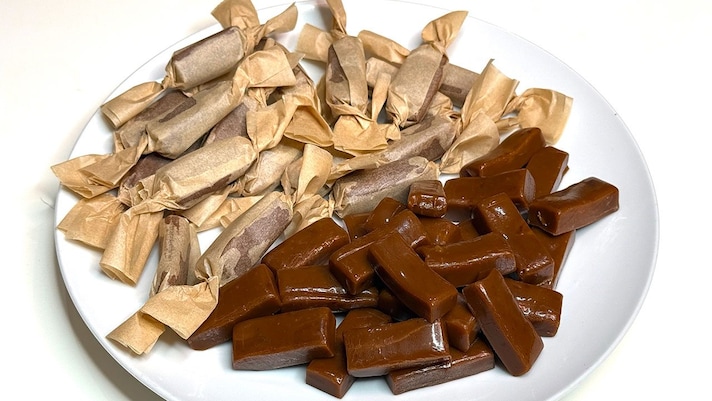
Enjoy them as a small homemade treat, arrange them on a dessert platter, or package them in a decorative box for a thoughtful edible gift.
Enjoy them as a small homemade treat, arrange them on a dessert platter, or package them in a decorative box for a thoughtful edible gift.


