You have spent hours meticulously peeling apples, balancing spices, and carefully rolling out a home-baked pie dough into a near-perfect circle. The filling tastes incredible, and the kitchen smells like heaven. But when you pull the finished pie out of the oven, your stomach drops. The beautiful, scalloped edge you painstakingly shaped has completely dissolved into a flat, slumped, melted puddle of dough, with some of the thinner edges scorched to a bitter charcoal.
Pie crust architecture is notoriously finicky. It is the visual frame of your dessert, yet it is often the first thing to lose its structural integrity under the intense heat of the oven. Achieving that elusive, clean, bakery-window crimp isn’t a matter of artistic genetics or secret specialized tools. Instead, it relies on a few fundamental laws of thermodynamics and proper hand placement. Whether you are aiming for a classic deep flute, an elegant rope twist, or a vintage rustic edge, here is how to master the art of the perfect crimp.
The Double-Thick Edge
The single most common mistake home bakers make happens before the crimping even begins. If you try to crimp a single layer of dough that is simply resting against the rim of your pie dish, it will inevitably tear, burn, or collapse into the filling. To create an edge strong enough to hold its shape against bubbling fruit juices, you must build a solid structural foundation:
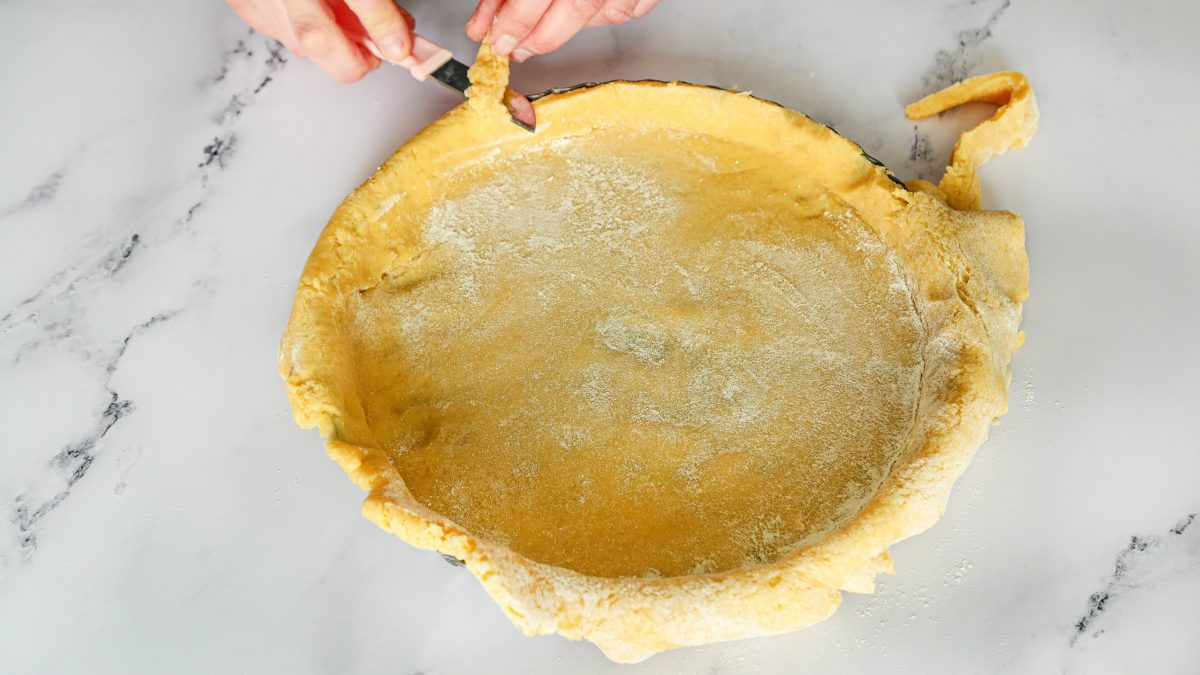
- When rolling out your dough and fitting it into the pan, do not trim it flush with the rim. Use kitchen shears to trim the raw edge so you have a uniform 1-inch to 1.5-inch overhang draping over the outside of the dish.
- Take that overhanging dough, lift it up, and tuck it underneath itself so it rests cleanly along the flat rim of the pie plate.
By rolling the dough inward onto the lip of the dish, you create an elevated, double-thick wall of pastry. This compact ring of dough provides the structural mass needed to handle deep finger indentations without tearing, while ensuring the edge cooks at the exact same rate as the rest of the pie.
3 Pro-Level Crimping Techniques
Once your double-thick wall is established, it is time to choose your design aesthetic. Wash your hands, dust your fingertips with a pinch of flour, and select your style.
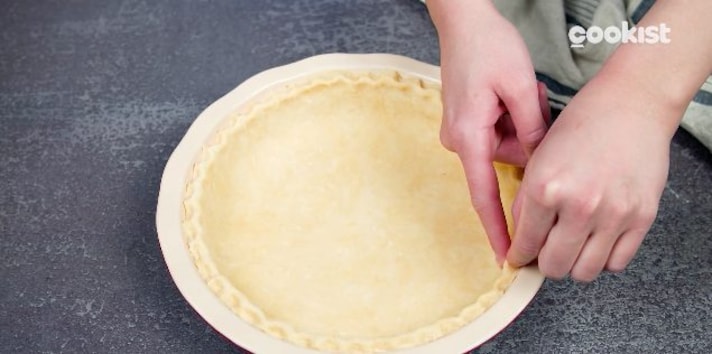
1. The Classic Flute (Three-Finger Pinch)
This is the iconic, wavy edge seen in professional bakery cases. It requires nothing more than three fingers and a rhythmic motion around the plate. Position the index finger of your dominant hand on the inside of the crust wall, pointing outward.
Form a tight "V" shape with the thumb and index finger of your non-dominant hand on the outside of the crust wall. Simultaneously push outward with your inside finger while gently squeezing inward with your outside "V" fingers. This creates a distinct, sharp ridge. Move down the rim, placing your inside finger right where the previous ridge ended, and repeat all the way around.
2. The Elegant Rope Twist
If you want a tighter, highly polished look that mimics a twisted cord, opt for the rope method. Hold your two index fingers parallel to each other at a distinct 45-degree angle along the edge of the dough.
Pinch the dough firmly between the inner edges of your fingers, pressing down slightly while lifting the center of the pinch upward. Move your hands down the rim, keeping that exact same 45-degree angle, overlapping the edge of your previous pinch to form a seamless, spiral rope effect.
3. The Vintage Fork Crosshatch
If your hands run naturally warm—which melts the butter in the dough too quickly—step away from finger styling entirely and grab a standard dinner fork. Press the flat tines of a lightly floured fork firmly into the double-thick rim of the dough, squeezing the layers together against the pie plate.
To take it from a simple utility crimp to a gorgeous design, angle the fork at a 45-degree angle all the way around the pie. Then, loop back around and press the fork again at an opposite 45-degree angle directly over the first set of lines to create a beautiful, geometric lattice texture.
Freezing the Frame
You can execute the most beautiful, pristine crimp in the world, but if you put a room-temperature pie straight into a hot oven, it will melt into a sad puddle within minutes.
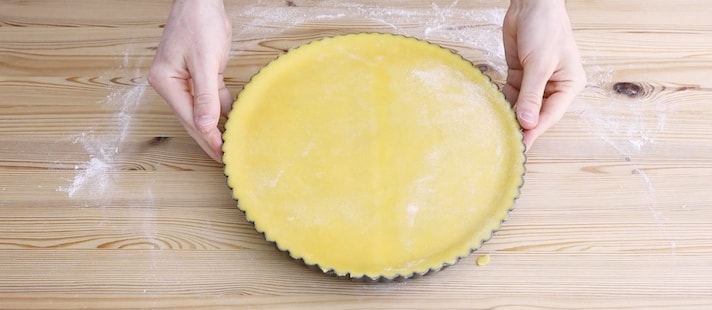
Real pie dough relies on solid pockets of fat (like butter or shortening) to create flaky layers. As you handle the dough to crimp it, the friction and warmth from your hands melt those fats. Once your crimping is complete, pop the entire pie into the freezer for at least 15 to 30 minutes before baking.
Freezing shocks the fat back into a solid, ice-cold state. When that frozen crust hits a hot oven, the structure of the flour quickly sets and bakes into place before the pockets of fat have a chance to melt down. This thermodynamic delay is the ultimate secret to preserving sharp, dramatic ridges that remain flawlessly defined from the oven to the dessert table.
;Resize,width=767;)
