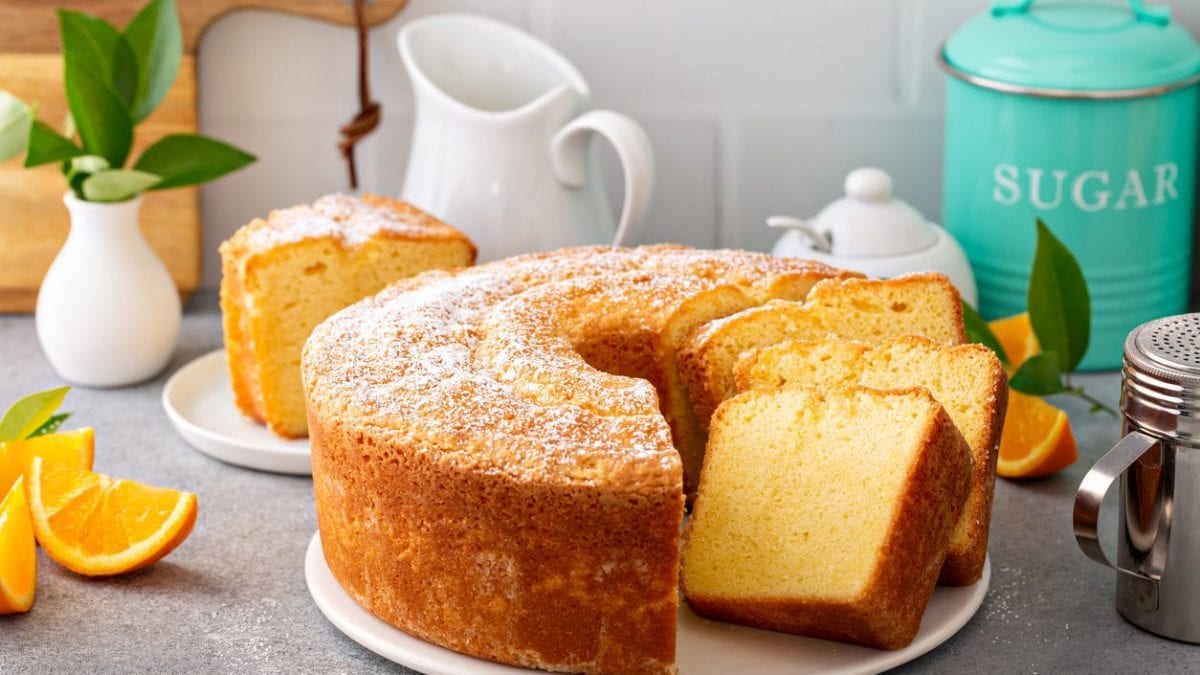
A soft sponge cake, a rich margherita cake, a fluffy loaf cake, a fragrant apple cake: there's nothing more delicious and satisfying than a tall, fluffy cake to sink your teeth into. Whether it's for a birthday, a dessert after lunch, or a special breakfast to pamper yourself with, these cakes are always beloved. Often, however, despite the excitement of making them at home, the result doesn't quite live up to expectations: sometimes the cake isn't as tall as you'd like, sometimes when you bite into it you realize it's too doughy or very dry, sometimes you take the cake out of the oven and it seems perfect, only to deflate moments later. Even though these are simple recipes, it takes very little to make a mistake and ruin the final result. In this case, just follow a few simple but essential tips to obtain a perfect, tall, and fluffy cake: here's a complete guide to all the tricks you need to know, from choosing the ingredients to baking and storing them.
Choosing the Ingredients
One of the most common mistakes people make with baking is thinking that the first step in the process begins with making the dough. In reality, it begins even earlier, with the selection and preparation of the ingredients: everything affects it, from the temperature of each product to the type of fat or yeast chosen. Here's what you need to pay attention to in the initial stages.
1. Leave the Ingredients at Room Temperature

One of the tricks to obtaining tall and fluffy cakes is to work them when they are at room temperature, so don't use them when they are cold from the refrigerator but after letting them rest for half an hour. Butter, milk, and eggs, unless the recipe specifically calls for using them cold, are best worked when they are at room temperature. And if you're in a hurry? Always avoid kneading them cold and try some alternative methods: you can heat the milk in a saucepan for less than a minute, you can microwave the butter for a few seconds (but be careful not to melt it), and you can warm the eggs by immersing them in hot water for up to a minute.
2. Choose the Fatty Part
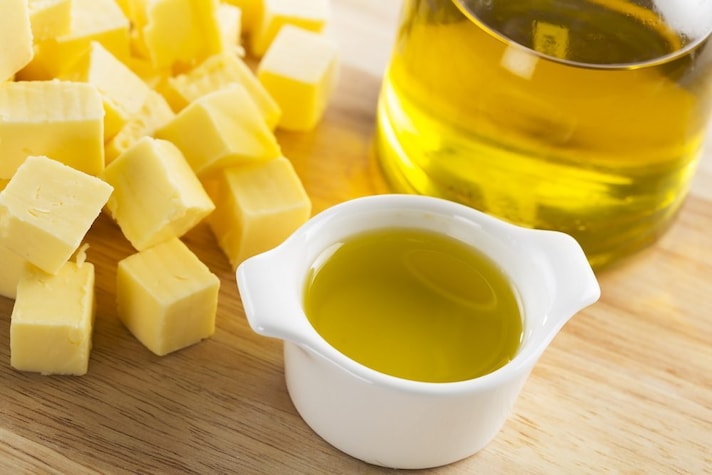
Essential to a successful, tall, and fluffy cake is the correct use of the fat, usually butter or oil. Butter is the most classic choice, as it makes the dough very flavorful and quite soft, but for an even softer result, try replacing it partially or completely with seed oil. Many other ingredients can replace butter: ricotta, among them all, is ideal for giving the inside of the cake an even softer texture.
3. Which Yeast to Choose and How Much
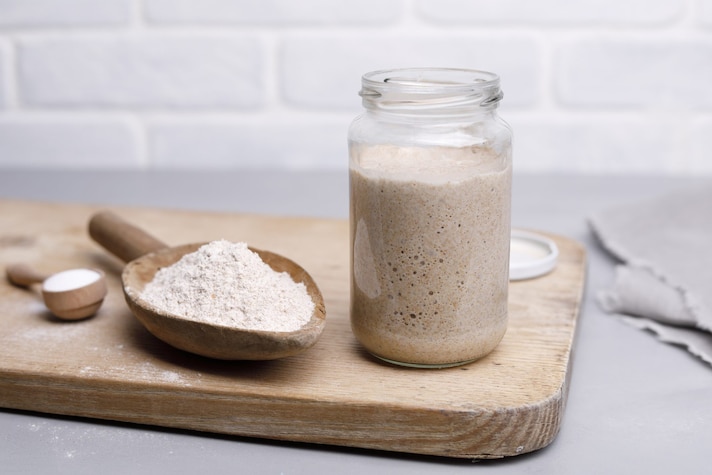
To make a very tall cake, one of the most important ingredients is yeast, in this case specifically the kind used for cakes: it's what allows the cake to rise instantly, starting to rise a few minutes after baking. If you like, you can replace part of the yeast with half a teaspoon of baking soda, but if you want even more height, add cream of tartar.
Preparing the Cake
Once you've chosen and prepared the ingredients, it's time to put on your apron and start kneading: this phase is the heart of the recipe, so it's essential to pay attention to every single step, because every move counts for a tall, fluffy cake. Let's take a detailed look at the essential tricks to know and follow.
1. Beat the Eggs Well
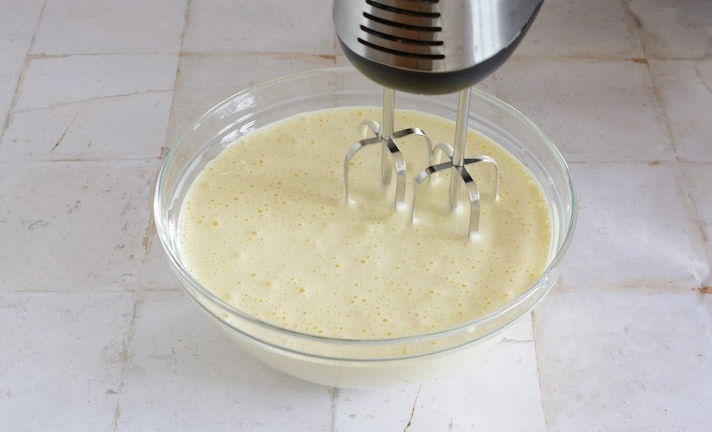
One of the elements that most affects the softness of a cake is the eggs, or rather, how you beat them. Sponge cake is a perfect example of this: despite not containing yeast, it still rises very high thanks to properly beaten eggs. Depending on the recipe, you may need to beat the eggs whole or separate the egg whites from the yolks. If you're beating the eggs whole, combine them with the sugar and use an electric whisk; if you need to separate the yolks, beat the yolks with the sugar until they become very light and fluffy. Place a container in the freezer for 10 minutes, then use it to beat the egg whites until they form stiff peaks, until they stick to the sides of the container when you turn it upside down. Fold them in gently, in several batches, stirring slowly from top to bottom to avoid deflating the egg whites.
2. Sift the Dry Ingredients
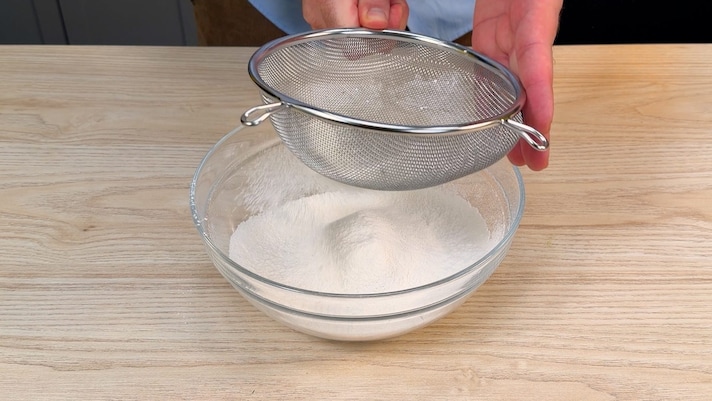
It's a step that's often overlooked, but sifting the dry ingredients before adding them to the eggs is actually essential, as it helps prevent lumps from forming and results in a lighter dough. Use a sieve or strainer to add the flour, baking powder, potato starch, or cornstarch to the dough, and continue mixing in batches, adding 3-4 tablespoons at a time. Add the remaining flour only when fully incorporated. If using a stand mixer, play around with the speed: lower it when adding the flour, then raise it again for a minute, then lower it again while adding more flour. Once you've added the dry ingredients, avoid overmixing: overmixing the dough develops the gluten and makes the cake tough and chewy.
3. Add the Flavorings and "Extra" Ingredients Only at the End
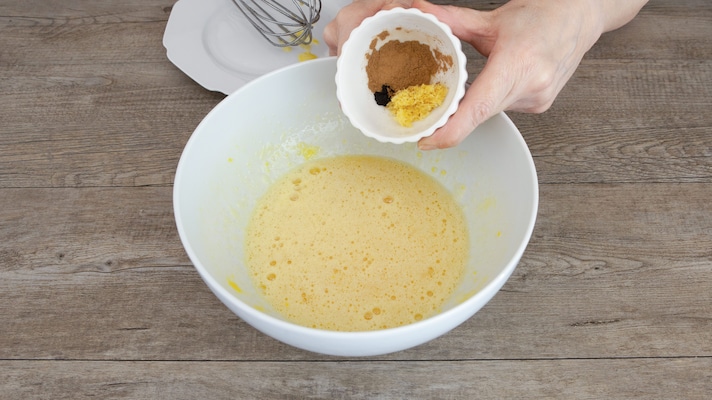
All the ingredients have been mixed thoroughly, but to give it a distinctive character and flavor, you'll need to add more: cocoa, lemon zest, fresh or dried fruit, chocolate chips or pieces. Whether you're making an apple pie or a cocoa bundt cake, these ingredients should only be added at the end. Additionally, the fruit and chocolate chips should be dusted with a little powdered sugar before adding them, to prevent them from sinking during baking and leaving the top exposed.
Cooking the Cake
Once the dough is kneaded, it's time to bake it, the most delicate part of the entire cake-making process. Here too, we have three tricks to recommend to ensure the cake doesn't turn out dry, flat, or deflated: here they are.
1. Preheat the Oven
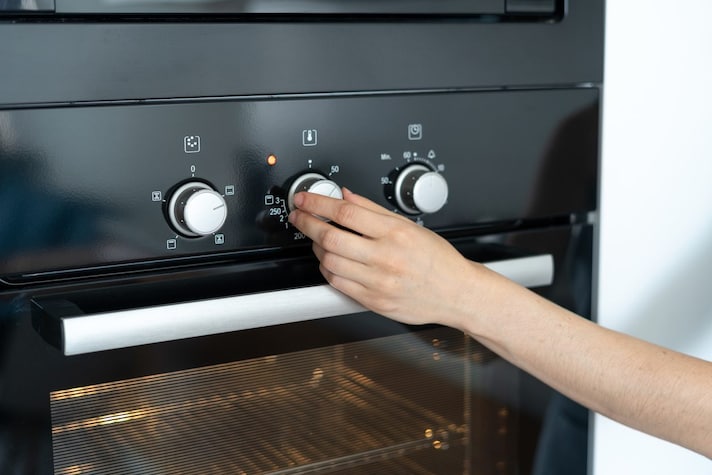
Unless otherwise specified in the recipe, the cake should be placed in the oven when it is already hot, so before placing the pan in the oven, preheat it to around 355°F/180°C. Whether to use a static or fan-assisted oven depends on the type of recipe you are preparing: choose the static oven if your preparation requires even and prolonged cooking, while if it requires quick cooking, set the convection oven to cook the outside quickly while leaving the inside soft and fluffy.
2. Choose the Right Mold and Prepare it Properly

The shape and size of the pan directly affects the height of a cake, so if you want a tall cake, you need to choose the one that best suits your needs. In general, remember that a smaller pan will produce a taller and narrower cake, while a larger pan will result in a lower and wider cake. Furthermore, the amount of batter must be proportionate to the surface area of the pan, because if the pan is too large for the amount of batter, the cake will be thin and risk drying out or baking too quickly. Also consider the surface area of the pan, in addition to its diameter: a square pan often has a larger surface area than a round pan of the same diameter, resulting in a shallower cake. Once you've chosen the most suitable pan, it's time to prepare it. Even if it's non-stick, you should always grease and flour it, or line it with non-stick paper to prevent sticking. Pour in the batter, level it gently with the back of a spoon, and bake as soon as the oven is sufficiently preheated.
3. Do Not Open the Door During Cooking

If you don't want to end up with a bundt cake that's sagging on one side or a low, deflated sponge cake, don't open the oven door during baking for at least half an hour after you put the cake in the oven. The reason is simple: the temperature inside the oven is very high, and if you were to open it, cold air would enter, causing thermal shock to the batter. The area that received the cold air would then curl up, resulting in uneven baking, with half of the cake flat and, inevitably, overcooked and biscuity, and the other half high and undercooked. This would also result in an aesthetically unappealing product. Once baked, leave the cake in the turned-off oven with the door ajar for a few minutes to avoid temperature changes.
How to Store Your Cake
When you bake a cake, it's unlikely that it'll all be eaten right away; there's always some leftover. In this case, the best thing to do is store it in a cake carrier so it stays dry. Alternatively, you can use an airtight tin or wrap it in plastic wrap, sealing the edges tightly to prevent the cut edges, which are most exposed to the air, from drying out. Stored this way, it will stay as soft as freshly made for several days. If the cake is filled with cream or custard, it should be stored in the refrigerator, always in an airtight container to prevent the cake from drying out.

