When you crack open a Tillamook ice cream pint, you’re expecting silky, dreamy goodness—not a crunchy frost fortress. Thankfully, the folks at Tillamook North America have spilled the tea (or, should I say, “spoon”?) on a clever little trick to keep freezer burn at bay. Before popping the lid, press a piece of parchment paper directly onto the surface of the ice cream. This simple layer acts like a mini barrier, preventing ice crystals from forming and preserving that fresh-scooped flavor. It’s like giving your pint its own little pampering session—because who wants to eat crunchy instead of creamy?
Why It Works: The Science of Fresh Scoops
It’s not magic. It’s science. Freezer burn happens when moisture sublimates—your ice cream loses water that moves straight from solid to vapor, leaving those icy shards behind. But slap that parchment paper on top, and you’ve basically sealed in the moisture. The paper blocks direct exposure to air and stops the sublimation process in its tracks. And if you're feeling extra fancy, a dab of butter or oil on the paper’s underside can help it hug the surface even tighter. You're not just covering your ice cream—you’re giving it a seal of approval.
Additional Freezer-Burn Defenders
Apart from the Tillamook parchment trick, other methods deserve a mention. One of my favorites? Transfer your ice cream into a freezer-safe zipper bag before putting it back in the carton. Squeeze out as much air as possible—to starve freezer burn of oxygen—and gently reshape. Another pro tip: keep your freezer at or below 0°F (–18°C). Even slight temperature fluctuations can encourage that sneaky crystal growth that ruins texture faster than you can say “brain freeze.”
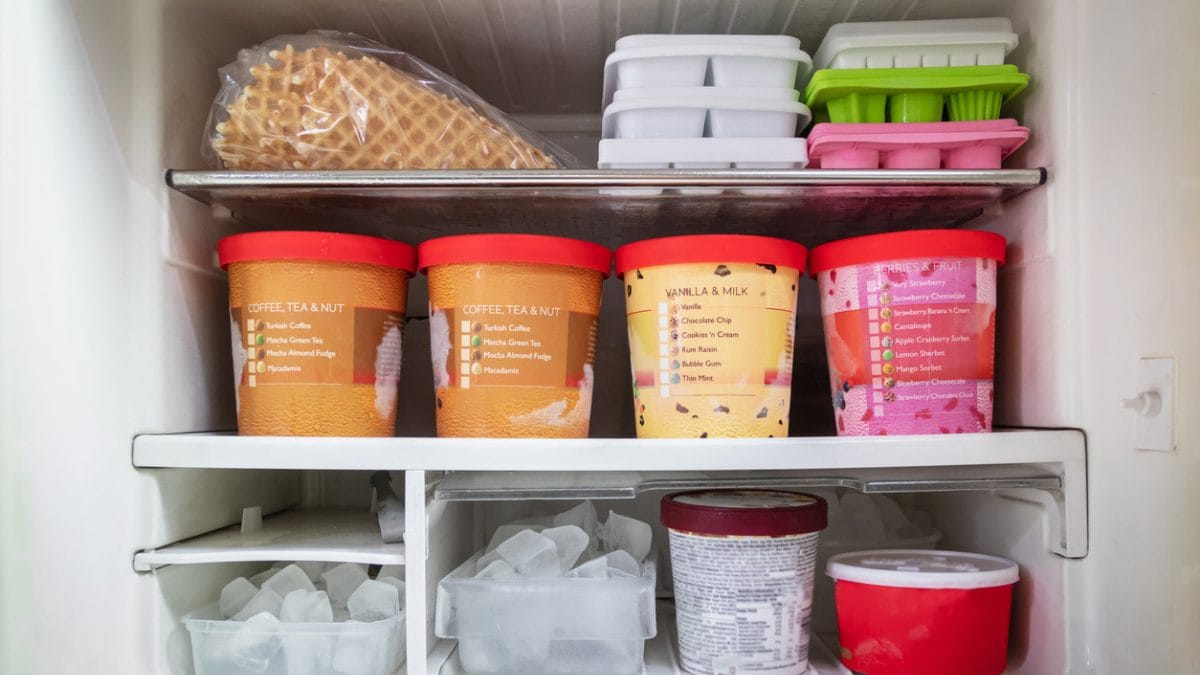
Placement and Portions Matter
Freezer location isn’t just about space—it matters for flavor, too. The coolest spot is usually the back of the freezer, where the temperature is most steady. While you’re at it, separate your ice cream into mini portions. Smaller containers reduce surface area, meaning less room for air to invite unwanted ice crystals. Plus, portion control never killed anyone (well, except maybe your self-control around cookie dough).
Thaw Like a Boss
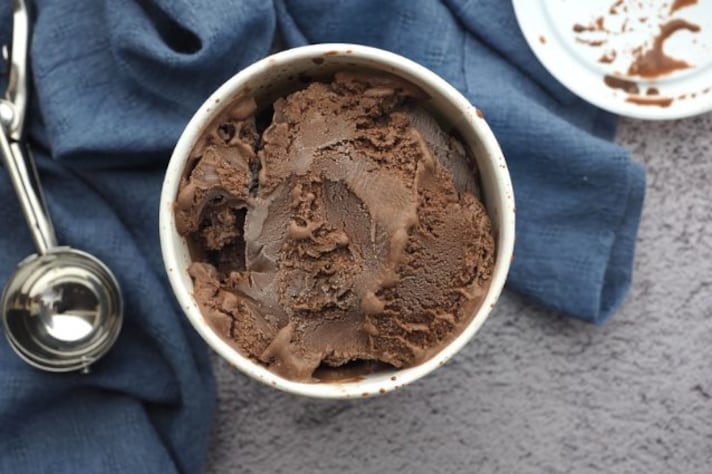
What if your pint already has a touch of freezer burn? Don’t toss it yet. Let it thaw at room temperature for just 10 minutes. Then stir vigorously to reincorporate any melted cream back into the body. It won’t be showroom perfect, but you’ll salvage more of that lush texture and flavor than leaving it to melt into a soupy mess.
;Resize,width=767;)
