
Don’t toss that empty ice cream container! With just a few craft supplies and a little creativity, you can turn it into a charming decorative basket—perfect for organizing, gifting, or displaying. This fun and sustainable DIY project is ideal for anyone looking to reduce waste while adding a personal, handmade touch to home decor.
Why Everyone Will Love This DIY
- Eco-friendly way to repurpose plastic containers
- Great project for kids, crafters, and zero-waste enthusiasts
- Fully customizable with lace, pearls, string, or artificial flowers
- Makes for cute gift baskets, organizers, or decorative centerpieces
- Easy and inexpensive—with supplies you likely already have
What You’ll Need
- 1 empty ice cream container, cleaned and dried
- Cardboard (for the base)
- Hot glue gun + glue sticks
- String or twine
- Tissue paper or craft paper (e.g., pink)
- Pearls, artificial plants, lace (for decoration)
Frequently Asked Questions
Can I Use a Paper Ice Cream Container?
Yes, but it’s best for light decorative use—paper containers may not be as sturdy or water-resistant as plastic ones.
What Other Decorations Work Well?
Try buttons, ribbon, jute, mini fabric flowers, or even paint for custom designs.
Is Hot Glue Necessary?
Hot glue works best for quick drying and strong adhesion, but craft glue or double-sided tape can be used for lighter materials.
Can I Make a Lid for the Basket?
Definitely! Trace and cut a cardboard lid, decorate it with the same materials, and attach a ribbon loop for easy lifting.
Is This a Good Craft for Kids?
Yes—with adult supervision for cutting and hot glue, it’s a great activity for kids to express creativity while learning about upcycling.
Step-by-Step Instructions
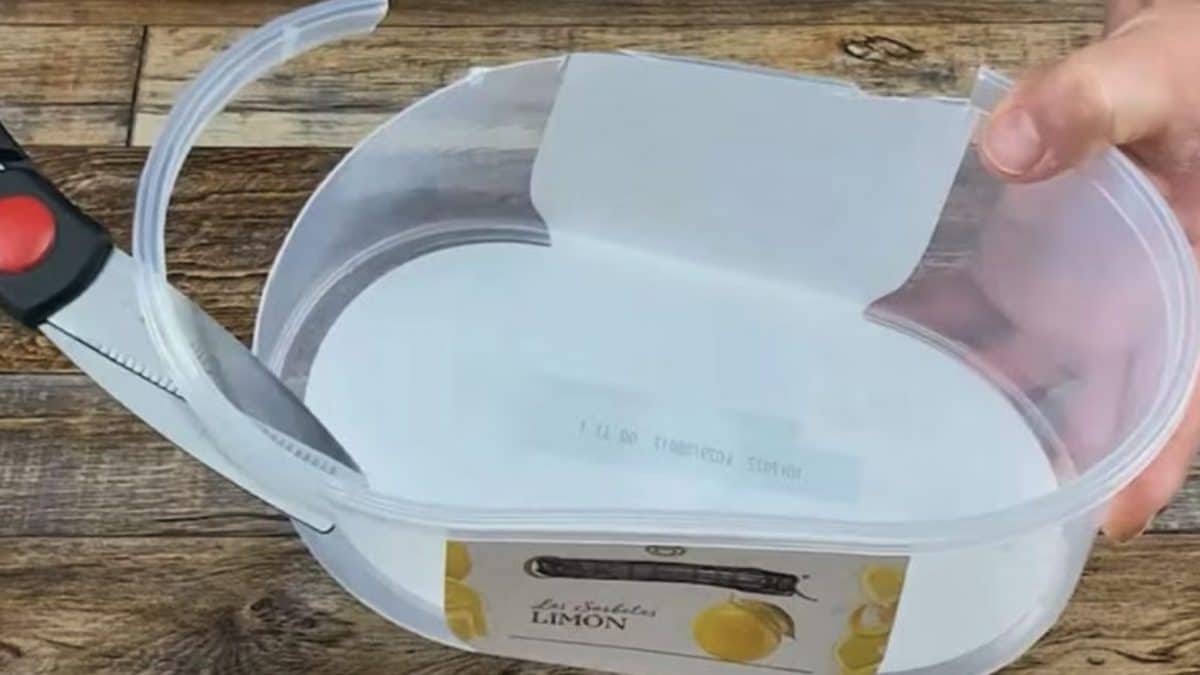
Clean the Container:
Wash the ice cream container thoroughly and remove any labels or adhesive. Dry completely.
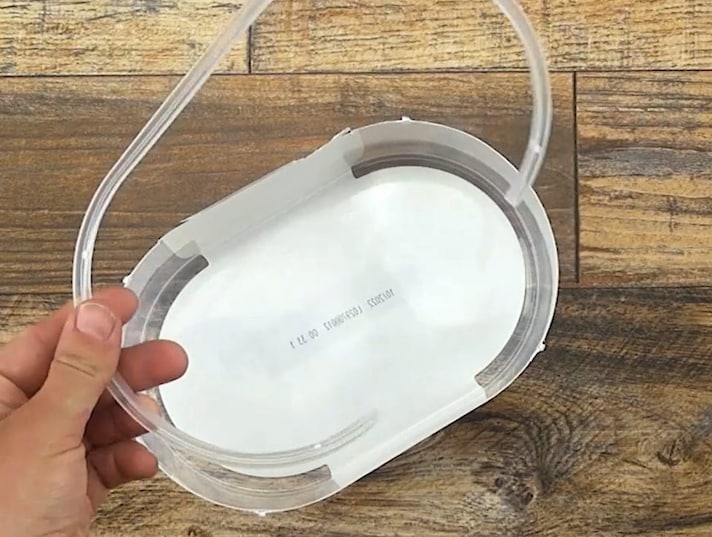
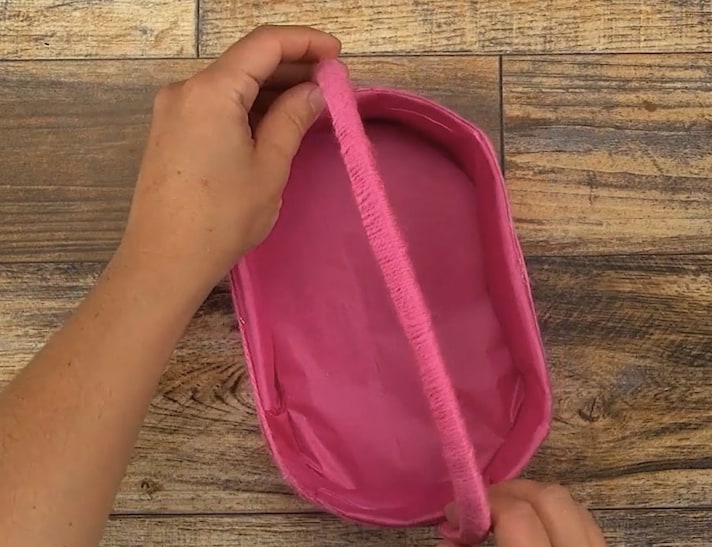
Shape the Handle:
Cut the top edge of the container to form two strips that can bend upward to create a handle. Trim and shape as needed.
Cover the Base:
Trace the bottom of the container onto cardboard and cut out a matching piece. Cover it with tissue or colored paper. Glue it to the bottom of the container.
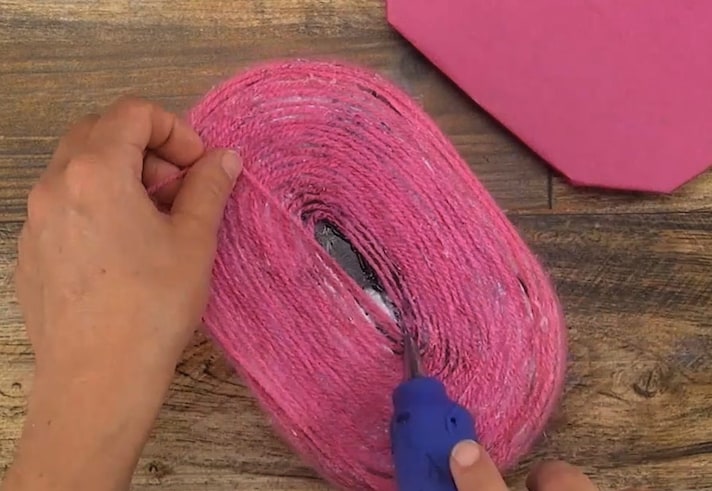
Wrap with String:
Start wrapping string or twine around the container and the handle. Secure it with hot glue as you go to ensure it stays in place.
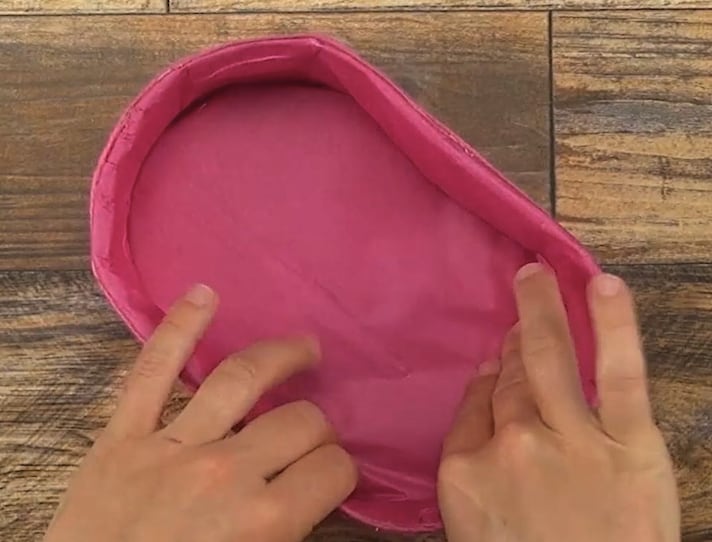
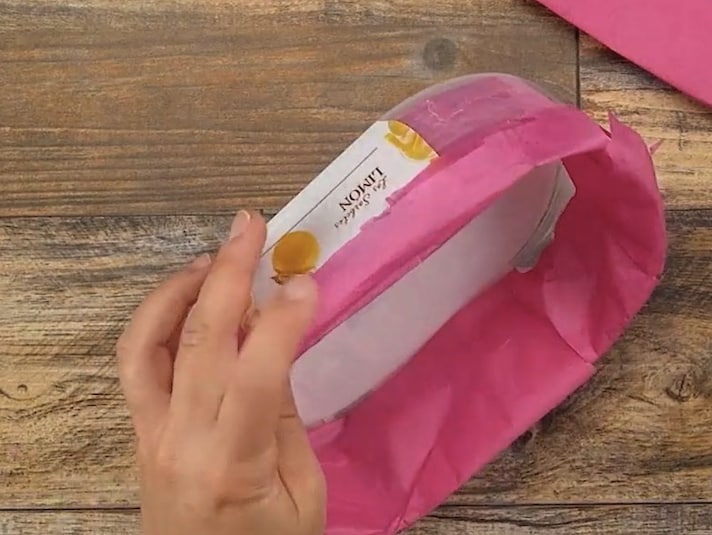
Add Tissue Paper:
Cover the outer edge and inside rim with tissue or craft paper to create a colorful lining and clean look.
Attach the Handle:
Once both ends of the handle are wrapped and neat, glue them securely to the inside or outside of the container.
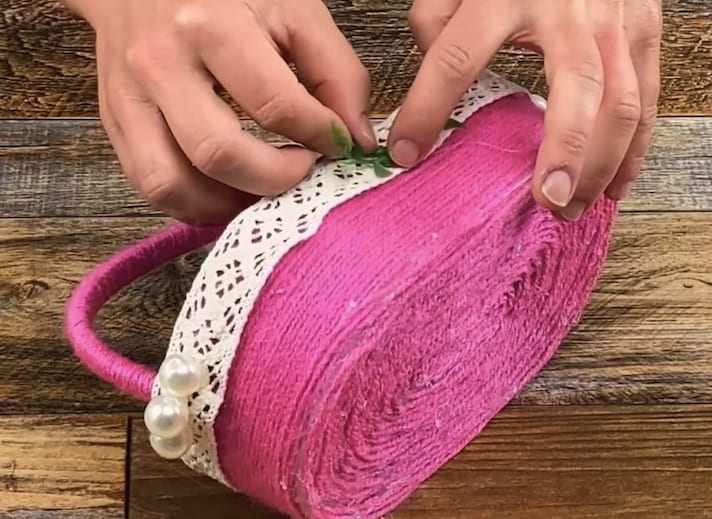
Decorate:
Let your creativity shine! Add lace along the top edge, glue on pearls, attach small artificial plants or flowers—anything you like.
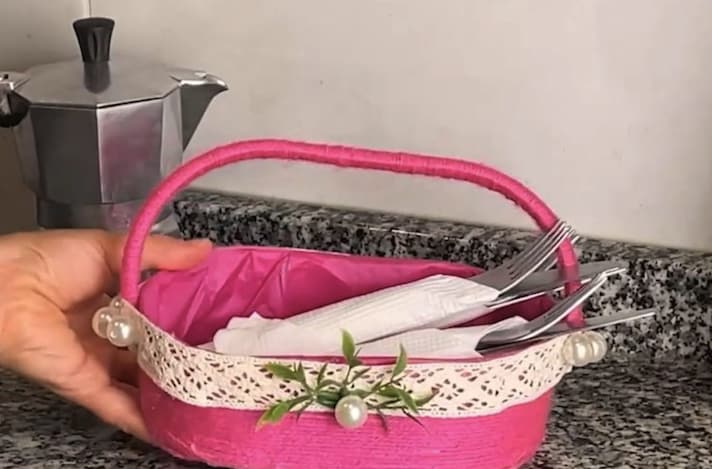
Display or Gift:
Your upcycled basket is ready to use! Fill it with goodies, use it as a gift holder, or simply place it as décor.
;Resize,width=767;)
