Clams are one of the most popular ingredients in the kitchen for bringing seafood-flavored dishes to the table: they are available year-round, becoming the protagonists of evergreen recipes such as spaghetti or sautéed dishes, to be enjoyed in summer and at Christmas, among the traditional Christmas Eve dishes. They are a bivalve mollusc that contains a good dose of proteins and mineral salts, such as potassium, with a moderate caloric intake (about 72 kcal in 100 grams), of which there are different types: the small and tasty lupini clams, the prized veraci clams and the more economical Philippine clams. Clams, as filter-feeders, assimilate the substances present in the water to feed themselves, and can therefore accumulate components harmful to our bodies, including pollutants and pathogenic microorganisms: for this reason, the advice is to buy them from a trusted fishmonger who can guarantee a safe origin and not to consume them raw, but after cleaning and cooking. That said, the quality of the raw material also depends on its freshness: let's see how to recognize it when purchasing.
Tips to Know if Clams Are Fresh
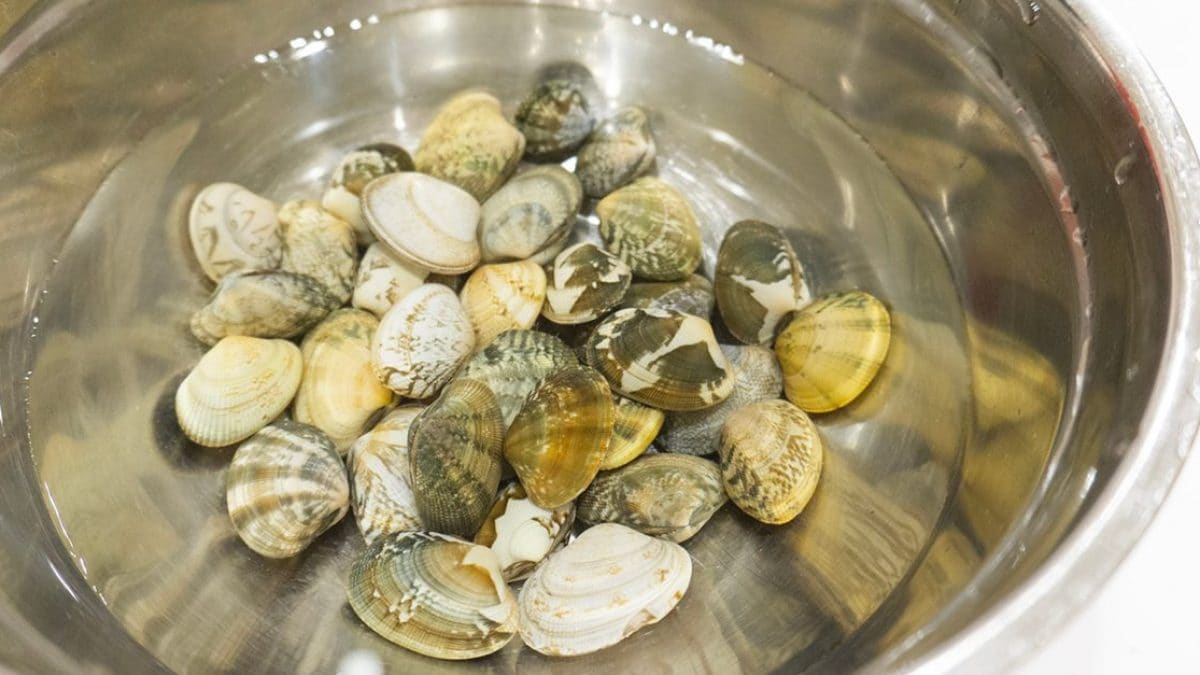
Clams appear as a shell composed of two welded valves that contain the body of the mollusk. Once extracted from the sea, their shells close hermetically, keeping the inside alive thanks to the salt water reserve. A clam is fresh when the mollusk is alive, a rule that applies to all bivalves, from mussels to oysters. Here's how to understand it step by step, both when you're at the fishmonger's and when you get home to cook them.
1. Make Sure The Shell is Closed
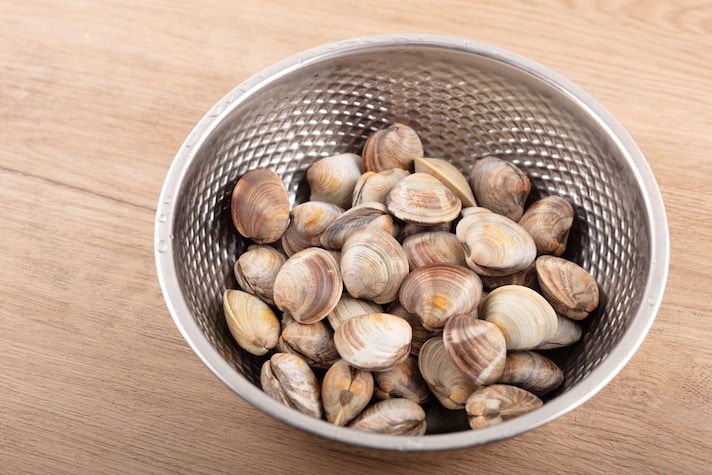
Make sure the clams have their shells tightly closed: this way, the mollusk is preserved in its water. You may see some half-open shells, but that doesn't mean they're dead. To check, if you have the immediate opportunity, touch the clam gently: if alive, the mollusk should recoil at the touch of a finger, and the valves should close quickly.
2. Look at The Overall Appearance
The shell must be intact and not broken, precisely for the reason just described. Furthermore, the color of the shell is shiny, not dull, while that of the mollusk is light, uniform, without spots or darker alterations.
3. Smell the Clams
Trust your nose: the smell will be pleasantly marine. If, however, there's a hint of ammonia or a pungent, spoiled fish-like smell, the shellfish may have been there for a while.
4. Select Clams in The Labeled Net
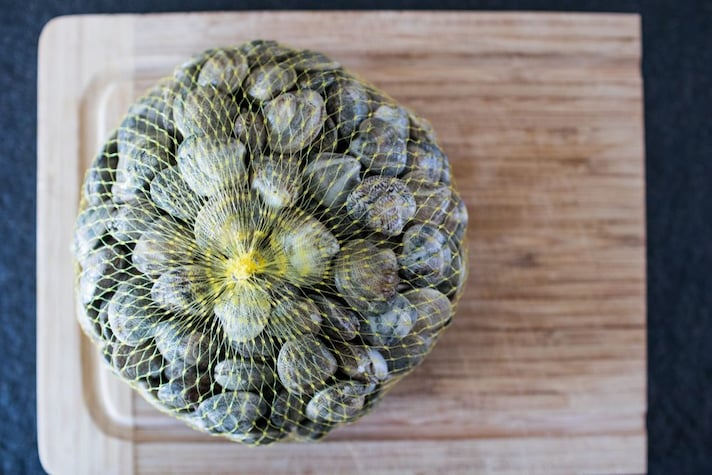
If you don't have a fish counter you always go to, then opt for clams packaged in nylon netting, which allows them to be preserved longer thanks to the correct humidity. The netting must be intact and accompanied by a guarantee label, which by law specifies the batch number, origin, processing method (caught or farmed), and packaging date, thus ensuring complete transparency regarding traceability.
5. Shake the Retina
This is a good way to check the freshness of clams: if, when you lift and gently shake the bag, it feels heavy and the shellfish makes a full, rounded sound, the product is good, as the shells have retained their survival fluid. If the net is light and the sound is dull, it means you've likely found a large quantity of dead clams.
6. Double Check
Once home, proceed with a more thorough inspection. Discard any broken or slightly open shells that show no reaction to touch, as previously mentioned. A live mollusk should be firm, attached to the shell, which will be tough to cut if forced open with a knife. The internal liquid, however, should be clear and have a naturally salty scent.
7. Cook in a Pan
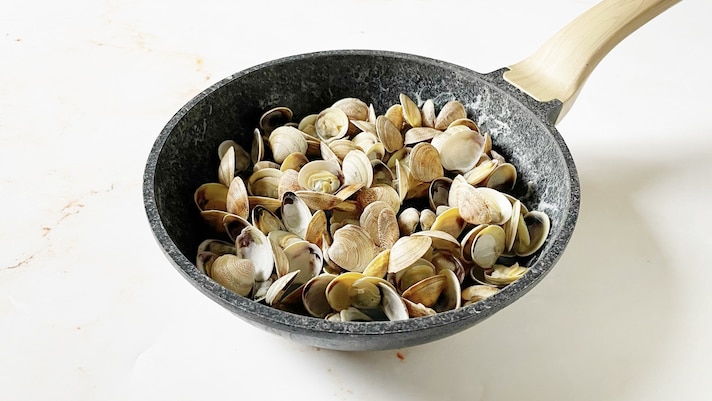
The final check is to be performed when the clams are cooked in a pan: only those mollusks whose valves have opened completely with the heat are good. Any shells that remain sealed should be discarded.
;Resize,width=767;)
