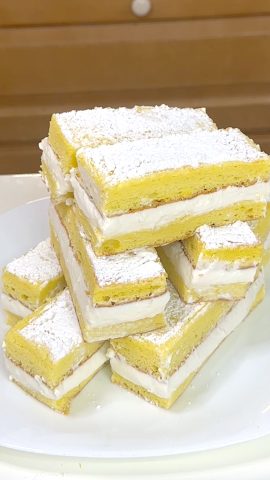
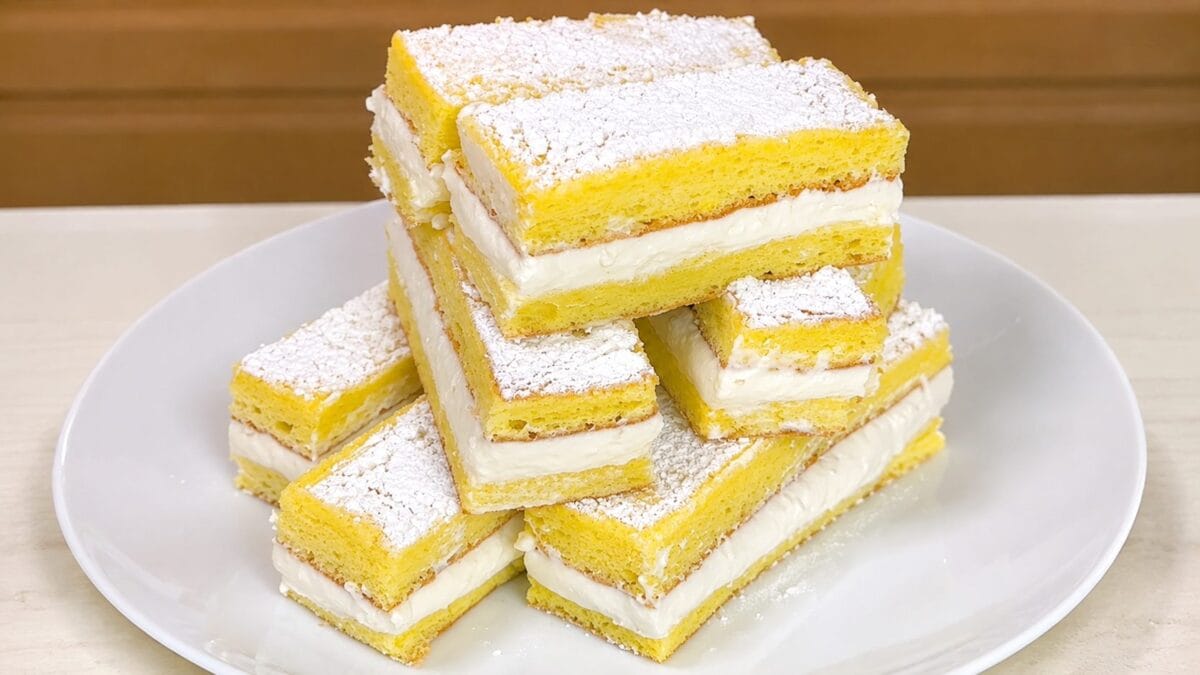
There's something irresistible about a soft sponge cake with a thick layer of creamy filling in the middle. Especially when it's light, delicate, and finished with a generous dusting of powdered sugar.
These Italian Paradiso snack cakes bring together two layers of fluffy sponge cake and a smooth, vanilla-scented milk cream for a dessert that feels both simple and indulgent. Every bite combines the airy texture of the cake with a cool, velvety filling.
Inspired by the beloved Italian merendine Paradiso, these homemade treats are perfect for an afternoon snack, a sweet breakfast, or a dessert to share. And while they look like something from a pastry shop, they're surprisingly easy to prepare at home.
What Are Italian Paradiso Snack Cakes?
Italian Paradiso snack cakes, often called merendine Paradiso, are soft, individually portioned cakes filled with a delicate milk cream.
They're inspired by torta Paradiso, a traditional Italian cake associated with Lombardy and known for its soft, buttery texture and delicate flavor.
The filled snack cake version became particularly popular in Italy as a packaged sweet treat, often enjoyed by children for breakfast or an afternoon snack.
Unlike a classic torta Paradiso, which is generally served without filling, these homemade snack cakes feature two thin layers of sponge cake surrounding a generous layer of milk cream.
The result is a light-looking, creamy dessert with a nostalgic Italian character.
Why Everyone Will Love This Recipe
The contrast between the soft sponge cake and the creamy milk filling is what makes these little cakes so special.
The sponge is light and delicate, made with whipped egg whites and yolks for an airy texture. A touch of lemon zest gives it a fresh, subtle fragrance without overpowering the vanilla cream.
The filling is equally appealing. Whipped cream, condensed milk, and vanilla create a rich yet fluffy texture, while a small amount of gelatin helps the cream hold its shape when the cakes are sliced.
They're also ideal for preparing ahead. After chilling, the cream becomes firm enough to cut into neat portions, making these homemade Italian snack cakes easy to serve.
Tips for Making Perfect Paradiso Snack Cakes
- Use room-temperature eggs. They whip more easily and help create a light sponge cake with a delicate texture.
- Don't overbeat the egg whites. Whip until firm peaks form, but stop before the mixture becomes dry or grainy.
- Keep the heavy cream very cold. Cold cream whips more efficiently and helps produce a stable, fluffy filling.
- Chill before slicing. Allowing the assembled cake to rest in the refrigerator helps the gelatin set and gives the snack cakes clean, defined layers.
Frequently Asked Questions
What Is the Difference Between Torta Paradiso and Paradiso Snack Cakes?
Traditional torta Paradiso is a soft Italian butter cake, usually served plain with powdered sugar. Paradiso snack cakes are individual portions inspired by that dessert, typically made with a soft sponge and a creamy milk filling.
What Is the Milk Cream Filling Made Of?
This version combines heavy whipping cream, sweetened condensed milk, vanilla, and gelatin. The condensed milk provides sweetness and a delicate milky flavor, while the whipped cream creates a light texture.
Can You Make Paradiso Snack Cakes Without Gelatin?
Yes, but the filling will be softer and less stable. Without gelatin, the cakes may be more difficult to slice neatly, especially if the cream layer is thick.
Why Did My Sponge Cake Turn Out Flat?
The egg whites may have been underwhipped or overmixed when the yolks and dry ingredients were added. Folding the ingredients gently helps preserve the air needed for a light sponge.
Can You Use Vanilla Extract Instead of a Vanilla Bean?
Yes. Approximately 1 teaspoon of vanilla extract can replace half a vanilla bean in the filling. Add it to the condensed milk before incorporating the whipped cream.
How Do You Get Clean Layers When Cutting Paradiso Snack Cakes?
Make sure the sponge cake is completely cool before filling it, then refrigerate the assembled dessert until the cream is firm. Use a sharp knife and wipe the blade clean between cuts.
How to Store
Because the filling contains fresh whipped cream, Paradiso snack cakes must be refrigerated.
Store the finished cakes in a single layer in an airtight container, or arrange them in a covered dish with parchment paper between layers if necessary.
Keep refrigerated for up to 3 days. For the best texture, remove individual portions from the refrigerator shortly before serving, but don't leave them at room temperature for extended periods.
How to Freeze
Paradiso snack cakes can be frozen, although the whipped cream filling may change slightly in texture after thawing.
Once the cakes have chilled and the filling has set, cut them into individual portions. Wrap each cake tightly in plastic wrap and place the wrapped portions in a freezer-safe container.
Freeze for up to 1 month for the best quality.
Thaw overnight in the refrigerator before serving. Avoid thawing at room temperature, as the dairy-based filling should remain chilled.
Ingredients
How to make Italian Paradiso Snack Cakes
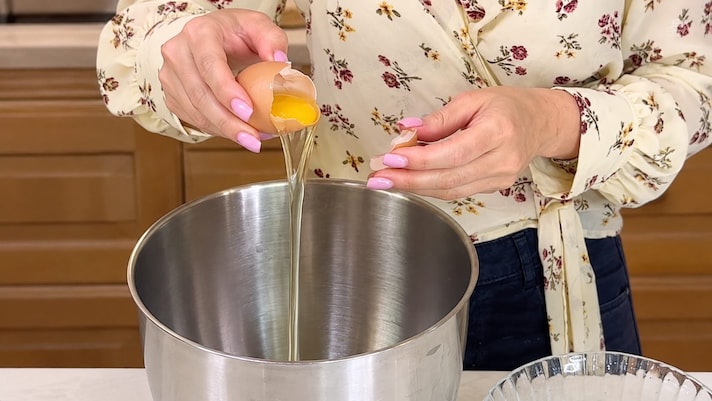
Begin by preparing the sponge cake. Separate the egg yolks from the whites, placing them in two clean bowls. Make sure the eggs are at room temperature before starting, as this helps them whip more easily.
Begin by preparing the sponge cake. Separate the egg yolks from the whites, placing them in two clean bowls. Make sure the eggs are at room temperature before starting, as this helps them whip more easily.
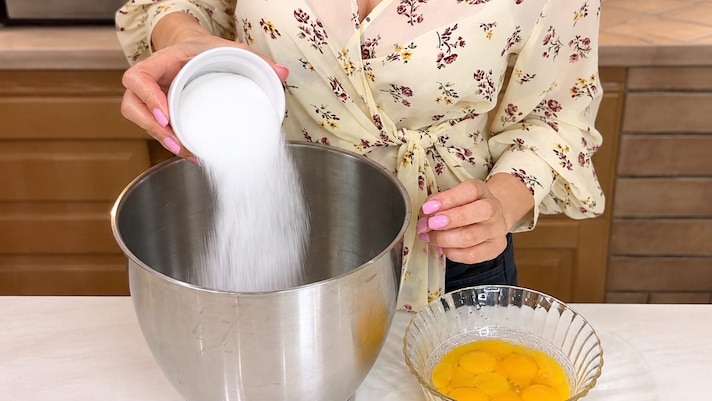
Transfer the egg whites to a large mixing bowl and begin beating them with an electric mixer. Gradually add the granulated sugar while continuing to whip, until the mixture becomes glossy, voluminous, and forms firm peaks.
Transfer the egg whites to a large mixing bowl and begin beating them with an electric mixer. Gradually add the granulated sugar while continuing to whip, until the mixture becomes glossy, voluminous, and forms firm peaks.
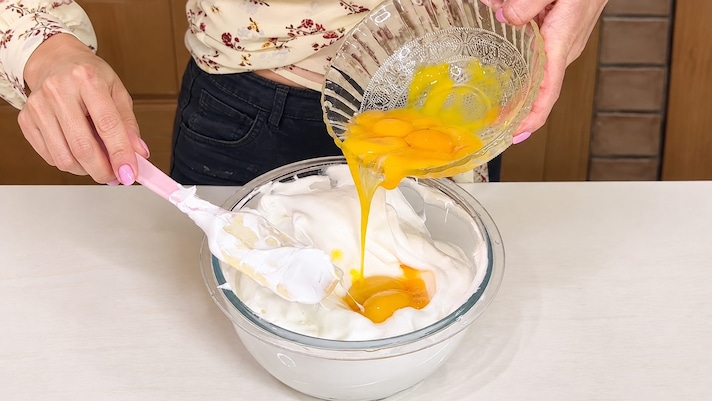
In a separate bowl, lightly beat the egg yolks with a fork to loosen them. Add them gradually to the whipped egg whites, folding gently with a spatula using slow movements from the bottom upward. Take care not to deflate the mixture.
In a separate bowl, lightly beat the egg yolks with a fork to loosen them. Add them gradually to the whipped egg whites, folding gently with a spatula using slow movements from the bottom upward. Take care not to deflate the mixture.
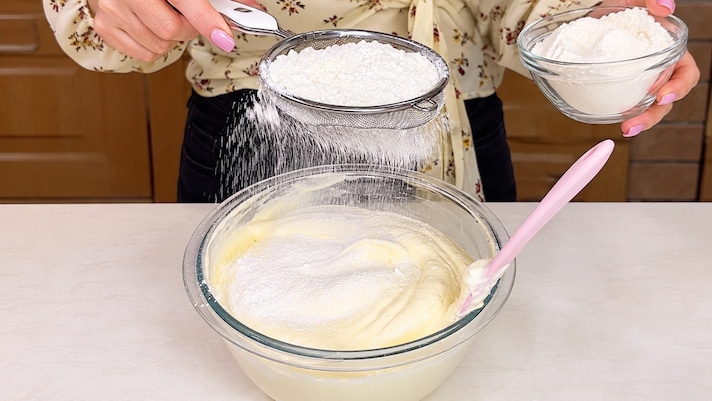
Sift the all-purpose flour and cornstarch or potato starch together, then add them to the egg mixture in several additions. Fold gently until the dry ingredients are fully incorporated and no visible flour remains.
Sift the all-purpose flour and cornstarch or potato starch together, then add them to the egg mixture in several additions. Fold gently until the dry ingredients are fully incorporated and no visible flour remains.
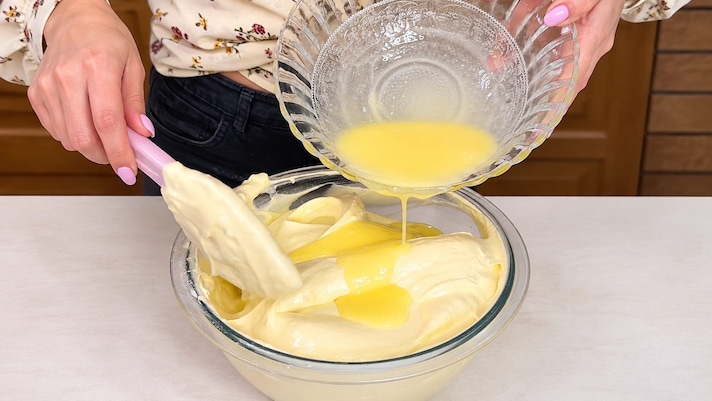
Melt the butter over low heat or in the microwave, then allow it to cool until just warm. Mix a small portion of the sponge batter into the melted butter to lighten it, then gently fold this mixture back into the main batter. This helps incorporate the butter without losing too much of the air created during whipping.
Melt the butter over low heat or in the microwave, then allow it to cool until just warm. Mix a small portion of the sponge batter into the melted butter to lighten it, then gently fold this mixture back into the main batter. This helps incorporate the butter without losing too much of the air created during whipping.
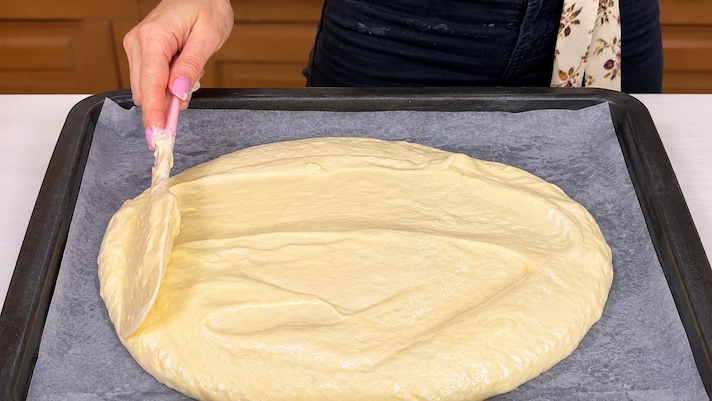
Line a large, shallow rectangular baking tray with parchment paper. Spread the batter evenly into a relatively thin layer, smoothing the surface gently with an offset spatula.
Preheat the oven to 375°F (190°C) using the conventional, non-fan setting. Bake the sponge cake for approximately 10–15 minutes, until the surface is lightly golden and springs back when gently touched.
Line a large, shallow rectangular baking tray with parchment paper. Spread the batter evenly into a relatively thin layer, smoothing the surface gently with an offset spatula.
Preheat the oven to 375°F (190°C) using the conventional, non-fan setting. Bake the sponge cake for approximately 10–15 minutes, until the surface is lightly golden and springs back when gently touched.

Meanwhile, prepare the milk cream filling. Place the gelatin sheets in a bowl of cold water and let them soak according to the package instructions, usually for about 5–10 minutes, until softened.
Pour the cold heavy whipping cream into a large mixing bowl. Beat with an electric mixer until the cream becomes fluffy and holds soft-to-medium peaks. Avoid overwhipping, as the cream should remain smooth and easy to spread.
In a separate bowl, combine the sweetened condensed milk with the seeds scraped from half a vanilla bean. Stir until smooth. The finished milk cream should be smooth, fluffy, and thick enough to spread.
Meanwhile, prepare the milk cream filling. Place the gelatin sheets in a bowl of cold water and let them soak according to the package instructions, usually for about 5–10 minutes, until softened.
Pour the cold heavy whipping cream into a large mixing bowl. Beat with an electric mixer until the cream becomes fluffy and holds soft-to-medium peaks. Avoid overwhipping, as the cream should remain smooth and easy to spread.
In a separate bowl, combine the sweetened condensed milk with the seeds scraped from half a vanilla bean. Stir until smooth. The finished milk cream should be smooth, fluffy, and thick enough to spread.

Once the sponge cake is completely cool, carefully remove it from the parchment paper and cut it into two equal rectangles.
Once the sponge cake is completely cool, carefully remove it from the parchment paper and cut it into two equal rectangles.

Place the first sponge rectangle on a tray or cutting board lined with parchment paper. Spread the milk cream evenly over the surface, creating a generous, uniform layer.
Place the first sponge rectangle on a tray or cutting board lined with parchment paper. Spread the milk cream evenly over the surface, creating a generous, uniform layer.

Carefully position the second sponge rectangle over the filling, pressing very lightly to help the layers adhere without squeezing out the cream.
Transfer the assembled cake to the refrigerator and let it chill for approximately 3 hours, or until the milk cream has set firmly enough to hold its shape when cut.
Carefully position the second sponge rectangle over the filling, pressing very lightly to help the layers adhere without squeezing out the cream.
Transfer the assembled cake to the refrigerator and let it chill for approximately 3 hours, or until the milk cream has set firmly enough to hold its shape when cut.

Once chilled, use a sharp knife to trim the edges if necessary, then cut the cake into individual rectangular snack cakes. Wipe the knife between cuts to keep the cream layers neat and defined.
Finish with a generous dusting of powdered sugar, covering the tops with a delicate white layer.
Once chilled, use a sharp knife to trim the edges if necessary, then cut the cake into individual rectangular snack cakes. Wipe the knife between cuts to keep the cream layers neat and defined.
Finish with a generous dusting of powdered sugar, covering the tops with a delicate white layer.
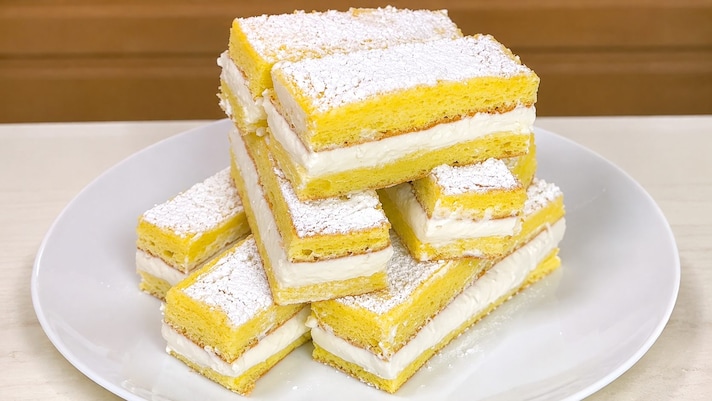
Serve the Italian Paradiso snack cakes chilled, allowing the contrast between the soft, airy sponge and the creamy vanilla milk filling to take center stage.
Serve the Italian Paradiso snack cakes chilled, allowing the contrast between the soft, airy sponge and the creamy vanilla milk filling to take center stage.


