
A spoonful of this mint sorbet feels like your taste buds just took a dive into a glacier wearing a tuxedo. This mint sorbet is more than just a dessert, but it’s a heatwave halter, a palate cleanser, and the summer finale your dinner party deserves.
Made with a short and sweet lineup of fresh mint, sugar, lemon, and water, it’s infused, strained, frozen, and fluffed into an icy, green jewel of a treat. Best enjoyed straight from the freezer or piled high in delicate glass cups with a sprig of mint and a smug smile.
This one’s for the herb-lovers, the citrus chasers, and anyone who believes dessert should taste like a spa day. Serve it at the end of a long summer meal, as a light midday pick-me-up, or on a Tuesday afternoon just because you can.
What Is Mint Sorbet?
Mint sorbet originates from the French dessert known as sorbet, which is an age-old method of turning fruit juice or flavored syrup into a frozen, spoonable delight. What sets mint sorbet apart is its breezy, botanical flavor.
Historically, sorbets were enjoyed by Persian royals as early as 400 BCE, made with ice from nearby mountains and sweetened fruit juices.
Eventually, the technique migrated to Europe via the Arab world, where it gained popularity in Renaissance Italy and France. Mint entered the mix not just for its invigorating flavor, but for its cooling properties which are suitable for Mediterranean summers or modern-day backyard barbecues.
Pro Tips for the Best Mint Sorbet
- Choose vibrant green mint leaves with a strong, natural aroma. Avoid wilted or discolored leaves, as they may result in a dull flavor.
- Let the mint syrup cool completely before straining and adding lemon juice. This prevents heat from dulling the citrus notes and helps preserve the bright, fresh taste of the mint.
- For a smooth sorbet, use a fine mesh sieve or cheesecloth to remove all mint bits and zest. This ensures a clear, refined texture and a clean presentation.
- If you prefer to avoid artificial coloring, a touch of mint syrup can enhance both flavor and color. Just a few drops go a long way, add gradually until the hue is subtle but appealing.
- Before serving, let the sorbet sit at room temperature for a few minutes to soften slightly. This enhances the mouthfeel and allows the mint and citrus notes to shine.
Frequently Asked Questions
Can I use mint extract instead of fresh mint?
Technically yes, but the result won’t be the same. Fresh mint brings subtle, layered flavor, while extract can taste artificial and overpowering if you’re not careful.
Can I make it less sweet?
Absolutely. Reduce the sugar by 25–30g (about 2 tablespoons) if you prefer a tarter bite. Just know that sugar also affects texture, it helps prevent the sorbet from freezing rock-solid.
Is it kid-friendly?
Definitely! It's alcohol-free and refreshing, though you might want to tone down the mintiness for picky little palates. Or serve it with a few mini chocolate chips to enhance the flavour.
What’s the best time to serve mint sorbet?
Right after a heavy meal, it works as a palate cleanser. You can also serve it between dishes at a dinner party or honestly, mid-afternoon when the sun is merciless and you’ve run out of energy and patience.
How to Store Mint Sorbet
Mint sorbet keeps well in the freezer for up to 1 month. Make sure to store it in a freezer-safe container to prevent crystallization and freezer burn. Place a sheet of parchment paper directly on the surface before sealing the lid to keep the texture nice and smooth.
Ingredients
How to Make Mint Sorbet
;Resize,width=712;)
First start by rinsing the mints thoroughly.
First start by rinsing the mints thoroughly.
;Resize,width=712;)
In a sauce pan, place the rinsed mints, then add sugar, water, and lemon zest to a saucepan.
In a sauce pan, place the rinsed mints, then add sugar, water, and lemon zest to a saucepan.
;Resize,width=712;)
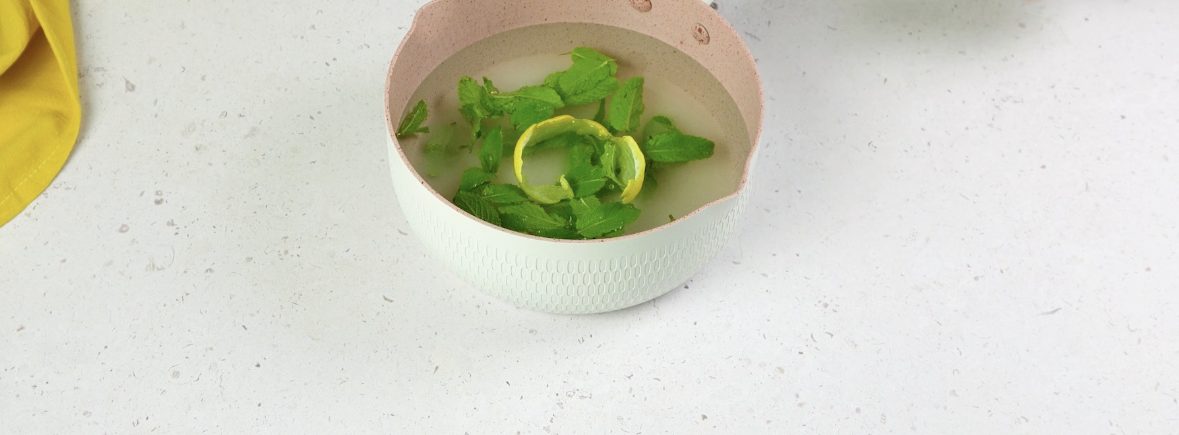
Place the pan over medium heat and bring it to a gentle boil. Let it simmer for 5 minutes to let the mint work its magic, then remove from heat and let it cool completely.
Place the pan over medium heat and bring it to a gentle boil. Let it simmer for 5 minutes to let the mint work its magic, then remove from heat and let it cool completely.
;Resize,width=712;)
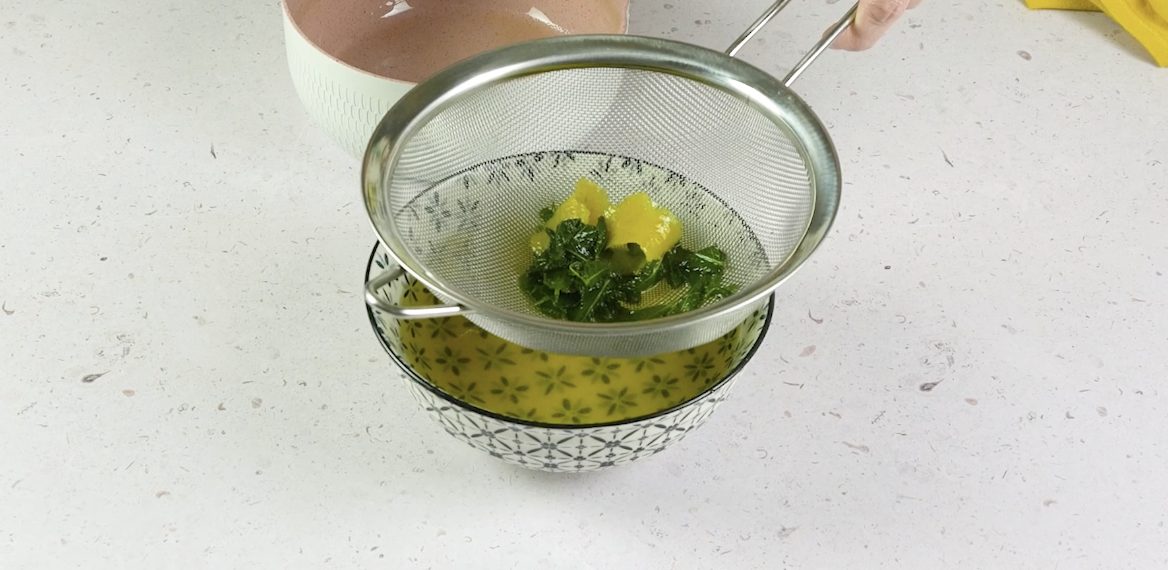
Once cooled, strain the mixture through a fine sieve or cheesecloth to remove the mint leaves and zest.
Once cooled, strain the mixture through a fine sieve or cheesecloth to remove the mint leaves and zest.
;Resize,width=712;)
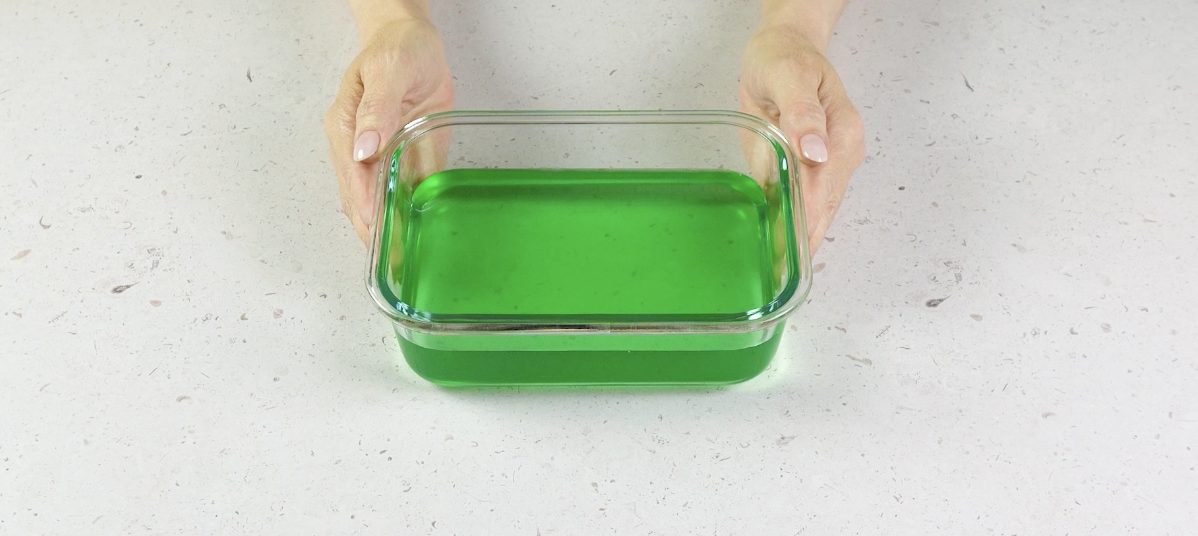
Stir in the lemon juice. For that pop of color, add a few drops of green food coloring or a splash of mint syrup, just enough to make it look like mint, not radioactive slime. Stir until everything is smooth, mixed, and ready to chill.
Stir in the lemon juice. For that pop of color, add a few drops of green food coloring or a splash of mint syrup, just enough to make it look like mint, not radioactive slime. Stir until everything is smooth, mixed, and ready to chill.
;Resize,width=712;)
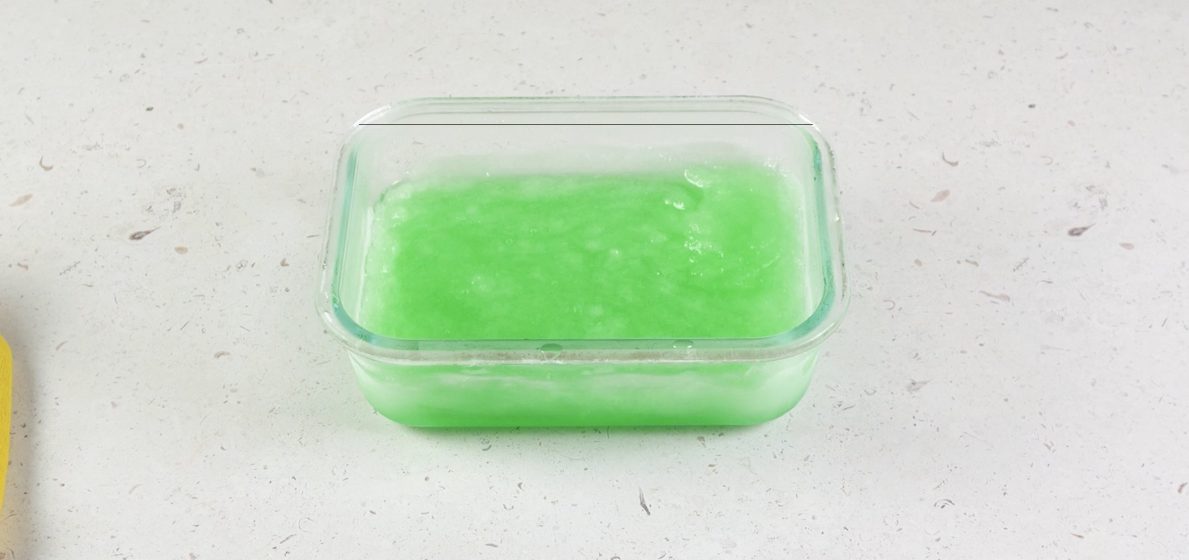
Pour the mixture into a freezer-safe container and slide it into the freezer for at least 12 hours.
Pour the mixture into a freezer-safe container and slide it into the freezer for at least 12 hours.
;Resize,width=712;)
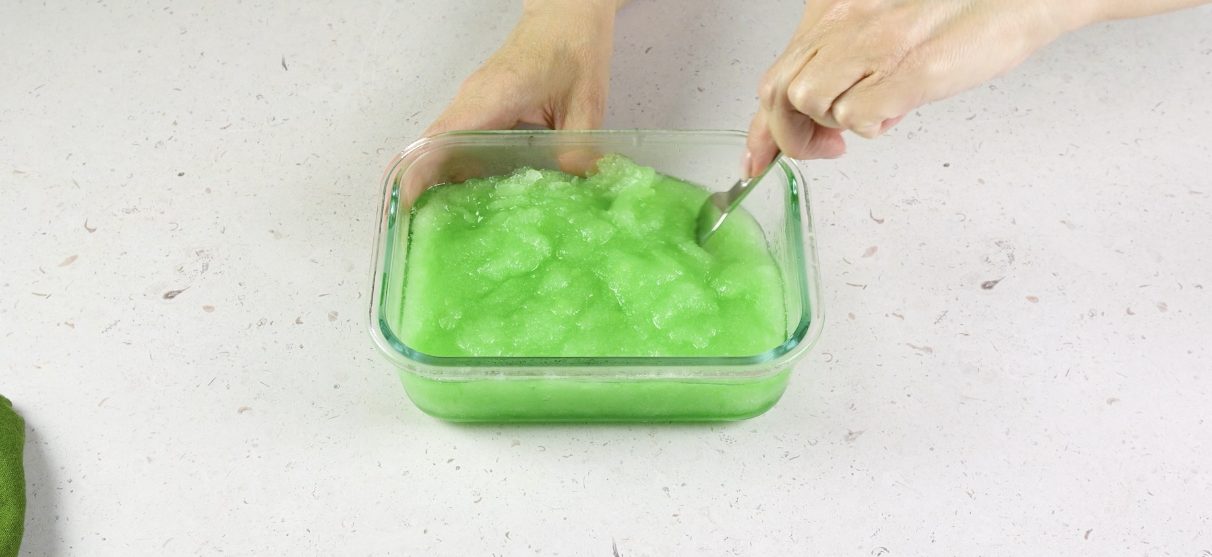
Every few hours, take a fork and fluff it up to break apart any ice crystals and get a granita-like texture.
Every few hours, take a fork and fluff it up to break apart any ice crystals and get a granita-like texture.
;Resize,width=712;)
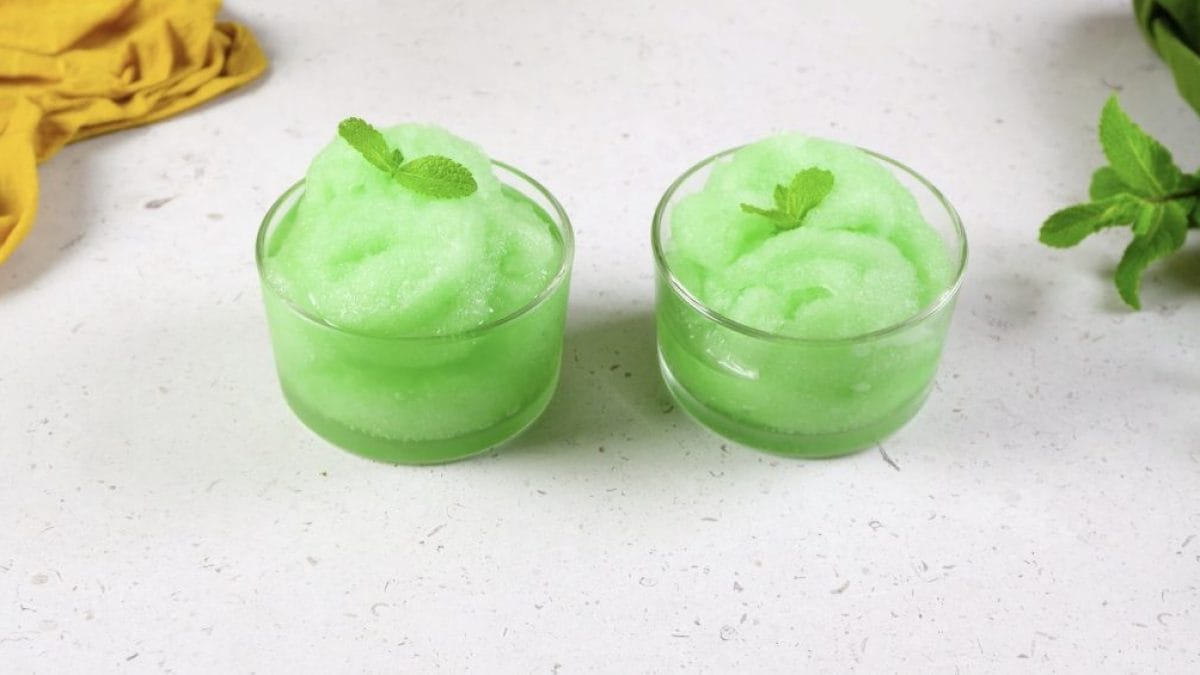
Once frozen, scoop into bowls, top with a fresh mint sprig, and enjoy
Once frozen, scoop into bowls, top with a fresh mint sprig, and enjoy
;Resize,width=767;)
