Homemade bread sounds like a lot of work, but what if all it took was a bowl and a spoon? No kneading, no stand mixer, and no complicated shaping. Just a few simple ingredients and a little patience.
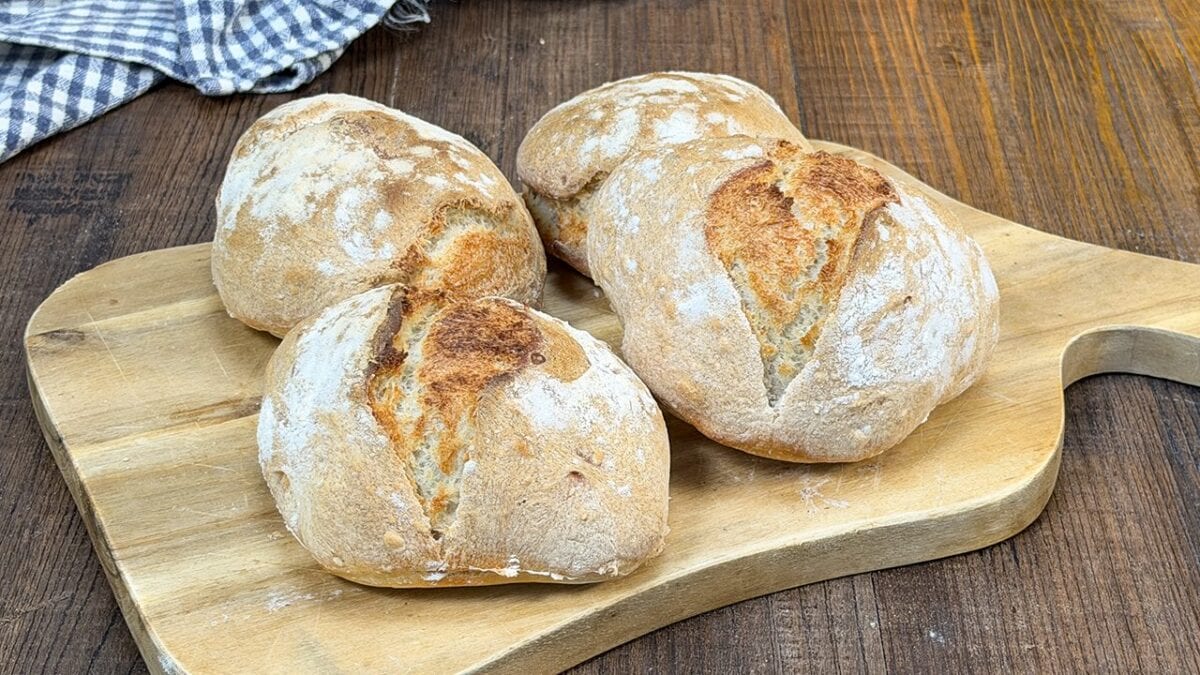
These no-knead bread rolls have a beautifully rustic appearance, a golden, crispy crust, and a soft center that's perfect for filling with anything from cheese and ham to grilled vegetables. The dough is deliberately soft, which means there's no need to work it on a floured countertop.
Simply mix, let it rise, scoop, and bake. It's an easy way to enjoy freshly baked bread at home without spending hours in the kitchen.
What Are No-Knead Bread Rolls?
No-knead bread rolls are small, individually portioned breads made from a soft yeast dough that doesn't require traditional hand kneading.
Instead of developing the dough through prolonged kneading, this method uses a relatively high proportion of water and a longer resting period. During the rise, the flour hydrates and the dough develops structure naturally.
These particular rolls have a rustic, free-form appearance because the dough is divided using a spoon rather than shaped into tight balls.
They're similar in spirit to simple Italian rustic bread rolls, with a lightly crisp exterior and a soft interior that makes them particularly good for sandwiches.
Why Everyone Will Love This Recipe
The biggest advantage of these homemade bread rolls is how little effort they require. Everything comes together in one bowl, and a spoon does nearly all the work.
They're also wonderfully versatile. Their rustic shape makes them ideal for breakfast sandwiches, lunchboxes, or serving with soups and salads. Split them open while they're still slightly warm, and the soft interior is ready for your favorite fillings.
Unlike recipes that require repeated kneading and careful shaping, these easy no-knead rolls rely on a simple rise to develop their texture. The result is a satisfying homemade bread with minimal hands-on preparation.
And because the ingredients are basic pantry staples, they're easy to make whenever fresh bread sounds especially tempting.
Tips for Making Crispy No-Knead Bread Rolls
- Keep the dough soft. It should be sticky and loose rather than firm like traditional bread dough. Adding too much flour can make the rolls dense.
- Let the dough double in size. The two-hour rise is a guideline. In a cooler kitchen, the yeast may need longer to produce a visibly airy dough.
- Use a spoon to portion the dough gently. Avoid pressing out too much air when transferring the dough to the baking sheet.
- Preheat the oven thoroughly. A properly heated oven helps the rolls rise quickly and develop a golden, crisp exterior.
Frequently Asked Questions
Can You Make Bread Rolls Without Kneading?
Yes. This recipe uses a soft, hydrated dough that can be mixed entirely with a spoon. The resting and rising period allows the dough to develop enough structure without traditional kneading.
Why Is My No-Knead Bread Dough So Sticky?
A sticky dough is expected in this recipe. The relatively high water content helps create a soft interior and makes the dough easy to portion with a spoon. Resist the temptation to add large amounts of extra flour.
Can You Use All-Purpose Flour Instead of Type 0 Flour?
Yes. All-purpose flour is a practical substitute for Italian type 0 flour. Because different flours absorb water differently, the dough may feel slightly softer or firmer, but it should remain sticky and spoonable.
Can You Make These Bread Rolls With Instant Yeast?
Yes. You can replace the 12 g of fresh yeast with approximately 4 g (1¼ teaspoons) of instant yeast. Rising time may vary, so use the dough's volume rather than the clock as your guide.
How Do You Make Homemade Bread Rolls Crispy?
Bake the rolls in a fully preheated oven and allow them to cool on a wire rack so moisture doesn't collect underneath. A well-baked exterior will develop a firmer crust as the rolls cool.
What Can You Fill These Bread Rolls With?
They're excellent with mozzarella and tomatoes, ham and cheese, roasted vegetables, grilled chicken, or scrambled eggs. Their rustic texture also makes them ideal for dipping into olive oil or serving alongside hearty soups.
How to Store
These no-knead bread rolls taste best on the day they're baked, when the crust is at its crispiest.
Once completely cool, store them in a bread bag or airtight container at room temperature for up to 2 days. The crust will gradually soften during storage.
To refresh the rolls, place them in a preheated 350°F (175°C) oven for 5–8 minutes, until warmed through and crisp on the outside. Avoid refrigerating them, as bread tends to stale more quickly in the refrigerator.
How to Freeze
These bread rolls freeze well after baking.
Allow them to cool completely, then place them in a freezer-safe bag or airtight container. Freeze for up to 2 months for the best quality.
To serve, thaw the rolls at room temperature, then warm them in a 350°F (175°C) oven for approximately 5–10 minutes to restore some of their crispness.
Freezing the unbaked, risen dough is less convenient for this recipe because its soft consistency makes it difficult to portion and handle after thawing.
Ingredients
How to make No-Knead Bread Rolls

Start by pouring the lukewarm water into a large mixing bowl. Add the fresh yeast and the teaspoon of sugar or honey, then stir with a spoon until the yeast dissolves.
Start by pouring the lukewarm water into a large mixing bowl. Add the fresh yeast and the teaspoon of sugar or honey, then stir with a spoon until the yeast dissolves.

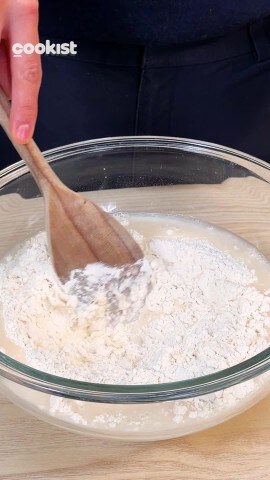
Add the type 0 flour and salt to the bowl. Using a sturdy wooden spoon, mix everything together until the flour is fully hydrated and a soft, sticky dough forms. The mixture should look much looser than traditional bread dough, so there's no need to add extra flour or knead it by hand.
Continue stirring just until no dry patches of flour remain.
Add the type 0 flour and salt to the bowl. Using a sturdy wooden spoon, mix everything together until the flour is fully hydrated and a soft, sticky dough forms. The mixture should look much looser than traditional bread dough, so there's no need to add extra flour or knead it by hand.
Continue stirring just until no dry patches of flour remain.

Cover the bowl with plastic wrap or a clean kitchen towel and leave it in a warm, draft-free place for at least 2 hours, or until the dough has doubled in volume. It should look visibly puffed up and airy, with small bubbles forming across the surface.
Cover the bowl with plastic wrap or a clean kitchen towel and leave it in a warm, draft-free place for at least 2 hours, or until the dough has doubled in volume. It should look visibly puffed up and airy, with small bubbles forming across the surface.

Once the dough has risen, preheat the oven to 400°F (200°C). Line a large baking sheet with parchment paper.
Using a large spoon, gently scoop portions of the dough directly onto the prepared baking sheet, dividing it into 4–6 rustic bread rolls. Leave enough space between them to allow for expansion during baking.
If the dough sticks to the spoon, lightly wet the spoon before scooping the next portion.
Once the dough has risen, preheat the oven to 400°F (200°C). Line a large baking sheet with parchment paper.
Using a large spoon, gently scoop portions of the dough directly onto the prepared baking sheet, dividing it into 4–6 rustic bread rolls. Leave enough space between them to allow for expansion during baking.
If the dough sticks to the spoon, lightly wet the spoon before scooping the next portion.

Dust the tops with a small amount of flour to give the rolls a rustic, bakery-style finish.
Dust the tops with a small amount of flour to give the rolls a rustic, bakery-style finish.

Transfer the baking sheet to the preheated oven and bake for approximately 20 minutes, until the rolls are golden brown and their crusts feel firm. Larger rolls may need a few additional minutes, depending on their size and the oven.
Transfer the baking sheet to the preheated oven and bake for approximately 20 minutes, until the rolls are golden brown and their crusts feel firm. Larger rolls may need a few additional minutes, depending on their size and the oven.
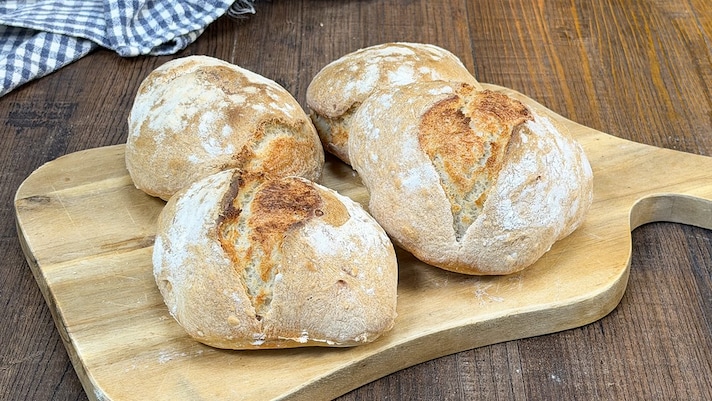
Remove the crispy no-knead bread rolls from the oven and transfer them to a wire rack. Allow them to cool for a few minutes before slicing so the soft interior can settle.
Remove the crispy no-knead bread rolls from the oven and transfer them to a wire rack. Allow them to cool for a few minutes before slicing so the soft interior can settle.

Serve them warm or at room temperature, either plain or filled with your favorite savory ingredients. The contrast between the crisp crust and the soft, airy center makes these simple homemade rolls especially satisfying.
Serve them warm or at room temperature, either plain or filled with your favorite savory ingredients. The contrast between the crisp crust and the soft, airy center makes these simple homemade rolls especially satisfying.


