
This banana-chocolate-peanut butter bar is crunchy, creamy, salty, sweet, and just chaotic enough to be brilliant. It's the kind of treat you toss together when your kitchen is full of hungry kids or when adults need an appetizer that’s more exciting than a bowl of almonds.
It’s freezer-friendly and all you have to do is slice and gently smash bananas, slather them with peanut butter, sprinkle peanuts on top, and pour over a blanket of silky melted chocolate. Once chilled, you break it into jagged chunks like you just discovered dessert treasure.
What Is Banana-Peanut Butter-Chocolate?
There’s no clear record of who first said, “Let’s smash a banana and pour chocolate on it,” but it probably wasn’t someone trying to be elegant. This dish channels after-school snack energy, backyard summer vibes, and a hint of chaotic genius. The salt at the end? That’s the handshake that seals the deal. And while it might look rustic and rugged, every bite is a strategic balance of flavors and textures.
Bananas are technically berries, chocolate was once used as currency, and peanut butter was invented as a protein-rich food for people who couldn’t chew meat. This dish is a mixture of healthy and indulgent. .
Pro Tips for the Best Banana Chocolate Bars
- Choose ripe, not mushy bananas. You want them sweet but still firm enough to hold their shape after the glass smash.
- Use natural peanut butter. The kind that’s just peanuts and salt gives a purer, richer taste.
- Go low and slow when melting because burnt chocolate is a heartbreak no one needs.
- Chop the peanuts finely as this helps them stick to the peanut butter layer and adds crunch in every bite.
- Parchment paper is your non-negotiable here. No one wants to chisel banana bark off a baking sheet.
- Don’t try to cut perfect squares. Let the pieces be rugged and irregular—it’s part of the charm.
Can I Freeze Banana Chocolate Bars?
Yes! In fact, it is recommended. It helps the chocolate set and gives the whole bar a firmer, more candy-like texture. Once frozen, you can store them for up to two weeks. Just don't leave them out too long, they’ll go soft fast.
Can I Use a Different Nut Butter?
Almond butter, cashew butter, or even sunflower seed butter all work well. Each brings its own vibe. Almond butter adds a subtle roasted flavor, while sunflower seed butter keeps it nut-free for allergy-conscious homes. Just aim for a thick, spreadable consistency.
Do I Have to Smash the Bananas?
Technically, no, but it’s more fun. Smashing flattens them out so the peanut butter doesn’t slide off, and it creates a more cohesive base layer. Plus, it gives each piece a little texture. Just don’t go full Hulk, gentle pressure is enough.
What Kind of Chocolate Should I Use?
Go with semi-sweet or dark chocolate for a more balanced flavor. Milk chocolate can be a bit too sweet, especially with ripe bananas. If you like a bitter edge, opt for 70% dark.
Can I Add Extras?
Yes! Chopped dried fruits, shredded coconut, crushed pretzels, or even mini marshmallows can be sprinkled on top before the chocolate sets. Treat this recipe like a canvas, just don't overcrowd it.
Ingredients
How to Make Banana Chocolate Peanut Butter Bars
;Resize,width=712;)
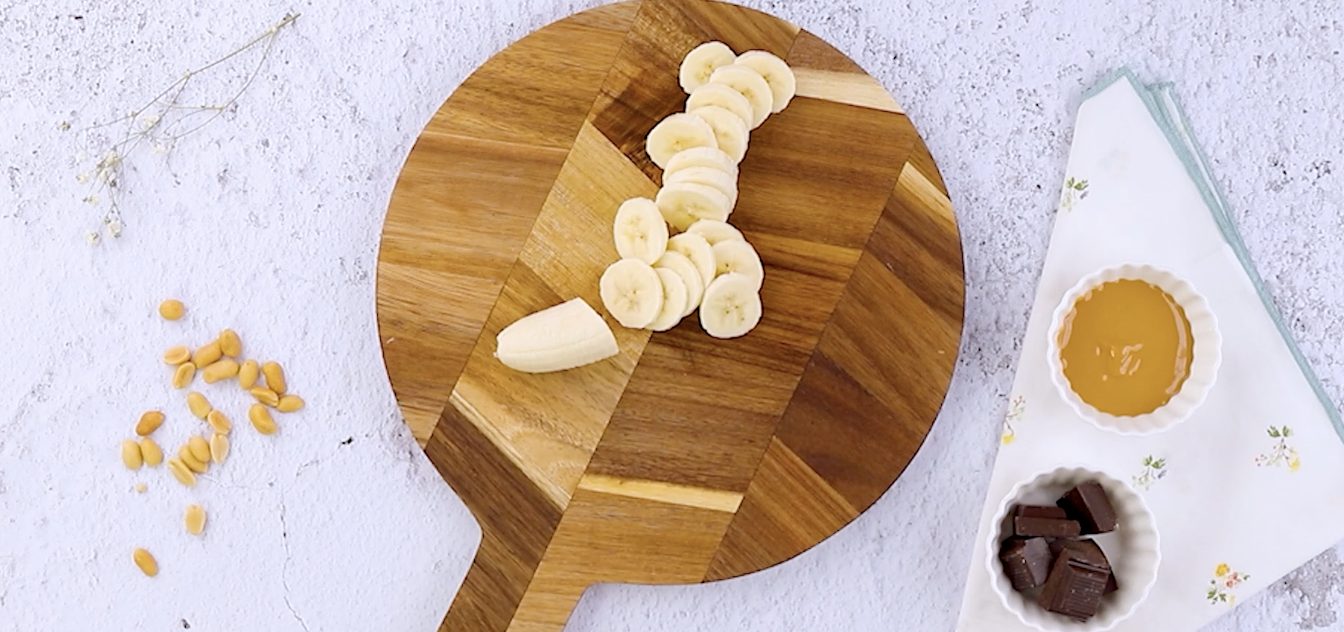
Peel the bananas and slice them into thick coins.
Peel the bananas and slice them into thick coins.
;Resize,width=712;)
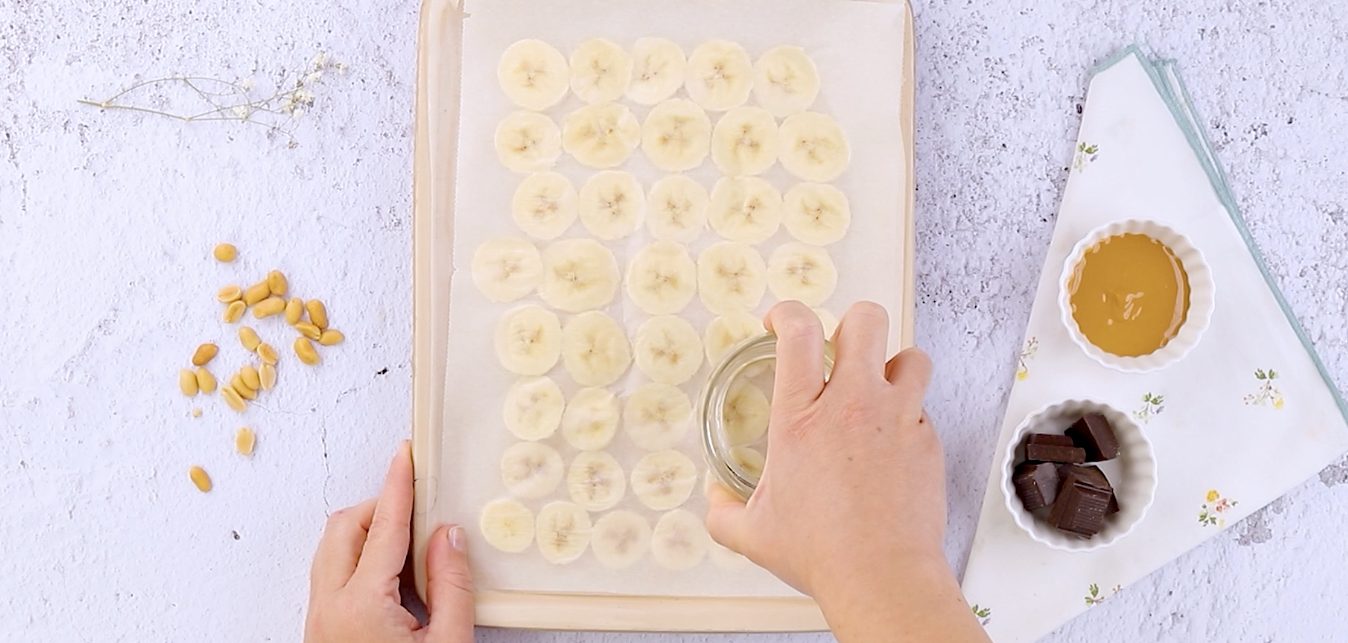
Place the bananas on a parchment-lined tray. Cover them with another sheet of parchment and gently press each piece down using the bottom of a sturdy glass. You want them flat-ish but not obliterated.
Place the bananas on a parchment-lined tray. Cover them with another sheet of parchment and gently press each piece down using the bottom of a sturdy glass. You want them flat-ish but not obliterated.
;Resize,width=712;)
Scoop a generous dollop of peanut butter onto the smashed banana disk and smoothen it out gently with the back of a spoon. Then, chop up some peanuts and sprinkle them over the peanut butter while it's still soft. This adds both crunch and flavor.
Scoop a generous dollop of peanut butter onto the smashed banana disk and smoothen it out gently with the back of a spoon. Then, chop up some peanuts and sprinkle them over the peanut butter while it's still soft. This adds both crunch and flavor.
;Resize,width=712;)
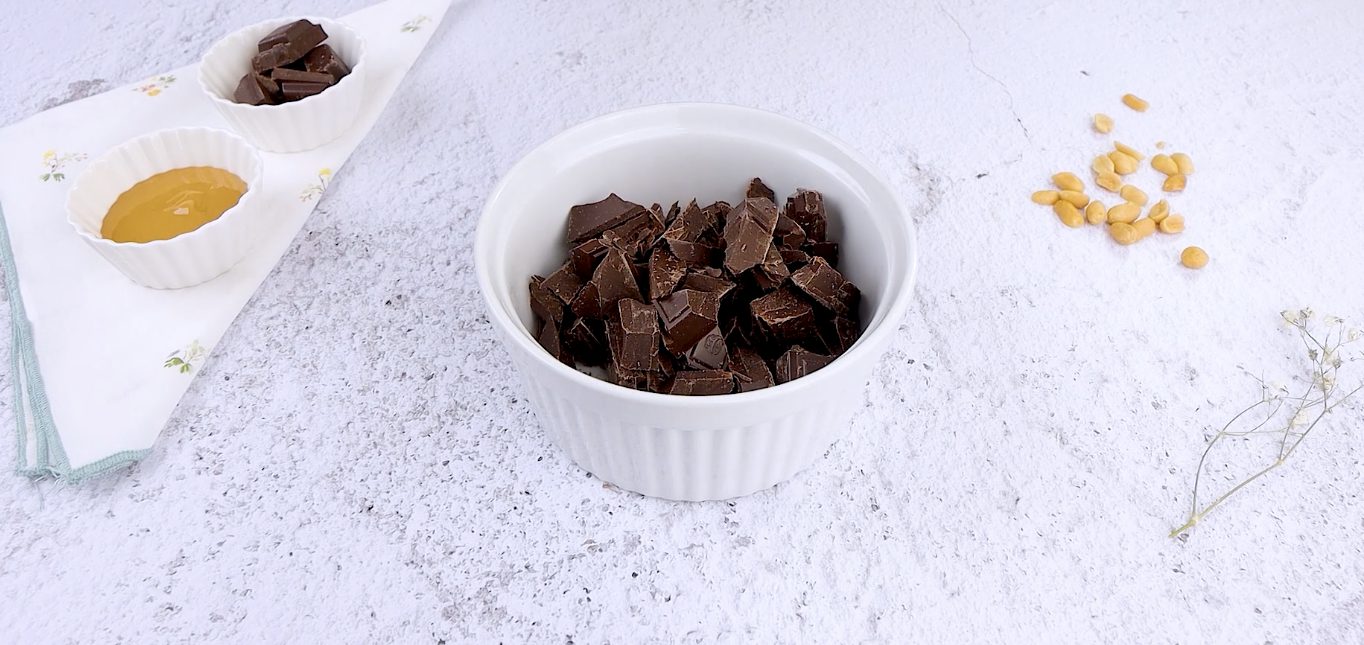
Melt your chocolate slowly and carefully.
Melt your chocolate slowly and carefully.
;Resize,width=712;)
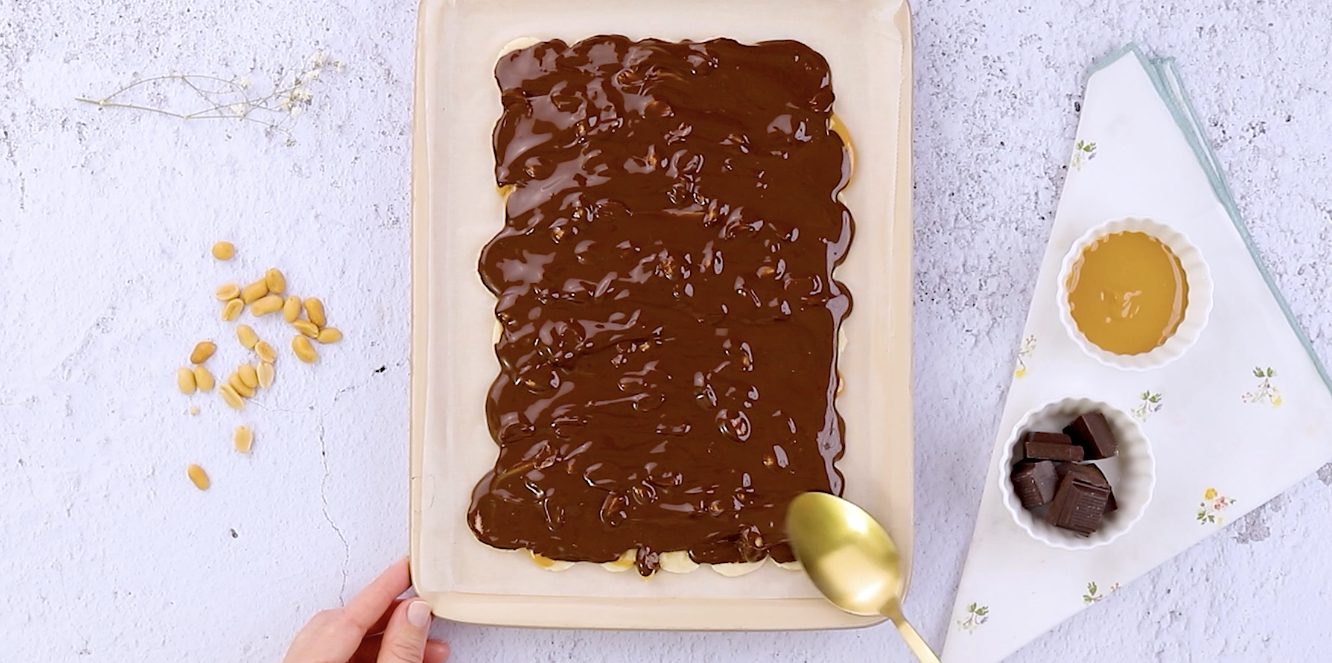
Pour the chocolate right over the peanut-butter-topped bananas and use a spoon to spread it evenly.
Pour the chocolate right over the peanut-butter-topped bananas and use a spoon to spread it evenly.
;Resize,width=712;)
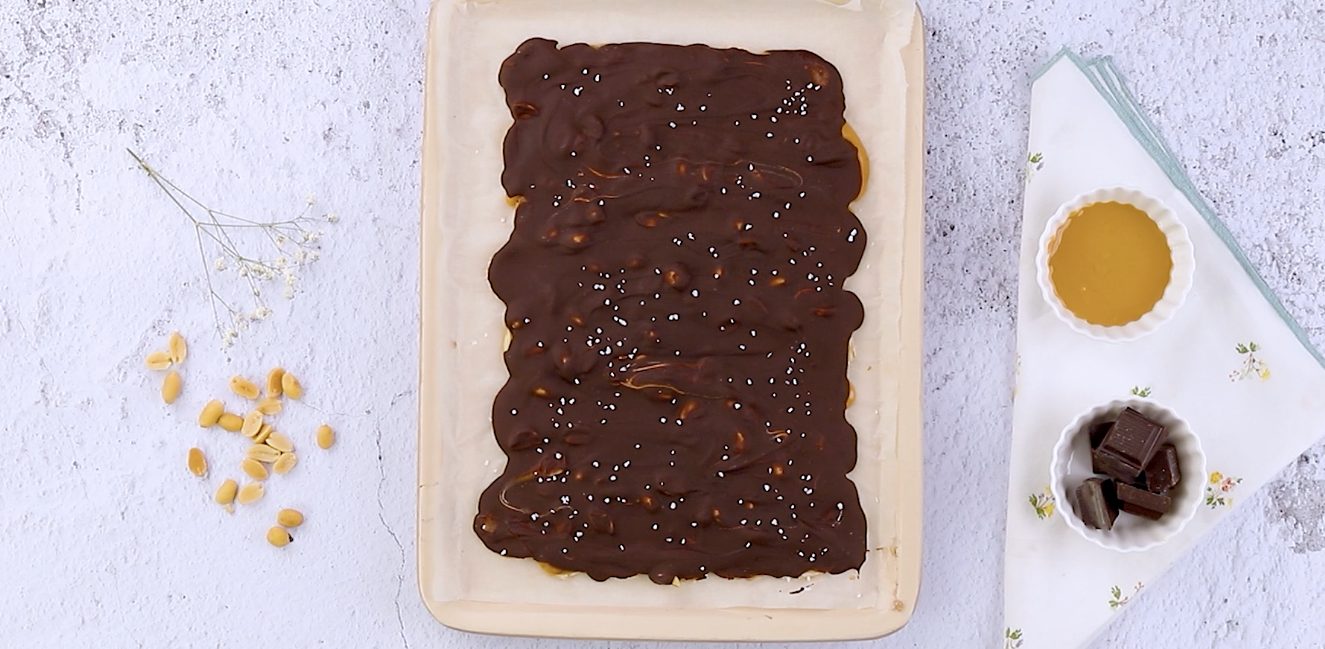
Slide your tray into the freezer and let it chill for 30 minutes. This helps everything set and makes it easier to break into bars. Once frozen, pull the tray out and sprinkle lightly with sea salt.
Slide your tray into the freezer and let it chill for 30 minutes. This helps everything set and makes it easier to break into bars. Once frozen, pull the tray out and sprinkle lightly with sea salt.
;Resize,width=712;)
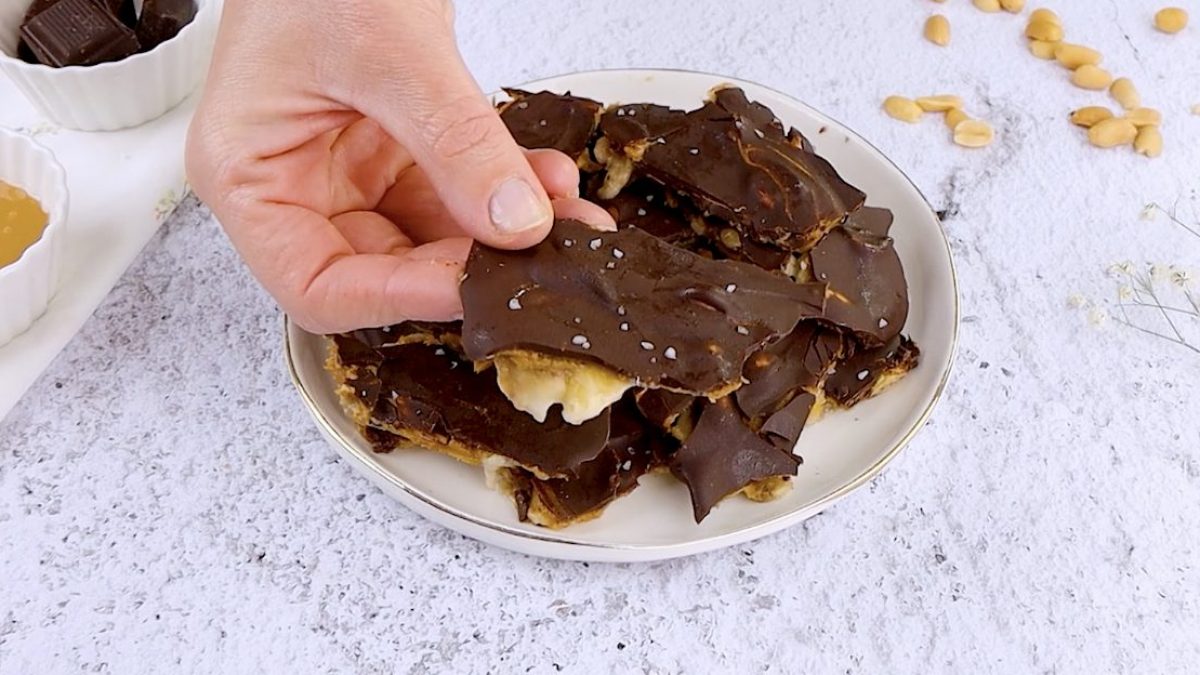
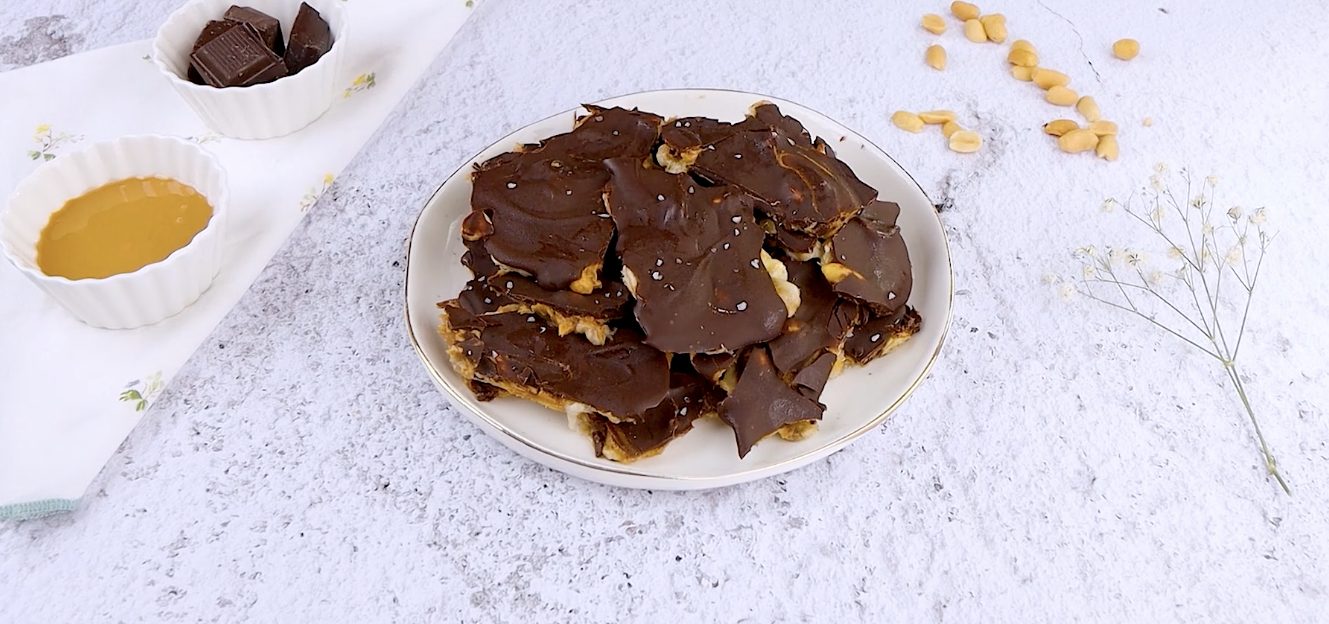
Break the bar into irregular pieces, no knives needed. Serve immediately or stash away for snack emergencies.
Break the bar into irregular pieces, no knives needed. Serve immediately or stash away for snack emergencies.
;Resize,width=767;)
