
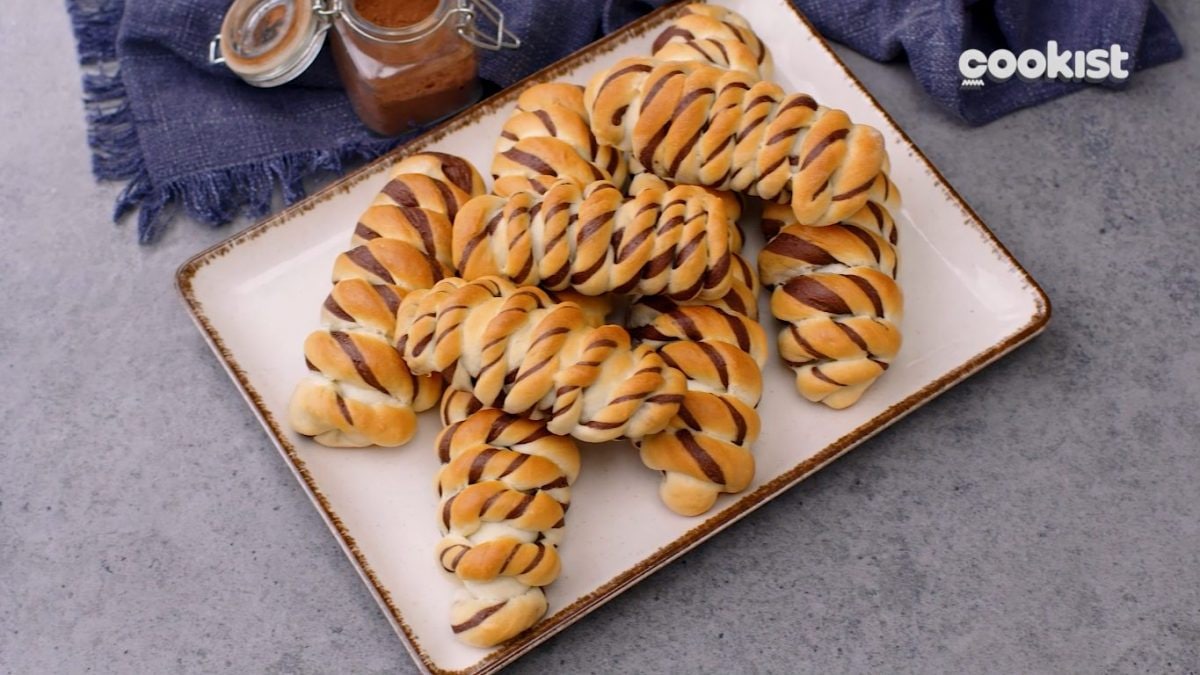
These Bicolor Mini Brioches are delicious for breakfast as they are sweeter than other types of bread. They are made from a rich dough that gets divided into two portions; one portion is left plain and the other gets mixed with cocoa powder. The combination of plain and chocolate doughs gives a two-tone effect to the bread. While this bread would work well for a snack, it is best for breakfast. You can serve it with some butter or amp up the chocolate flavor by having the mini brioches with hazelnut chocolate spread.
To make these bicolor mini brioches, you mix the milk with the sugar and yeast so the yeast dissolves, and then you mix in the flour, butter, and salt. Next, you divide the dough into two portions and mix one portion with the cocoa powder; then, you set them aside to double in size for a couple of hours. Once the doughs have risen, they get divided into small balls before being shaped into mini bicolor brioches. Despite the seeming complexity of these bicolor mini brioches, they are actually quite easy to make and will likely become favorites of your whole family.
What are Bicolor Mini Brioches?
These bicolor mini brioches are reminiscent of Jewish babka, which is a yeast-leavened dough that includes different fillings such as chocolate, dried fruit, cheese, or cinnamon. Typically, Jewish babka is a large loaf that is served as slices. The smaller size of these bicolor mini brioches means that each person can be served one rather than you having to slice them.
While some types of babka include melted chocolate or chocolate pieces, these mini brioches only have cocoa powder infused into the dough. This produces a beautiful contrast to the plain dough in the recipe.
Pro Tips
- Allow the yeast to dissolve into the milk and sugar mixture and become foamy before you mix in the flour, butter, and salt. This will ensure that the yeast dissolves correctly and that it doesn’t give the dough a granular texture.
- Allow your dough to rise in a warm spot in your kitchen. If your kitchen is on the cool side, you can set the dough in an oven that is off as it will be insulated against the temperature outside.
- Weigh all your ingredients for the most accuracy.
- For an extra chocolate flavor, add some chopped chocolate or chocolate chips into the dough.
- For more decadence, make a glaze with powdered sugar and milk to drizzle on top of the bicolor mini brioche·
- Consider adding some nuts like walnuts or pecans into the dough for some crunch.
What to Serve with Bicolor Mini Brioches?
You can serve these bicolor mini brioches on their own or each person can slice the brioche open to top with their favorite spread. Butter, hazelnut chocolate spread, or jam are all terrific options.
How Can You Tell the Brioche is Done?
You will know the bicolor mini brioches are done when they have risen and become golden in the oven. You can also press into the brioches with a finger; if there is some springiness to the brioches and your finger doesn’t leave an indentation, you will know they are done.
Can I Use Quick Rise Yeast Rather than Dry Active Yeast?
Yes, you can! Dry active yeast is most widely available, but if you only have quick rise instant yeast, you can use that instead. The main difference is that you won’t have to allow it to foam in the milk mixture before proceeding with the recipe as it doesn’t require activation like the dry active yeast.
Can I Make This Brioche Dairy-free?
Yes, it is possible to make these bicolor mini brioches dairy-free. Simply replace the milk with your favorite plant-based milk and the butter with a plant-based butter.
More Fluffy Brioches You Need to Try!
Pumpkin Shaped Stuffed Brioches
How to Store Bicolor Mini Brioches
These mini brioches will stay fresh at room temperature for up to 3 days if they are stored in an airtight container or sealable bag. You can also store them in the freezer for up to 3 months.
Ingredients
How to Make Bicolor Mini Brioches
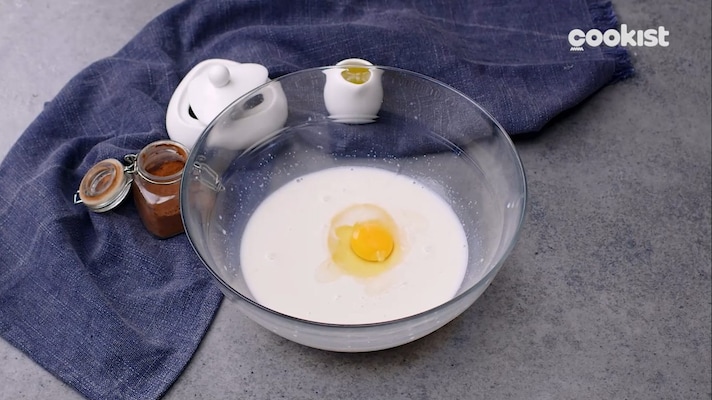
In a bowl, mix the milk with the sugar and yeast. Allow the yeast to dissolve and become foamy. Whisk in the egg.
In a bowl, mix the milk with the sugar and yeast. Allow the yeast to dissolve and become foamy. Whisk in the egg.
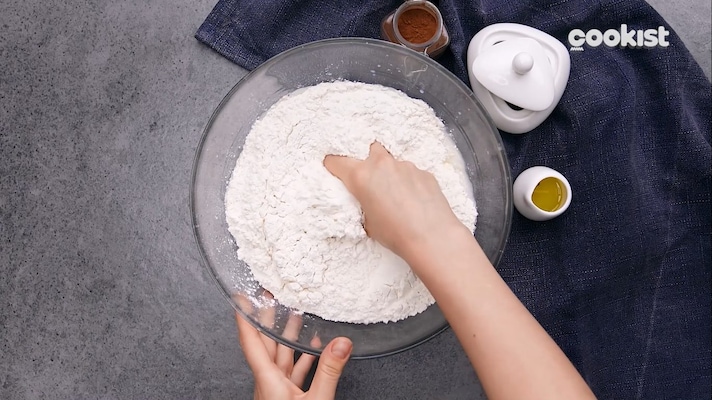
Stir in the flour, butter, and salt until combined.
Stir in the flour, butter, and salt until combined.
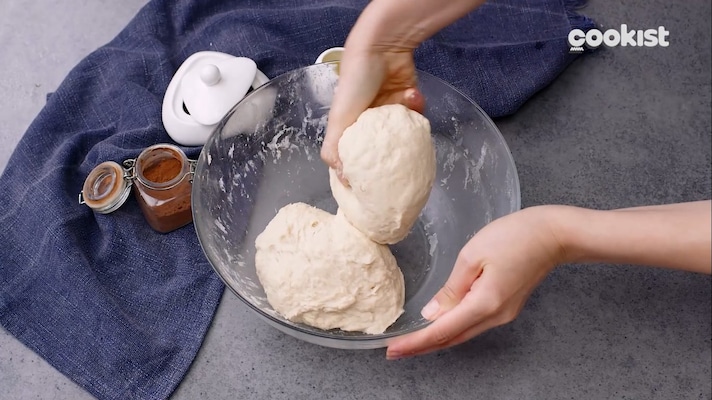
Divide the dough into two portions.
Divide the dough into two portions.
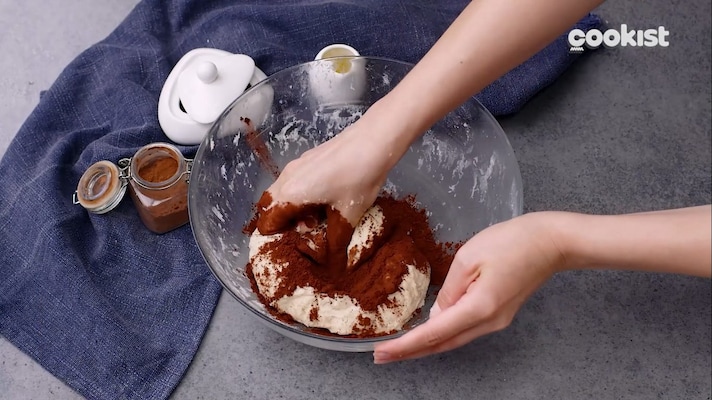
Knead the cocoa powder into the other dough until combined.
Knead the cocoa powder into the other dough until combined.
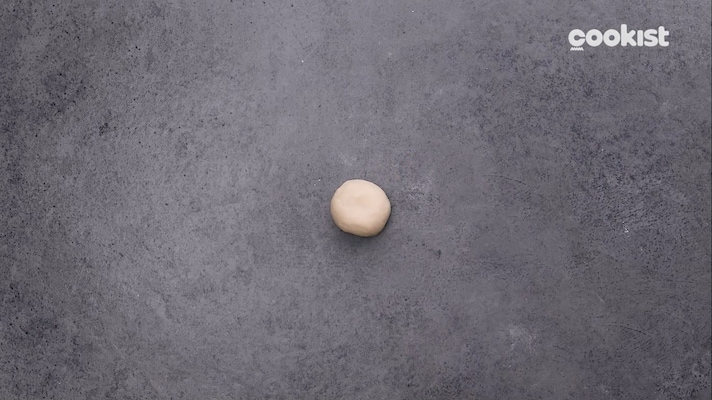
Divide the plain dough and chocolate dough into small balls.
Divide the plain dough and chocolate dough into small balls.
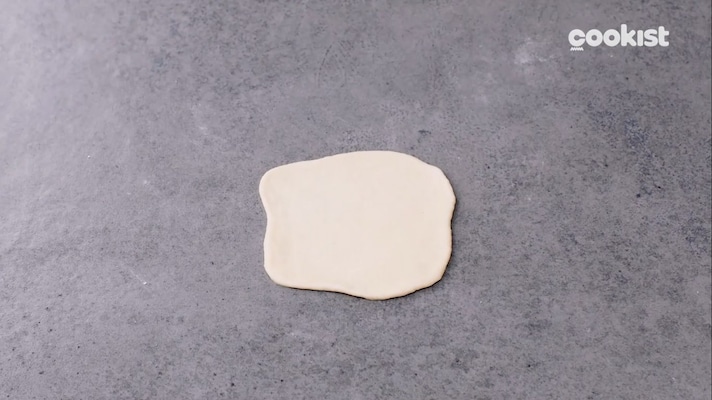
Roll each ball of plain dough into a small circle.
Roll each ball of plain dough into a small circle.
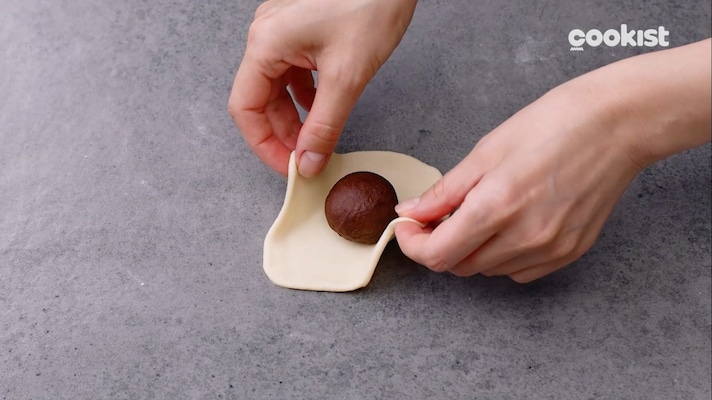
Place the chocolate dough on top and wrap it with the plain dough.
Place the chocolate dough on top and wrap it with the plain dough.
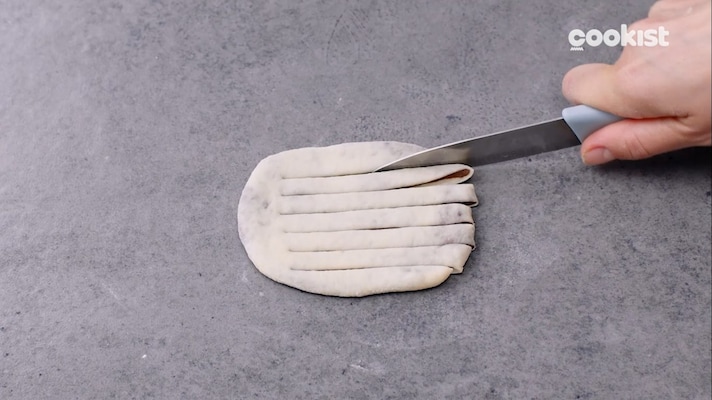
Roll each portion out and make cuts along one side.
Roll each portion out and make cuts along one side.
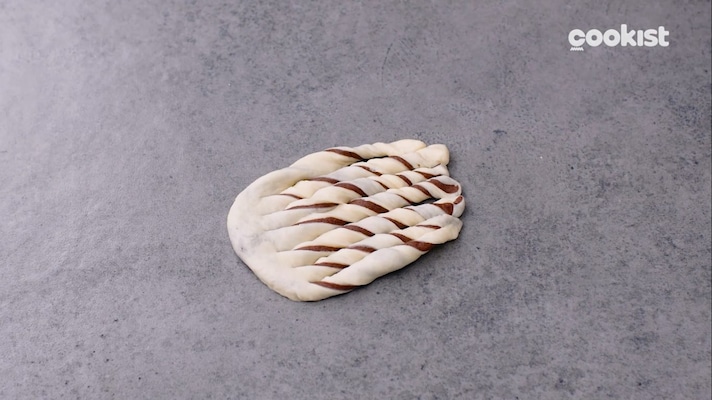
Twist the cut portions to create a spiral effect.
Twist the cut portions to create a spiral effect.
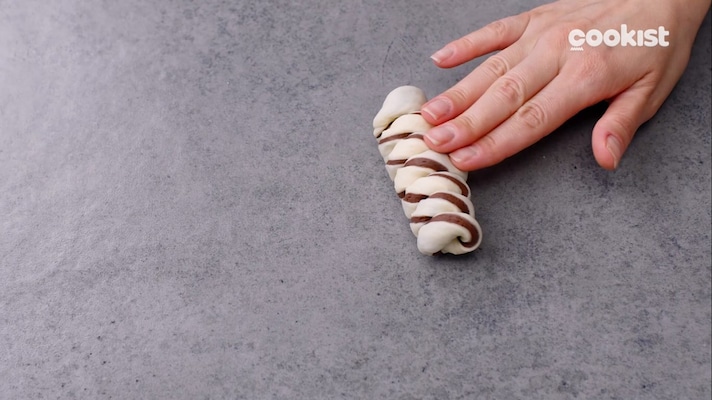
Roll each portion up from the short side to the cut side.
Roll each portion up from the short side to the cut side.
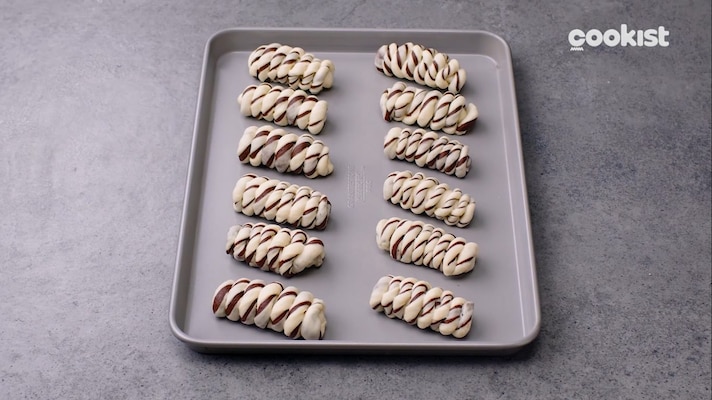
Place the brioches on a parchment-lined baking sheet and brush them with milk. Bake in a 180°C (350°F) oven for 30 minutes.
Place the brioches on a parchment-lined baking sheet and brush them with milk. Bake in a 180°C (350°F) oven for 30 minutes.
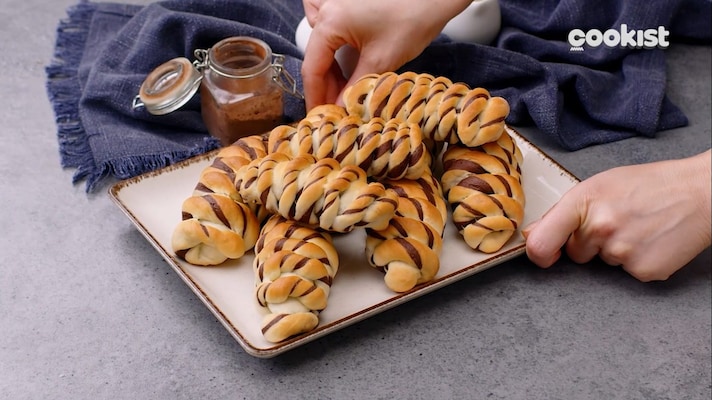
Serve warm or allow to cool before serving.
Serve warm or allow to cool before serving.


