
Few ingredients say cozy seasonal cooking quite like butternut squash. Whether you are roasting cubes for a salad, whipping up a velvety soup, or blending it into pasta sauce, its sweet, earthy flavor is worth the effort.
Actually prepping the squash, however, is a different story.
With its rock-hard skin, awkward hourglass shape, and dense flesh, butternut squash is notoriously difficult to slice through. Forcing a chef's knife through a raw squash requires significant arm strength, and a slipping blade on that smooth outer peel is a major kitchen injury waiting to happen.
Instead of putting your fingers at risk or settling for overpriced pre-cut grocery store containers, all you need is a quick trip to the microwave to make the entire process effortless.
How the Microwave Trick Works
When you microwave a whole raw squash for just two to three minutes, you aren't actually cooking it through. Instead, the microwave’s radiation targets the water molecules trapped inside the thick skin and outermost layers of flesh. As steam forms beneath the surface, it breaks down the rigid cellulose structure, relaxing the tough skin and softening the immediate layer of raw squash flesh beneath it.
The result? A squash that retains its crisp center for roasting or boiling, but yields easily to a vegetable peeler and chef's knife without requiring massive muscle power.

1. The Non-Negotiable Venting Step
Before putting the squash anywhere near heat, take a sturdy fork or the tip of a paring knife and pierce the skin thoroughly all over. Make 12 to 20 deep punctures, paying special attention to the thick neck and bulbous base. Never skip this step. As the water inside heats up, it creates steam pressure. Without puncture holes for steam to escape, the squash can literally explode inside your microwave.
2. The Targeted Zap
Place the whole, pierced squash directly onto a microwave-safe plate or the turntable.
- Small to Medium Squash (2 to 3 lbs): Microwave on high for 2 to 3 minutes.
- Large Squash (3+ lbs): Microwave on high for 4 to 5 minutes.
3. Cool and Rest
Carefully remove the squash using kitchen towels or oven mitts—it will be hot to the touch. Set it on a stable cutting board and let it rest for 2 to 3 minutes. This cool-down period allows the residual steam to soften the peel even further while making it safe to handle.
4. Peel, Slice, and Cube
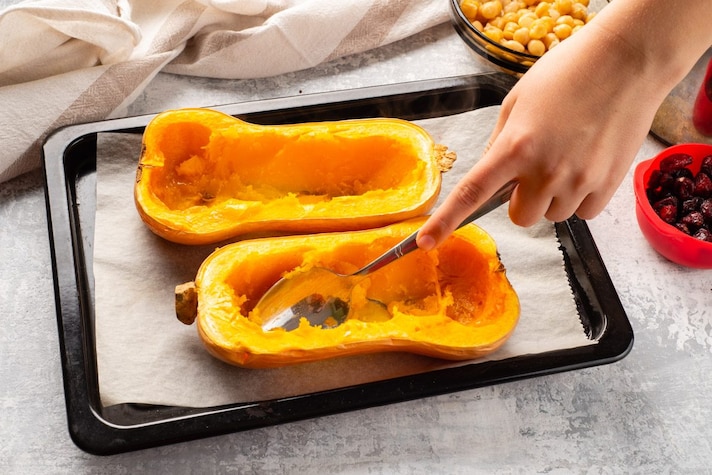
Slice off the top stem and bottom end with a chef's knife. Having two flat ends prevents the squash from rolling around while you work. Use a Y-peeler or standard swivel peeler. The skin will glide off in smooth strips with minimal resistance. Cut the squash in half right where the narrow neck meets the wide, round base. Slice the round base in half lengthwise and use a metal spoon (or grapefruit spoon) to scoop out the seeds and stringy pulp. Lay the flat pieces down on your board and slice them into uniform strips, then turn and cut into cubes.
3 Essential Rules for Success
- Don't Over-Microwave: If you leave the squash in the microwave for too long (beyond 5 or 6 minutes), you will begin to steam-cook the interior. This causes the outer layer to turn soft and mushy, making it difficult to cut neat, square cubes for roasting. Stick strictly to short bursts.
- Score the Tough Spots: If you have an exceptionally thick or mature winter squash, you can use a paring knife to lightly score shallow dotted lines along the cut routes you plan to make later.
- Use a Heavy, Sharp Knife: Even with a softened exterior, having a sharp, heavy-bottomed chef's knife and a non-slip cutting board (place a damp paper towel underneath) remains the safest, most efficient way to chop.

