In recent years, the air fryer has become a true ally in the kitchen: thanks to its ability to cook food with very little oil, thanks to a ventilation system that generates hot air at high temperatures and circulates it rapidly around the food. Over time, models have evolved and are no longer just aimed at achieving crispy, dry textures similar to frying, but also at cooking a wide range of dishes, from meatballs to toast, from burgers to soft cakes and even delicious muffins. In short, from appetizers to desserts, countless recipes can be made with the air fryer. Although it is an easy and intuitive appliance to use, a few tricks are still required to achieve perfect results.
Practical, efficient, and easy to use: it seems impossible to find a flaw in the air fryer, other than that it's not suitable for all foods. Yet, sometimes recipes just don't turn out as they should. Among the various reasons for this debacle, there's also the possibility of having made one (or more) of the most common mistakes, such as neglecting cleaning or "clogging" the basket with food. Below, seven tips to avoid mistakes.
1. Do Not Overload the Basket
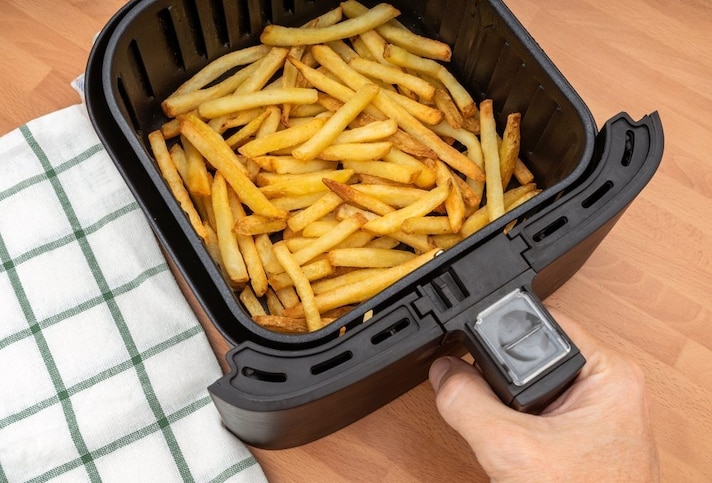
To promote even cooking, it's important not to overfill the basket, even if you instinctively think you'll save time and take advantage of the full capacity. Arranging food in a single layer, without overlapping, allows the hot air to evenly distribute the entire dish. If you need to cook large portions, divide the cooking time into several batches. Depending on your needs, there are models on the market with varying capacities, or even those equipped with a double basket, which can be used to prepare larger quantities of the same food, or even different dishes at the same time.
2. Preheat the Appliance
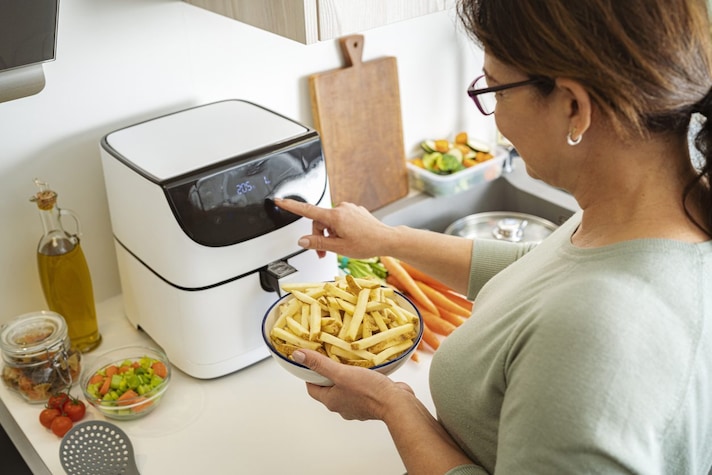
It's a well-known fact by now: this appliance resembles an oven rather than a traditional fryer. As with the latter, therefore, bringing the cooking chamber to the appropriate temperature allows the food to come into direct contact with the heat, improving overall performance. If there's no automatic preheating option, it's helpful to start the appliance 2 to 5 minutes early, depending on its size, following the temperature settings indicated in the recipe.
3. Use the Right Amount of Oil
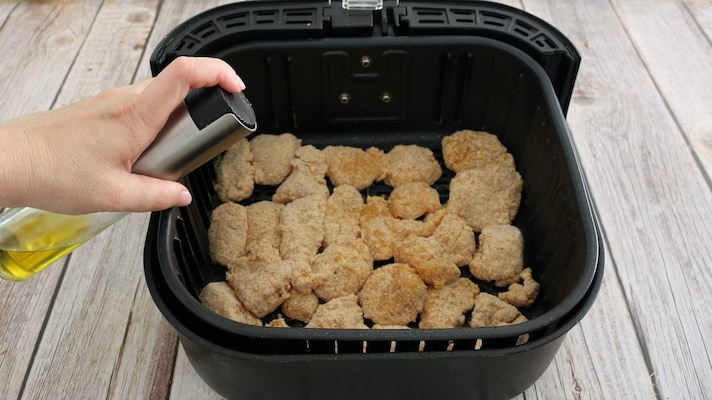
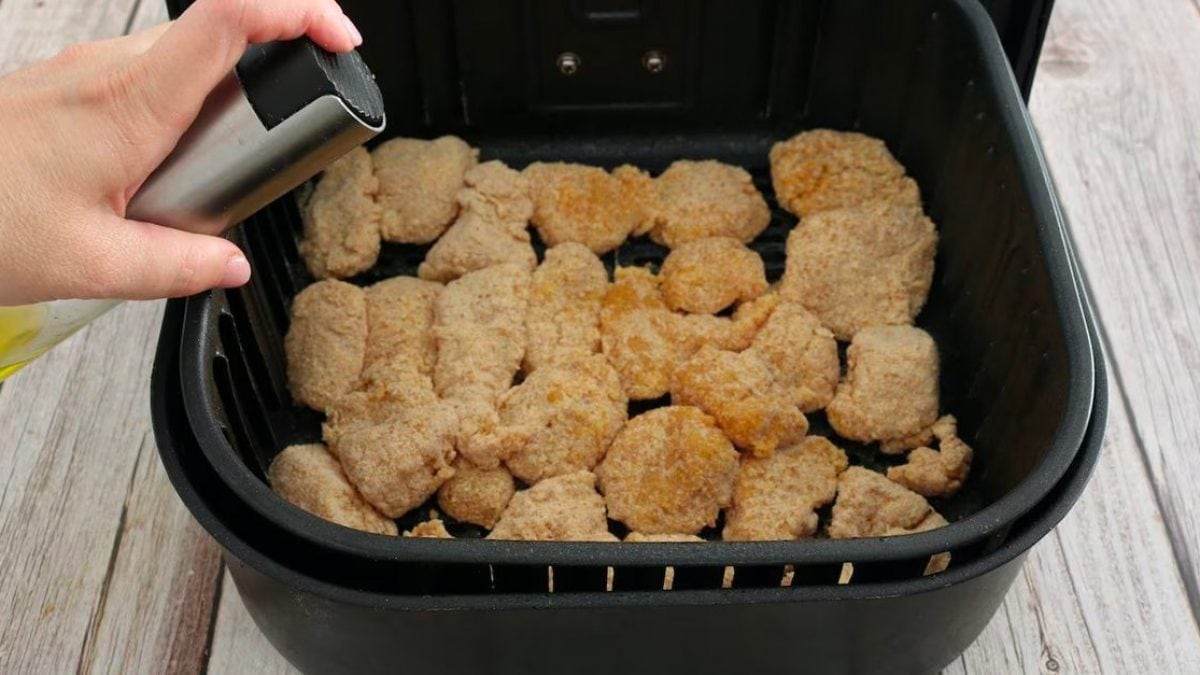
One myth to dispel about air fryers is that "you don't need oil." This isn't actually true, because even though it requires less oil than traditional preparations, it's still a necessary ingredient: rely on the amount indicated in the recipe you're following. One trick is to distribute the seasoning evenly: a spray bottle or a pastry brush can be helpful, to avoid using too much (making the food greasy) or too little, preventing the crunchy texture.
4. Stir Food While Cooking
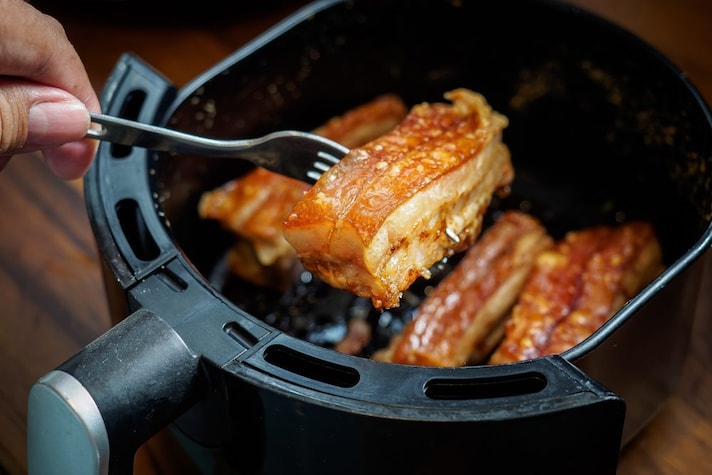
A simple gesture that improves browning, prevents the formation of uneven areas, some cooked and some raw, and allows you to monitor the progress of the preparation. Most fryers allow you to perform this operation without interrupting the set program, but simply by removing the basket halfway through cooking and shaking it briefly to mix. This is a trick to take into consideration when dealing with diced dishes, such as fried calamari, potatoes and other vegetable side dishes, or chicken drumsticks, where the meat needs to be turned.
5. Keep Your Appliance Clean
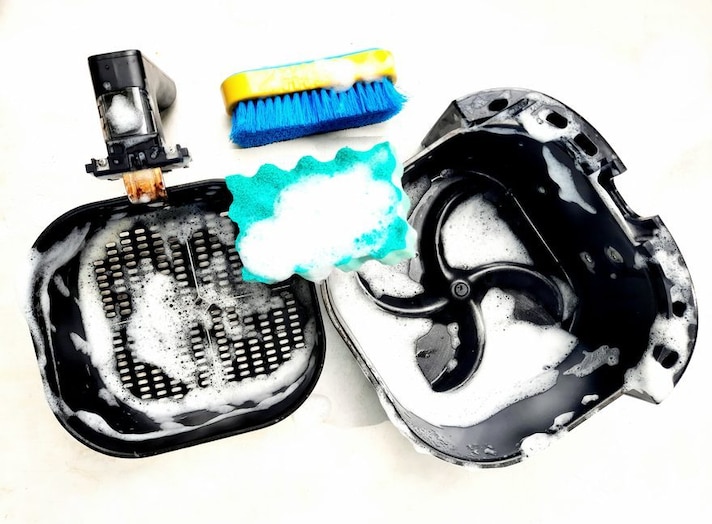
A well-cleaned air fryer ensures better performance, healthier food, and helps the appliance last longer. It's recommended to wash the grill and basket after each use, using gentle products and non-abrasive sponges to remove grease residue and solid food debris. Check your model: some components may also be dishwasher safe. Additionally, periodically perform a thorough cleaning to remove any buildup that could damage the heating element and cause unpleasant odors.
6. Use Baking Paper Correctly
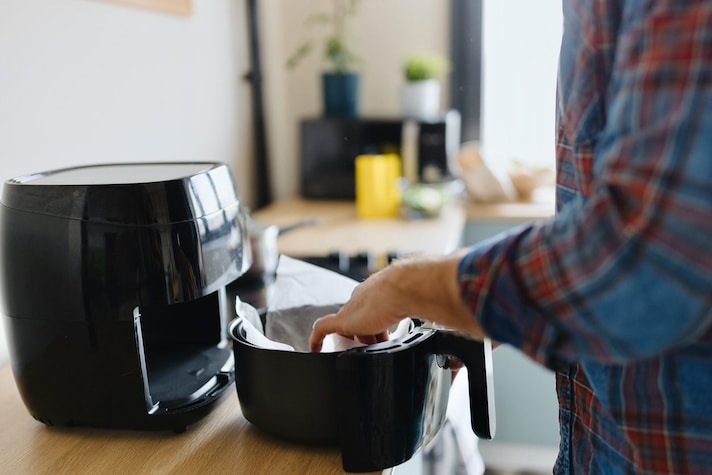
Regarding the previous point: parchment paper can be a lifesaver for making cleaning easier and preventing food from sticking, but it must be used with care. Never insert it without food during preheating or cooking, as the heating element could suck it in and compromise the appliance's operation. It's best to choose paper specifically designed for air fryers, shaped specifically for the purpose, perforated or not, depending on the purpose: for an omelette or a dessert made with liquid ingredients, parchment paper acts as a container.
7. Don't Place it Just Anywhere in The Kitchen
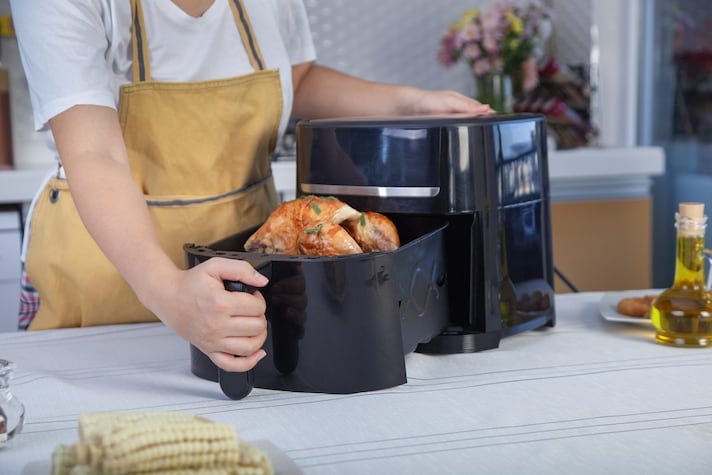
A detail that may seem secondary, but it actually isn't. To be fully efficient, the air fryer needs to be placed in the right place. For example, don't put it in a confined space, or it will lack proper ventilation. Also avoid proximity to heat sources, potentially flammable or deformable materials (from curtains to plastic utensils), and sinks, due to the risk of short circuits when in contact with water.
Air Fryer Symbols' Meaning
How to prepare perfect, golden, and crispy fried food without using or adding oil? With an air fryer, of course: a revolutionary appliance that more and more families are choosing to have at home. The air fryer harnesses the power and speed of heat: by reaching extremely high temperatures, this tool is capable of cooking any type of food evenly and in just a few minutes. Temperature, times, and preset programs: knowing the meaning of the different symbols found on the air fryer allows us to use it without errors, reducing cooking times and saving energy. Regardless of the model or manufacturer, we find different types of symbols on the air fryer: the "standard" buttons, the preset programs, the cooking times and temperatures. Here is a simple guide to recognizing the icons so you can use your air fryer to its full potential.
Standard Symbols
Let's start with the standard icons, present on every type or model of air fryer. Among the "classic" symbols we find:
- On and off: a circle with a small vertical line at the top indicates the button with which we can turn the air fryer on and off.
- Keep warm: Once cooking is finished, we can activate this function to prevent the food from cooling down. Icon: a circle with a dot in the center.
- Preheat: small wavy lines symbolize the preheat function, which allows for more even frying in some recipes.
- Defrosting: The defrosting function is indicated by a snowflake or crystal.
- Timer: A clock or hourglass indicates the timer, the cooking times we can set, often associated with a "plus" symbol and a "minus" symbol.
- Temperature: not only the time, we can also regulate the temperature of the fryer, symbolised by a small thermometer, also associated with a "plus" and a "minus".
Preset Functions
Anyone who owns an air fryer at home knows that with this tool we can cook any type of food, healthily and wholesomely. How? Thanks to the preset programs for each recipe, with time and temperature settings. Identifying the preset programs is incredibly simple: simply choose the symbol of the food you want to cook: fries, chicken, steak, fish, bread, pizza, vegetables, desserts, and seafood, and turn on the fryer. Each program corresponds to a cooking time and the right temperature: to obtain crispy, golden fries, for example, by setting the program with the potato symbol, the fryer will "work" for 15 or 20 minutes at 395 degrees.
The Air Fryer Symbol on Products for Sale
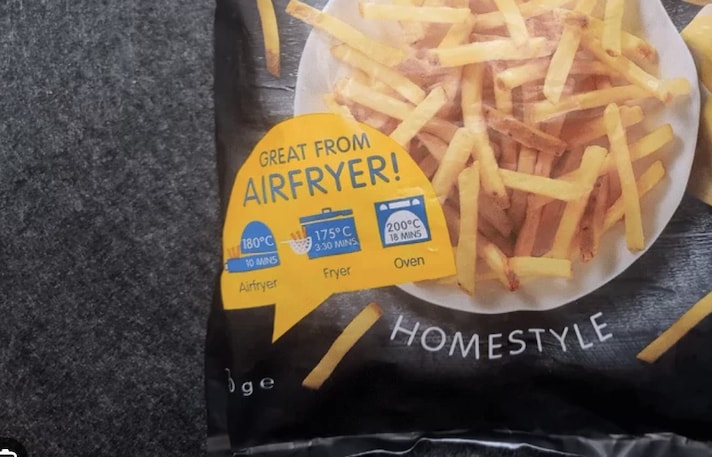
Given the success of the air fryer, prepackaged food manufacturers have also adapted, introducing products specifically for air frying or modifying the recipes of existing products. Likewise, the air fryer symbol on packaging is increasingly common, usually accompanied by the word "airfryer" and information on cooking time and/or temperature. If you see this symbol on frozen food packaging, it means the product can be conveniently cooked in the air fryer.