
The carved Halloween pumpkin represents the symbol par excellence of the Night of the Witches: a pumpkin-lantern, whose tradition derives from the Irish legend of Jack O'Lantern.
To make it, we clean, empty and carve the pumpkin, so as to draw a scary expression on its surface: if you want, you can also get help from the children during the final phase. We then place a candle inside, to light it and display it at the window or on the balcony during Halloween night, between October 31st and November 1st.
Discover all the tricks, tips and steps to carve, hollow out and decorate the Halloween pumpkin without effort, but also to preserve it at its best, make it last longer or not let it dry out.
How to Choose a Halloween Pumpkin to Carve
To best carve a Halloween pumpkin, you will need a large, round pumpkin, free of bruises or marks and with a uniform color, not too dark orange.
The stem must be sturdy, so that it does not bend during processing, but it is important that the peel is not too hard, to make carving easier.
To check if it is ripe, tap your knuckles on the surface: if it makes a dull sound, then it is ripe to the right point. However, do not buy the pumpkin too far in advance, as it can easily rot. Get it a few days before preparation for an excellent final result.
How to Make a Halloween Pumpkin
To make a carved Halloween pumpkin, you just need to hollow out the pumpkin and proceed with the carving. Discover all the detailed steps and have fun making your own lantern to celebrate Halloween night.
Pumpkin Carving Tools
Before making the carved pumpkin, it is important to make sure you have the right tools, useful for scratching and cutting the pumpkin skin, which is hard and difficult to work with. You will need at least 2 sharp knives, one with a longer blade to go deep and a smaller one for carving; a spoon or a melon baller to clean the inside of the pumpkin; a washable marker, newspaper and disposable gloves to avoid getting too dirty.
How to Hollow Out a Halloween Pumpkin

To make the Halloween pumpkin, start from the cap, draw the outlines first with a pencil and then with a marker and cut it with a long knife with a sharp blade: the diameter should be about 15 cm. Lift the cap by leveraging it with the knife: be very careful during this phase.
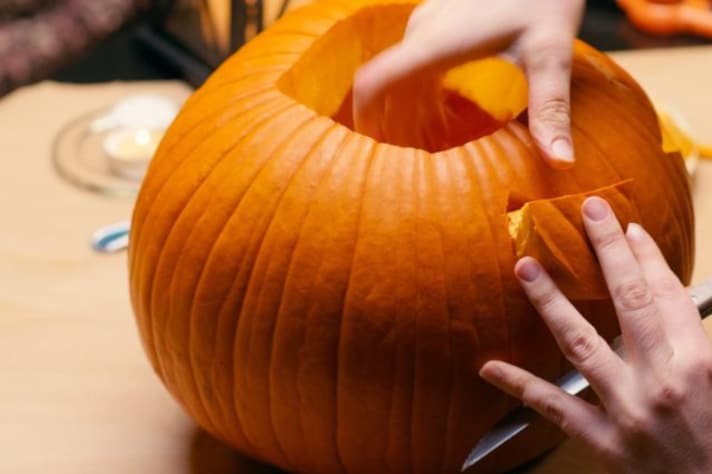
Empty the inside with a spoon: put the seeds and filaments on one side and the pulp on another. Scrape the walls so as to clean it well and dry it with a cloth.
How to Carve a Pumpkin
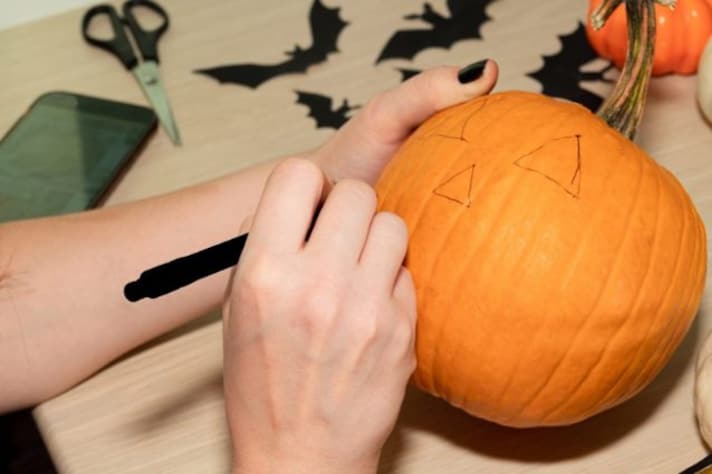
To carve your Halloween pumpkin, take the pumpkin and start drawing the scary facial expression with a pencil. Once you are satisfied with the eyes, nose and mouth you have drawn, trace it with the marker.
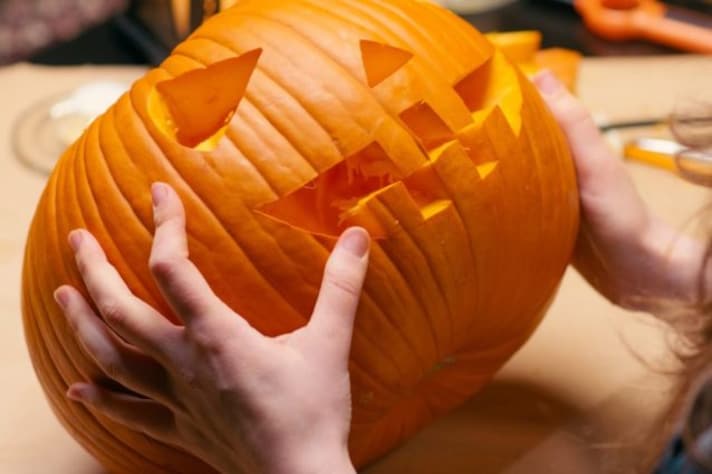
Now carve the pumpkin, following the lines of the marker. It is important to carve the pumpkin carefully so as not to break it. In particular, we recommend moving the tools and knives back and forth to make carving easier. Remove any marker residue with a cotton ball soaked in alcohol and let the pumpkin dry overnight. If you are not confident with freehand drawing or want to be more precise, you can also draw on pattern paper. Cut the cardboard in negative, eliminating the eyes, nose and mouth, place it on the pumpkin and check that the dimensions are right, before going over all the parts with the knife. To prevent the carved parts from withering over time, grease them with a little Vaseline.
How to Decorate and Light Up Your Halloween Pumpkin
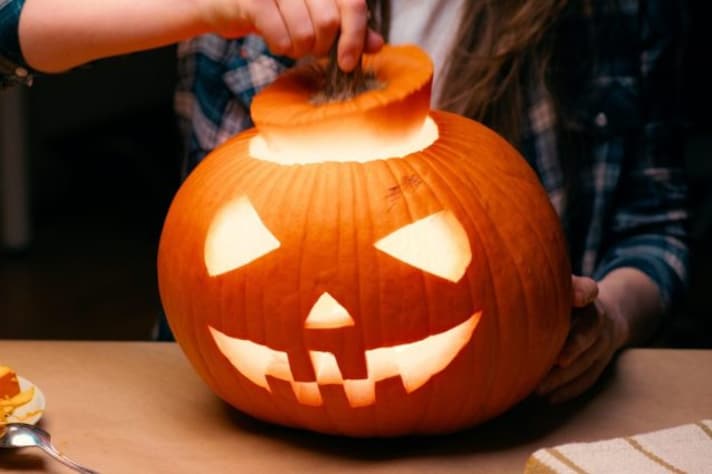
Level the base of the pumpkin and place a candle inside. Cover with the cap and place it on your window or balcony. Once you have finished your work, also make sure that the pumpkin has the necessary ventilation: the internal space must be such as to guarantee the right amount of oxygen, to prevent the candle from going out. If the carvings are large there should be no problems. Otherwise you can simply remove the cap.
Carved pumpkins are usually lit with candles or tea lights, but you can also use LED bulbs or flashlights, especially if you can't level the inside base of the pumpkin well: in this case, in fact, the candle could fall.
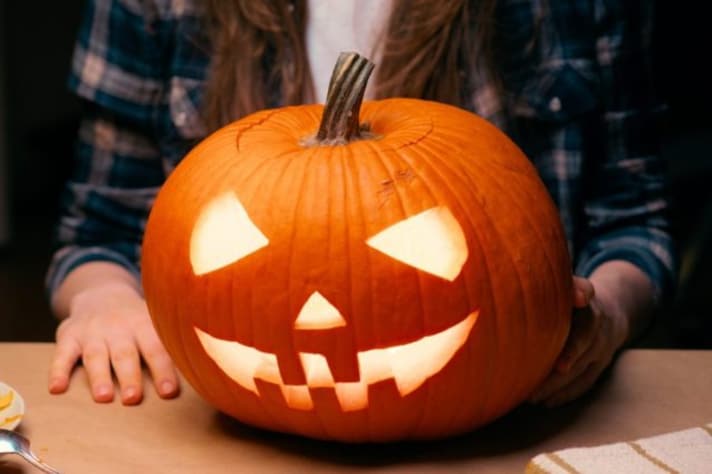
The carved pumpkin is ready for Halloween night.
You can use the pumpkin not only as a lantern, but also as an air freshener: just sprinkle the inside of the pumpkin with cinnamon, nutmeg or other spices: a pleasant autumn scent will soon spread.
How Long Will The Carved Pumpkin Last?
The carved Halloween pumpkin can be stored at room temperature for 2-3 days, after which it will tend to deteriorate.
To make it last longer and not rot, however, you can take a basin larger than the pumpkin and dilute cold water and bleach or water and lemon juice in it. Soak the pumpkin for 1 hour, with the carved side facing down. Alternatively, you can spray the solution of water and bleach (or lemon) over the entire surface of the pumpkin, both outside and inside.
If, however, you want to dry the carved pumpkin, simply rub some vegetable oil on the external surface of the vegetable once a week, always keeping it in a dry and cool place, away from direct sources of heat and humidity.
;Resize,width=767;)
