
Blind baking is the secret behind crisp, golden pie crusts that don’t collapse or get soggy once filled. The technique involves baking your pie crust before adding any filling. It’s a must for cream pies, custard pies, or any recipe with a no-bake filling—like banana cream or chocolate silk pie.
But while blind baking might sound simple, it can go wrong if not done properly. Without the right prep, the crust can puff up, shrink, or lose its shape before the filling ever goes in.
Why Pie Crusts Puff and Shrink During Blind Baking
When a pie crust hits the oven, the butter inside the dough melts, releasing steam. That steam creates little pockets of air that cause the bottom to puff up, and if the sides aren’t supported, they can slouch down or shrink inward before they crisp. The result? A crust that’s uneven, misshapen, and unable to hold your delicious filling properly. Thankfully, a few simple tricks can help prevent all of that.
1. Line and Weight the Crust Properly

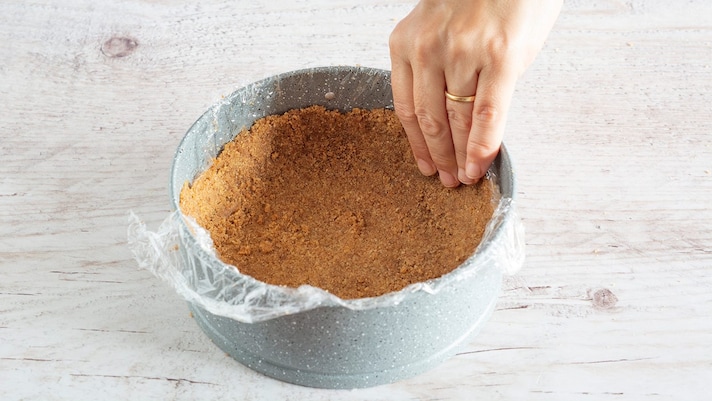
Start by rolling out your pie dough and pressing it into the pie pan, making sure it fits snugly along the bottom and sides. Then, line the unbaked crust with parchment paper or aluminum foil. The liner acts as a barrier between the dough and your weights, keeping the pastry from sticking or tearing. Next, fill the lined crust with pie weights, dried beans, or even uncooked rice. You’ll need enough weight to fill the crust about halfway—usually around 1½ pounds. The weight prevents puffing on the bottom and slouching along the edges.
Pro Tip: If you bake a lot, consider investing in reusable ceramic pie weights—they heat evenly and last for years.
2. Chill the Crust Before Baking
This is one of the most overlooked but crucial steps. After lining and weighting the crust, place it in the refrigerator (or even the freezer) for 15–30 minutes before baking. Cold dough helps prevent butter from melting too early, which in turn keeps the crust from shrinking. Starting with a chilled crust gives you a cleaner, sharper edge once baked.
3. Bake Until the Edges Are Set

Preheat your oven to 375°F (190°C). Place the weighted pie crust on the middle rack and bake for 15–20 minutes, or until the edges begin to lightly brown and the liner pulls away cleanly from the sides. At this point, carefully remove the parchment or foil along with the weights. You’ll notice the bottom still looks pale—that’s okay.
4. Finish Baking for the Perfect Texture

After removing the weights, continue baking the crust uncovered for another 5–10 minutes. For a partially baked crust (great for pumpkin or pecan pies), bake until the bottom looks dry and flaky but still pale.
For a fully baked crust (used for cream or custard fillings), bake until the bottom turns a light golden brown. The total baking time can vary, but it usually takes around 20–25 minutes in total.
5. Docking vs. Pie Weights: What’s the Difference?

Some pie recipes recommend “docking” — pricking the crust all over with a fork — instead of using weights. This allows steam to escape, preventing the dough from puffing. While docking works for flat pastries like tart shells, it’s not ideal for deep-dish pies. The holes can allow liquid fillings to leak through, and docking alone doesn’t prevent side shrinkage. That’s why most American bakers (and professionals) prefer pie weights — they give full support and help maintain shape without risking leaks.
6. Avoid Overworking the Dough
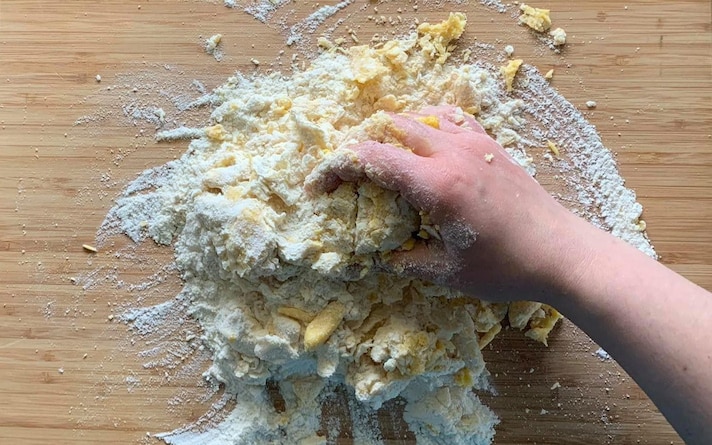
When mixing or rolling out your dough, try not to over-handle it. Too much kneading develops the gluten, making the crust tough instead of tender. Handle the dough gently, and use just enough flour to keep it from sticking. A delicate touch ensures your baked crust stays flaky, not chewy.
7. Shield the Edges for Even Browning
The edges of a pie crust brown faster than the bottom. To prevent burning, cover them with foil strips or a silicone pie shield halfway through baking. This keeps the edges perfectly golden while allowing the base to bake fully and crisp up.
8. Let the Crust Cool Before Filling
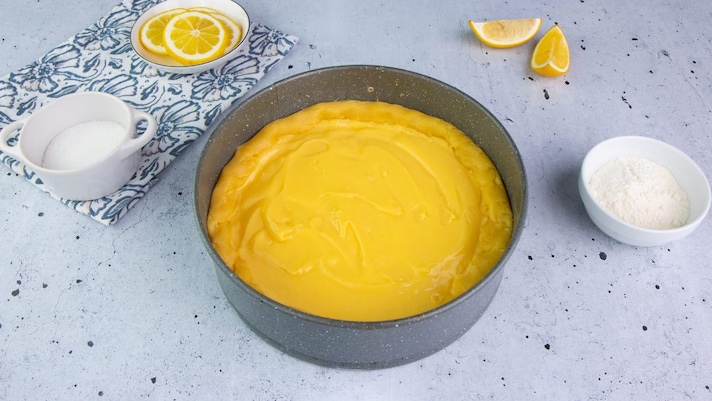
Once baked, remove the crust from the oven and let it cool completely before adding any filling. If you add filling while it’s still warm, steam can make the bottom soggy. For best results, cool the crust on a wire rack for at least 30 minutes before filling.
;Resize,width=767;)
