
Baking a fresh loaf of bread, a batch of cinnamon rolls, or homemade pizza dough is a true labor of love. You measure meticulously, knead patiently, and set the dough aside to rise, anticipating a pillowy, beautiful expansion.
But two hours later, you check under the towel only to find a sad, pale, completely flat brick of dough.
The culprit? Dead yeast. Because modern grocery stores primarily sell active dry yeast in dehydrated, shelf-stable packets, it is easy to forget that yeast isn't just an ingredient—it is a living, single-celled fungus. While dry-packing keeps the yeast dormant for months, time, improper storage, or exposure to moisture can quietly kill it before you ever open the wrapper.
Before you waste your flour, time, and energy on a dough that will never rise, you should always take ten minutes to "proof" your yeast. Proofing is simply a quick, reactive kitchen test that forces the yeast to prove it is alive and kicking.
The Proofing Toolkit
To run this quick diagnostic test, you only need three basic pantry staples. The quantities below are optimized to test one standard 1/4-ounce (7-gram) packet of yeast (or 2 and 1/4 teaspoons if you are scooping from a bulk jar):
- Yeast: 1 packet (or 2.25 teaspoons)
- Sugar: 1 teaspoon (white granulated sugar works best)
- Warm Water: 1/2 cup
Step 1: Achieve the Temperature Sweet Spot
Pour your 1/2 cup of warm water into a small glass bowl or liquid measuring cup. This is where many historical recipes get dangerously vague, advising you to make the water "soothing to the touch" or "lukewarm." Because yeast is highly temperature-sensitive, guessing can ruin your bake. If the water is too cold, the yeast will stay asleep; if it is too hot, you will instantly scald and kill it.
For active dry yeast, your water should be between 105°F and 115°F (40°C to 46°C). If you don't have a digital instant-read thermometer, aim for the temperature of a warm baby bottle—distinctly warm, but never hot. Anything above 120°F (49°C) is a dead zone. Once your water is at the right temperature, stir in the 1 teaspoon of sugar until it completely dissolves. Sugar acts as an immediate, easily digestible fuel source for the dormant organisms.
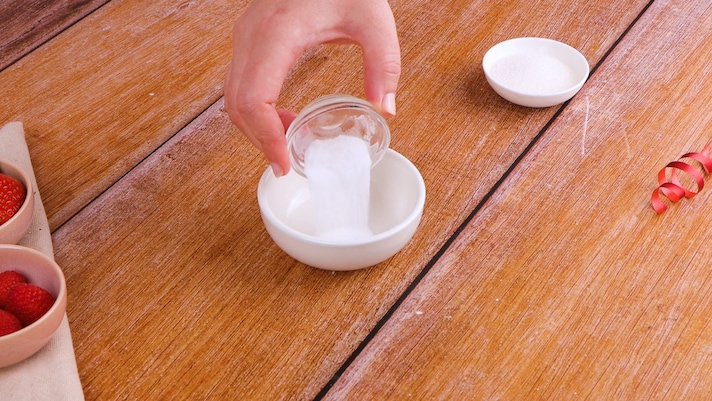
Step 2: Sprinkle and Suspend
Open your yeast packet and sprinkle it evenly across the surface of the sugary water. Give it a very gentle, brief stir with a fork just to ensure all the dry granules are hydrated and submerged. You don't need to whip it; just make sure there are no dry, isolated clumps floating on top.
Step 3: Walk Away for 10 Minutes
Set a timer for 10 minutes and leave the bowl alone at room temperature. As the warm water wakes the yeast from its slumber, it will begin to ravenously consume the sugar. As it metabolizes the carbohydrates, it releases carbon dioxide gas and alcohol—the exact same process that creates structure and flavor inside a loaf of bread.
How to Read the Results
When your timer goes off, your eyes and nose will instantly tell you the health of your yeast.
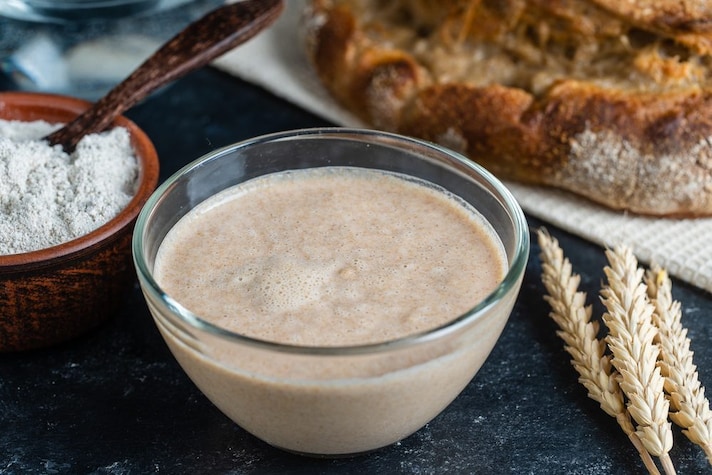
- The Active Sign (Alive): If your yeast is alive, the top of the liquid will be covered in a thick, velvety, creamy layer of froth, foam, and active bubbles. The mixture should have visibly expanded in volume, climbing up the sides of the bowl, and it will emit a distinct, nostalgic, earthy aroma of freshly baked bread or draft beer. Your yeast is vibrant and ready to bake.
- The Flat Sign (Dead): If the 10 minutes pass and the liquid looks exactly the same as when you mixed it—with flat, muddy water and a few unreactive granules floating around—your yeast is dead. The packaging may have failed, or the grocery store shelves may have been exposed to too much ambient heat.
If your yeast fails the test, do not proceed with your recipe. Toss the liquid out, open a fresh batch from a different expiration date, and repeat the test.
Do You Need to Proof Instant Yeast?
It is worth noting that modern grocery stores sell two primary types of yeast: Active Dry and Instant (or Rapid Rise). Instant yeast is processed into much smaller granules and engineered to dissolve instantly, meaning recipes allow you to mix it directly into your dry flour without proofing it in water first. However, if your jar of instant yeast has been sitting open in the back of your refrigerator or pantry for a few months and you are nervous about its potency, you can use this exact same 10-minute sugar-water test to verify its viability before baking.
;Resize,width=767;)
