
Soft and Moist Butter-Free Apple Cake
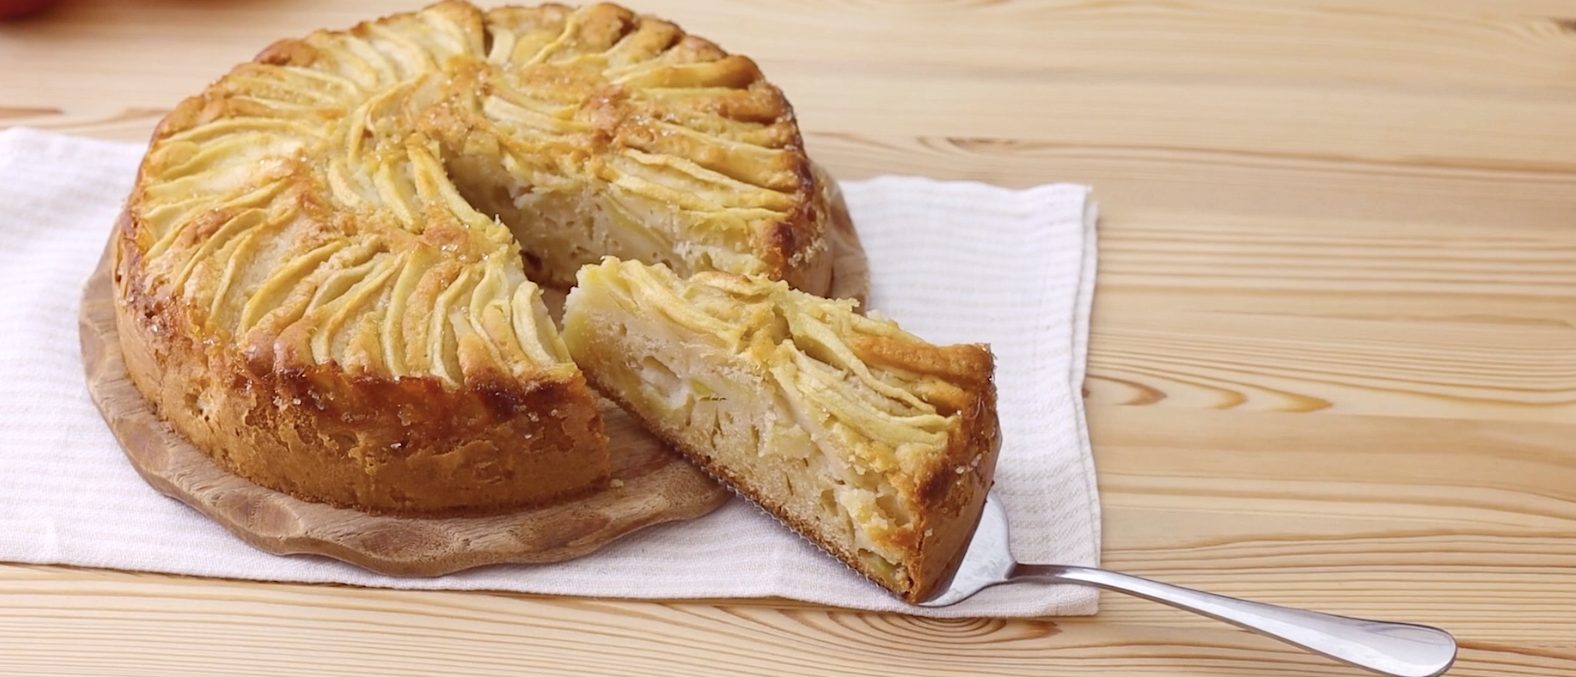;)
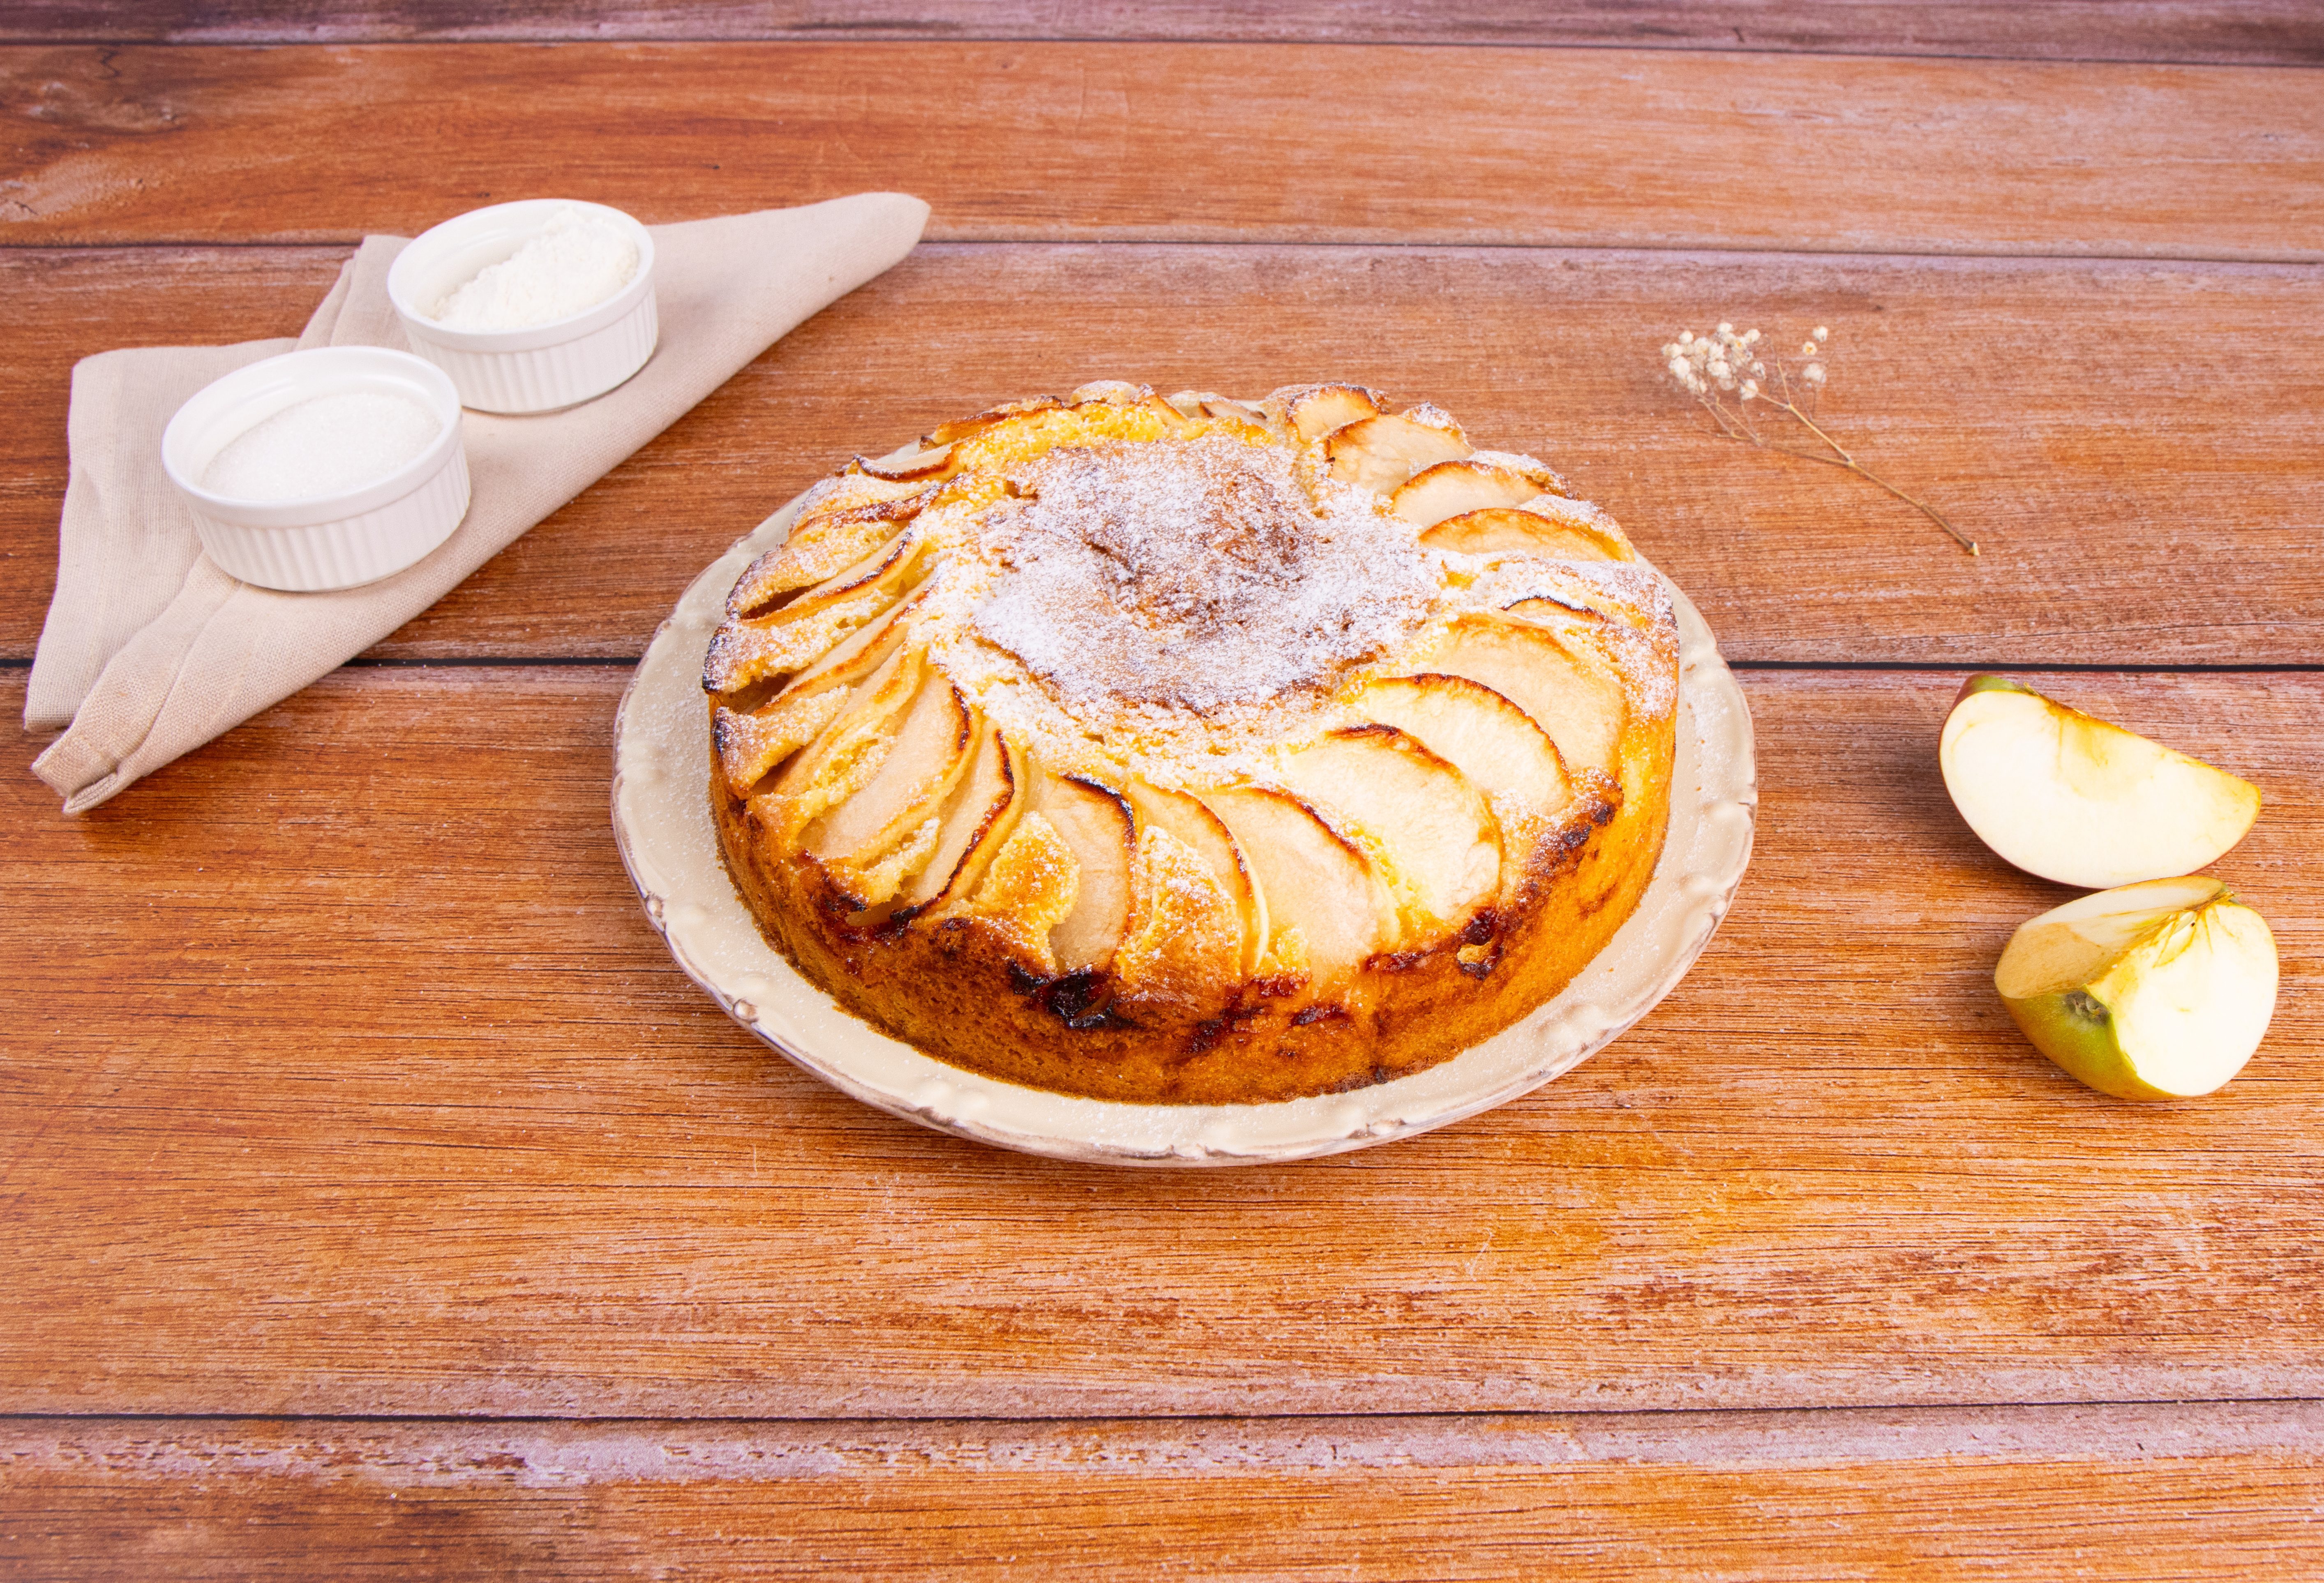
Who needs butter when apples make a great substitute? This Butter-Free Apple Cake is a testament to how simple ingredients can create extraordinary results. Packed with fresh apples, a hint of zesty lemon, and the comforting sweetness of brown sugar, it doesn't go wrong when served as a dessert, breakfast treat, or mid-afternoon snack.
This recipe is a crowd-pleaser, so are you ready to whip up something delightful? Keep reading to learn the step by step basics to making this delicious meal.
The History and Charm of Apple Cakes
Apple cakes can be traced to ancient cultures and continents. From France’s Tarte Tatin to Germany’s Apfelkuchen, apples have long been a baker’s best friend. This humble fruit lends itself beautifully to desserts, offering sweetness, texture, and moisture. The butter-free version is a modern twist for those who crave a lighter, heart-healthy treat without compromising on flavor.
Did you know that the first written apple cake recipe dates back to the 14th century? It was more rustic back then, often cooked in cast iron over an open flame. Today, we’ve upgraded the process (hello, ovens!) but kept the charm. Let’s let you on a little secret. The best part of this recipe is that it’s an absolute joy to make.
Pro Tips for the Perfect Butter-Free Apple Cake
- Opt for firm, sweet-tart apples like Granny Smith, Honeycrisp, or Fuji. They hold their shape beautifully and bring a balanced flavor.
- Diced apples give the batter delightful bursts of flavor and a satisfying texture in every bite.
- Use room temperature yogurt. These help the batter come together smoothly, resulting in a fluffier cake.
- Don’t skip on the lemon zest. It’s the secret ingredient that brightens the flavors and complements the apples.
- Check for doneness before removing your dessert from the oven. Insert a toothpick into the center of the cake. If it comes out clean, your cake is ready to be devoured.
Can I Use a Different Type of Flour?
There is no rule against this. Whole wheat or spelt flour can work, though the texture might be slightly denser. Adjust liquid ingredients if necessary.
Can I Substitute the Yogurt?
Yes! Sour cream, buttermilk, or even a dairy-free alternative like coconut yogurt will do the trick.
Can I Make This Gluten-Free?
Yes, swap the all-purpose flour for a good-quality gluten-free baking mix. Be sure it includes xanthan gum for the best structure.
How do I Know if I’ve Overmixed the Batter?
If the batter looks too stretchy or loses its airy texture, you might have overdone it. Mix just until everything is combined.
Can I Freeze This Butter-Free Apple Cake?
Yes, you can freeze this apple cake! To do so, let the cake cool completely, then wrap it tightly in plastic wrap and aluminum foil, or place it in an airtight container. Label it with the date and freeze for up to three months. When ready to enjoy, defrost in the refrigerator overnight or at room temperature for a few hours. You can also reheat it in the microwave if you prefer it warm.
Some More Soft Apple Delights You Won't be Able to Resist!
How to Store Any Leftovers
If you manage to resist finishing the cake in one sitting although impossible, store leftovers in an airtight container at room temperature for up to two days. For longer storage, refrigerate for up to five days, but warm slices slightly before serving for that fresh-out-of-the-oven taste.
Ingredients
How to Make Apple Cake Without Butter
;Resize,width=712;)
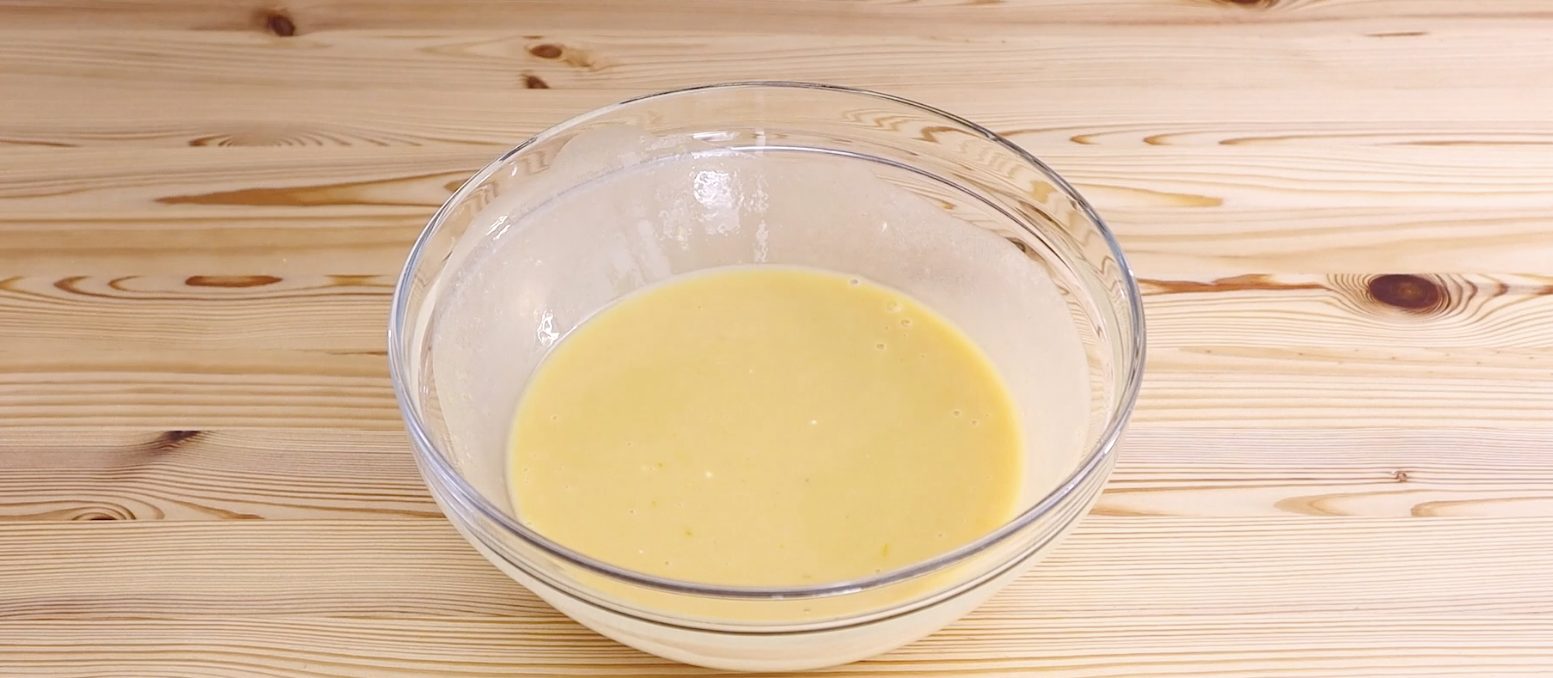
Step 1. In a bowl, whisk eggs, brown sugar, and vegetable oil until well combined. Add the lemon zest and Greek yogurt, mixing until smooth.
Step 1. In a bowl, whisk eggs, brown sugar, and vegetable oil until well combined. Add the lemon zest and Greek yogurt, mixing until smooth.
;Resize,width=712;)
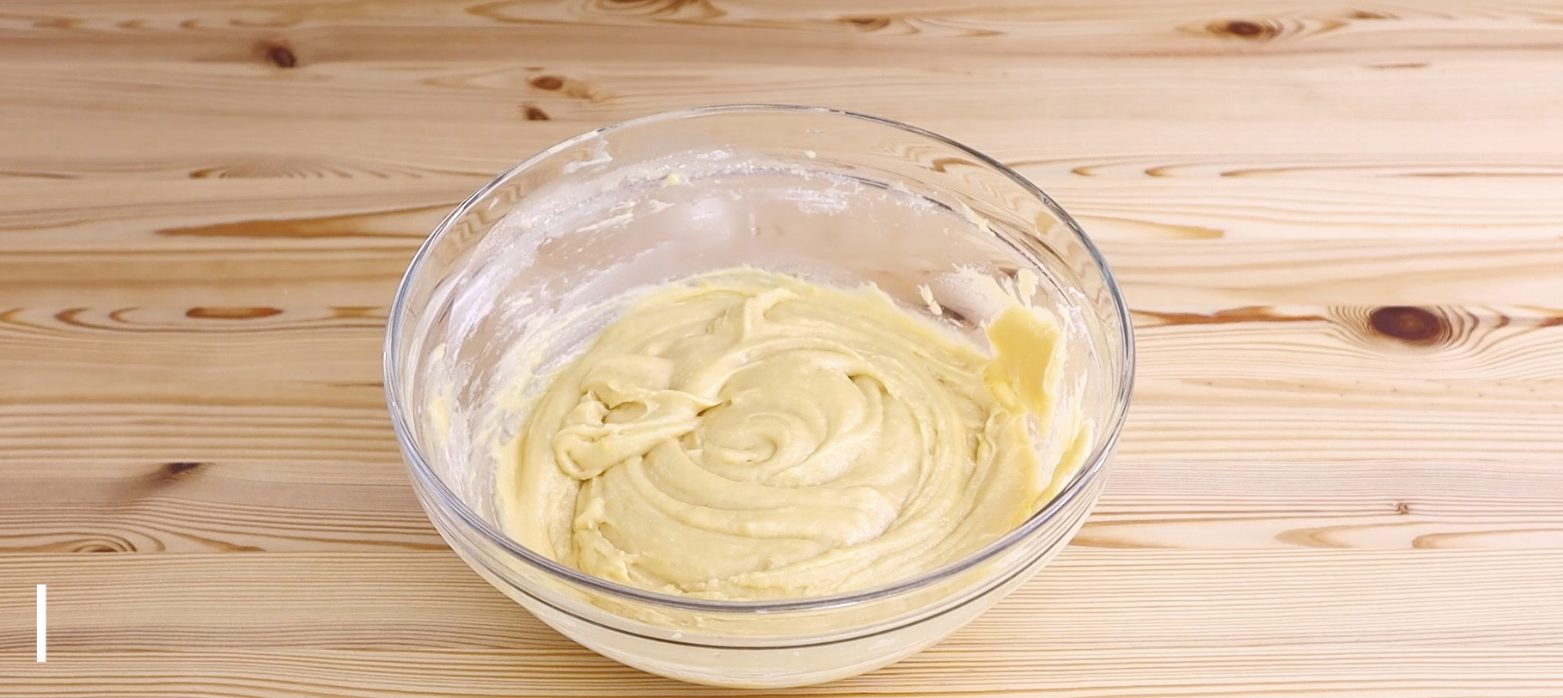
Step 2. Gradually add flour and baking powder to the wet mixture. Stir gently to avoid overmixing. The batter should be thick and smooth.
Step 2. Gradually add flour and baking powder to the wet mixture. Stir gently to avoid overmixing. The batter should be thick and smooth.
;Resize,width=712;)
Step 3. Fold in the diced apples, ensuring they’re evenly distributed throughout the batter.
Step 3. Fold in the diced apples, ensuring they’re evenly distributed throughout the batter.
;Resize,width=712;)
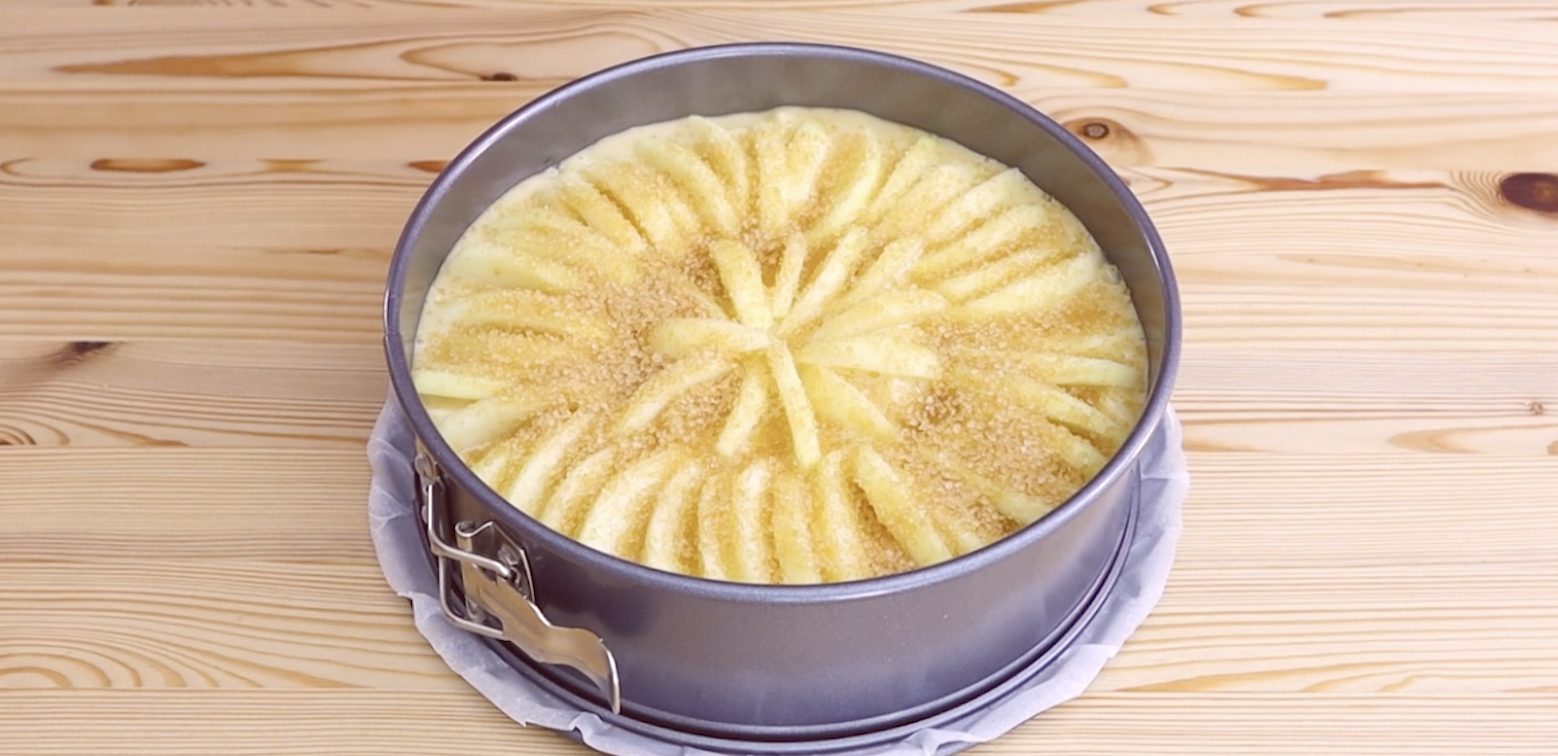
Step 4. Pour the batter into a greased 20cm cake tin. Arrange thin apple slices on top in a decorative pattern and sprinkle generously with brown sugar.
Step 4. Pour the batter into a greased 20cm cake tin. Arrange thin apple slices on top in a decorative pattern and sprinkle generously with brown sugar.
;Resize,width=712;)
Step 5. Place the cake in a preheated oven at 180°C and bake for 50 minutes. Check for doneness using a toothpick. Let the cake cool before slicing. Serve it as is or with a dollop of whipped cream for extra indulgence.
Step 5. Place the cake in a preheated oven at 180°C and bake for 50 minutes. Check for doneness using a toothpick. Let the cake cool before slicing. Serve it as is or with a dollop of whipped cream for extra indulgence.
;Resize,width=767;)

;Resize,width=712;)

