

Calling all sweet-tooth friends! Are you ready to bake something pretty and utterly delicious? These Bicolor Sweet Buns are not just a feast for the eyes with their contrasting swirls of plain and chocolate dough, but they're also a textural dream. Imagine fluffy, soft buns with a hint of sweetness, all wrapped up in a delightful two-toned package. Intrigued? Then get baking with this easy recipe. Made with simple pantry ingredients you probably have in your cupboard already, it’s easy to make and the taste payoff is huge. Enjoy as a sweet snack, or with your midmorning coffee.
What Are Bicolor Sweet Buns?
Bicolor sweet buns are a delightful twist on classic sweet rolls. They combine two different doughs to create a visually stunning and flavorful treat: plain dough and chocolate dough. The plain dough forms the base, offering a fluffy and slightly sweet foundation. The chocolate dough adds a decadent twist. It's typically made by incorporating cocoa powder, melted chocolate, or chocolate chips into the plain dough recipe. This creates rich chocolate swirls that peek through the finished buns. Sweet buns boast a rich history intertwined with the development of leavened bread and the rise of sugar as a common ingredient. While their exact origin is unclear, evidence suggests they emerged in Europe sometime during the Middle Ages.
Tips
- If you don’t have fresh yeast, you can use dried yeast. Use half the quantity specified for the fresh yeast.
- Make sure that the yeast you use is still active and not expired.
- Use good quality cocoa powder for best results.
- For more texture (and more chocolate!), add mini chocolate chips to the plain dough.
- Make a chocolate filling by melting 1 cup chopped dark chocolate, ½ cup cream, 3.5 oz butter, and 3.5 oz powdered sugar.
- If you want to make the Bicolor Sweet Buns in advance, you can let it rise in the fridge overnight and then prepare it the next day.
- For added sweetness, drizzle the buns with an icing glaze before cutting.
- Want a glossy finish on your buns? Before baking, brush your bicolor buns with an egg wash. This creates a golden brown sheen and adds a touch of shine to your finished buns, making them look extra bakery-worthy.
How to Store Bicolor Sweet Buns
Do not store the buns in the fridge. Instead, wrap it tightly in plastic wrap (or place it in an airtight container) and keep it for up to 3 days. You can also store individually wrapped buns in the freezer for up to 3 months, Allow them to thaw at room temperature before reheating them in the oven.
Are Bicolor Sweet Buns Very Sweet?
These rolls are slightly sweet, but not overly sweet like a dessert. It’s a perfect teatime treat and can be enjoyed as you would a sweet croissant or donut.
What Kind Of Flour Is Best For Bicolor Sweet Buns?
All-purpose flour is a good option, but bread flour can provide a chewier texture. You can even try a combination of both!
Can I Use Store-Bought Dough For Bicolor Sweet Buns?
Yes! You can buy pre-made pizza or bread dough and separate it into plain and chocolate portions. However, making your own dough allows for more control over sweetness and texture.
What Can I Substitute For Cocoa Powder In The Chocolate Dough?
Melted chocolate or chocolate chips can be used instead of cocoa powder. Adjust the amount based on the sweetness and cocoa content of your chosen chocolate.
Ingredients
How To Make Bicolor Sweet Buns
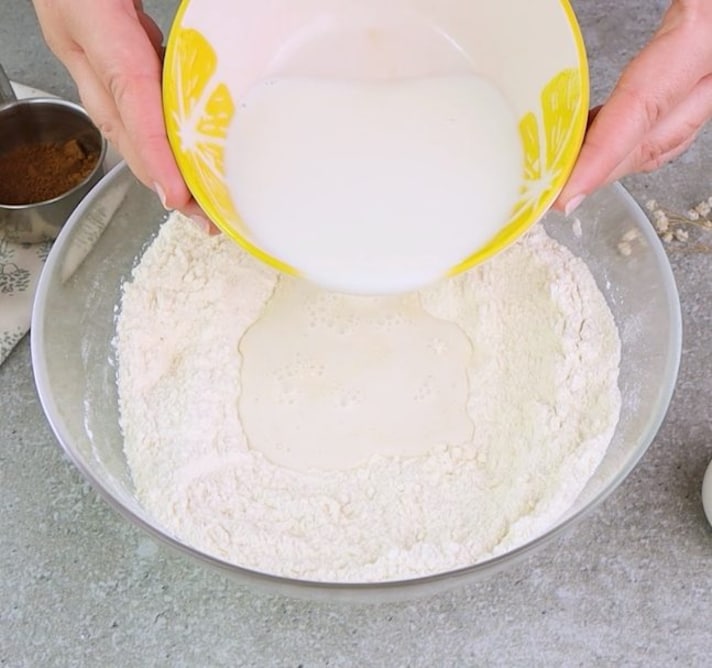
In a small bowl pour the milk, add the yeast, and mix until the yeast dissolves.

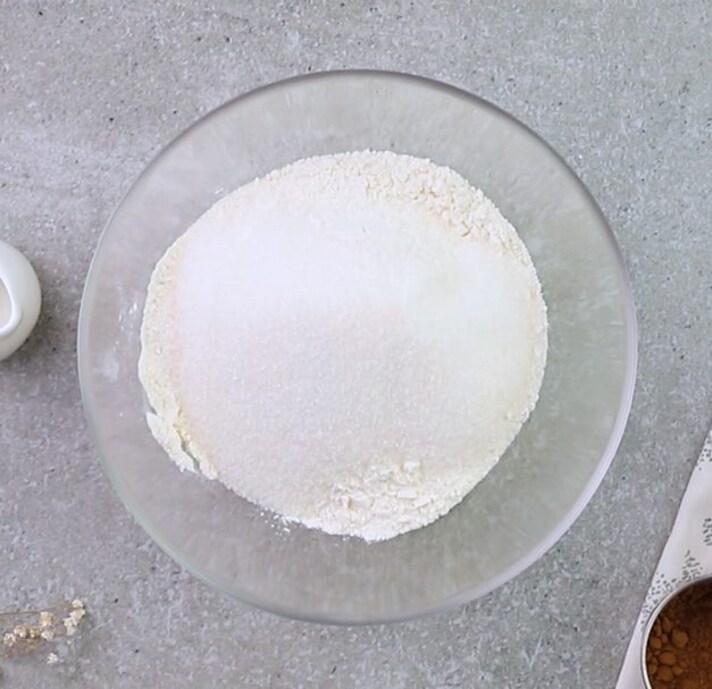
In a large mixing bowl, add the bread flour, sugar, and vanilla sugar and mix.
Pour the prepared yeast, seed oil, and eggs and mix until all is well combined.
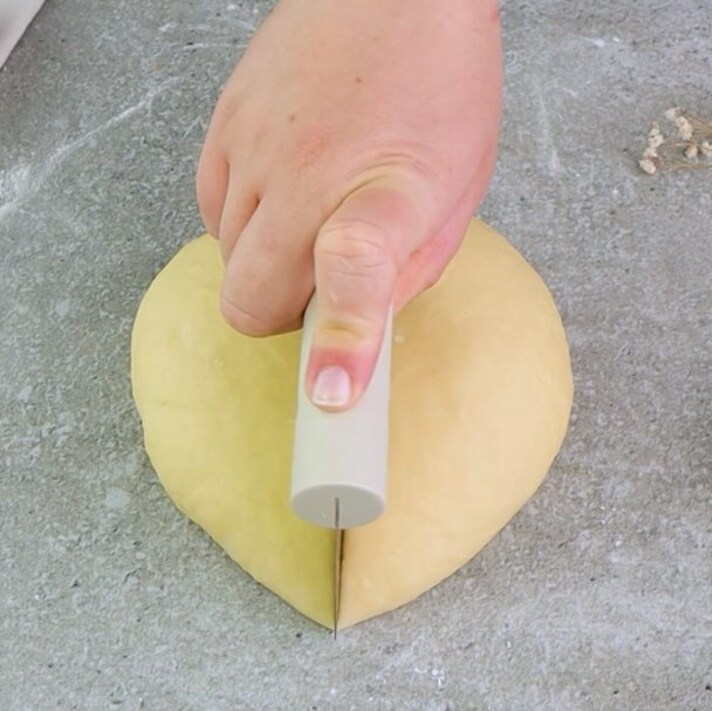
When the dough starts to form knead the dough with your hands until smooth. Split the dough in half.
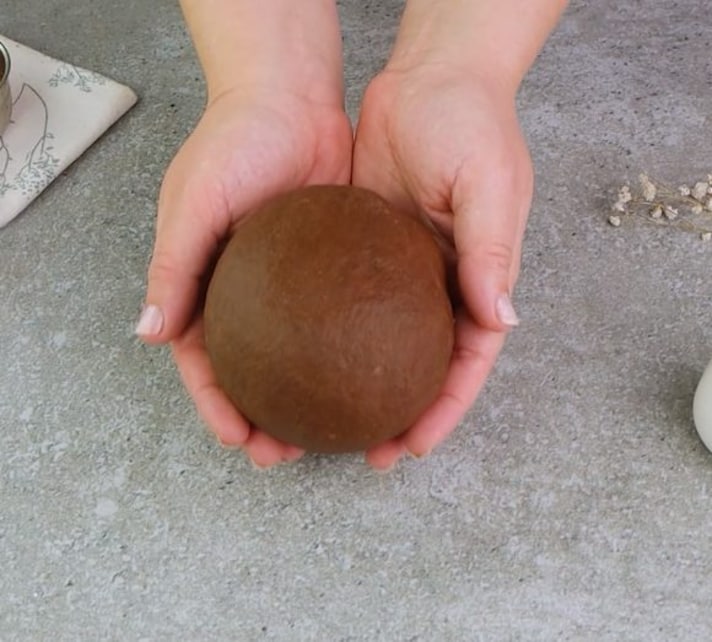
Flatten one-half of the dough with your hands and add the cocoa powder. Knead the dough until cocoa is well absorbed and the dough is smooth.
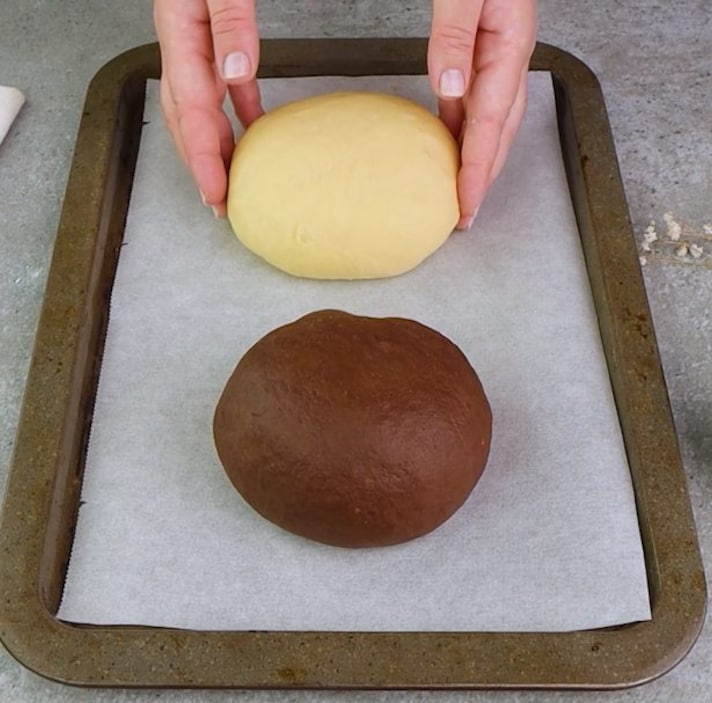
Transfer both doughs to the baking tray covered with parchment paper, cover with a cloth, and let it rise for 2 hours.
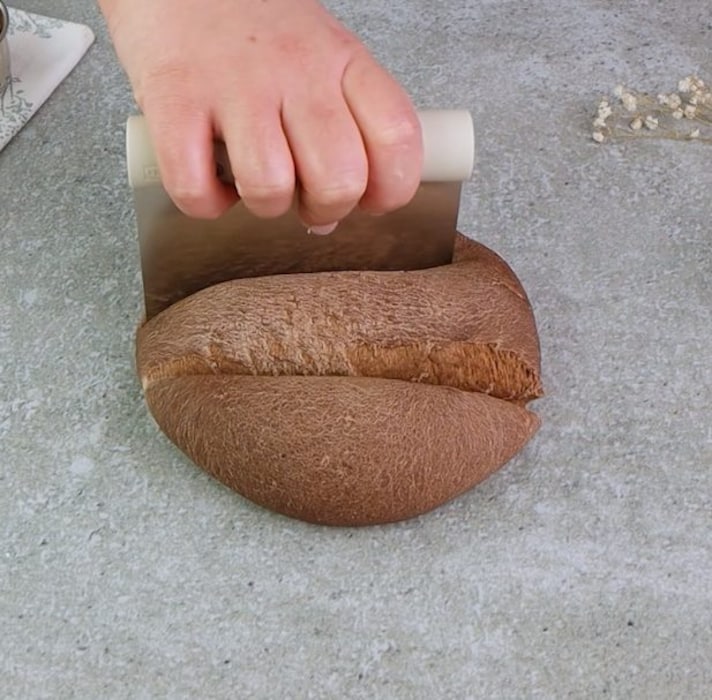
Once the dough has risen, split both doughs into the 3 equal parts.
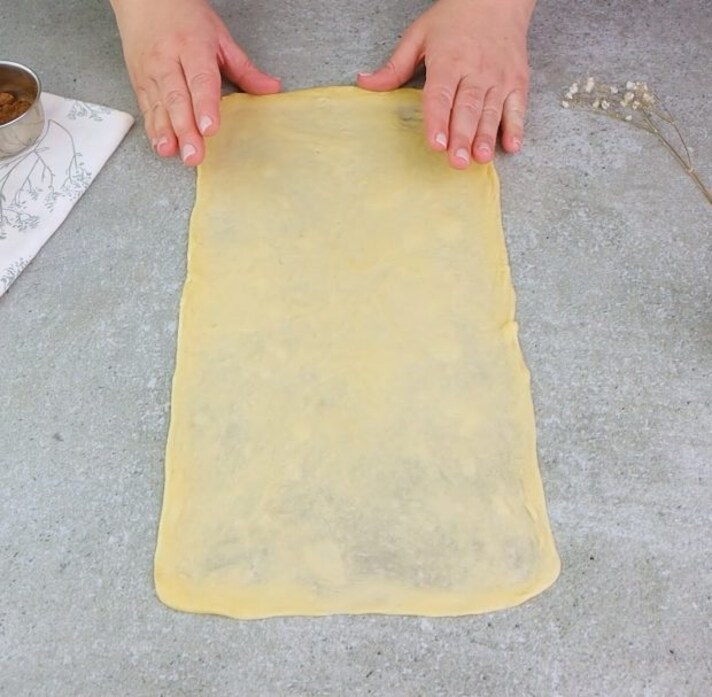
Roll them out thinly forming a rectangle shape.
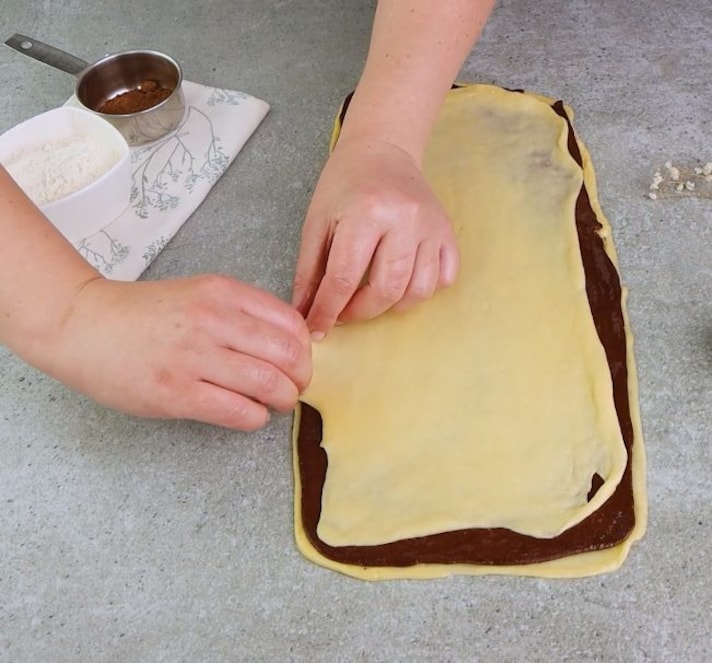
Arrange the white dough on the working surface, brush it with oil, and cover it with the chocolate. Arrange the white dough on top, brush with oil, and sprinkle with sugar. Repeat the process with other rolled doughs.
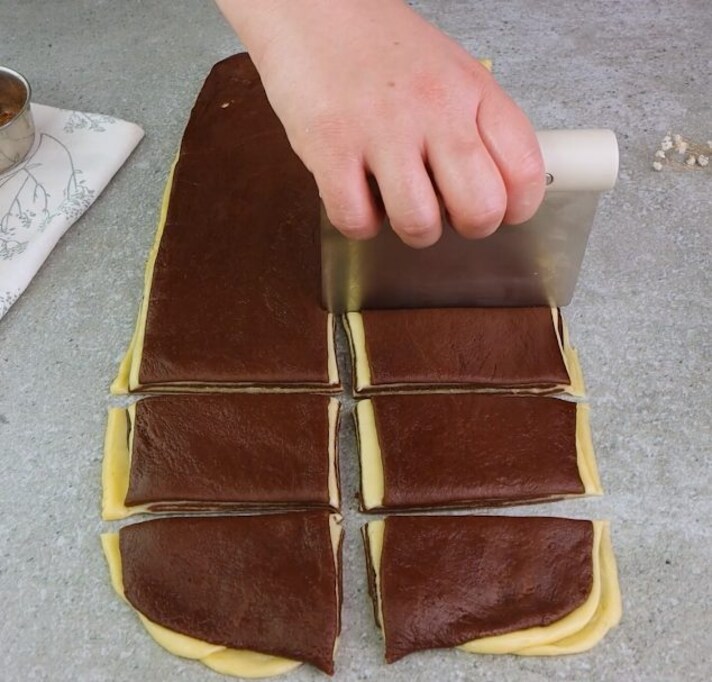
After all parts are assembled roll them out one more time with the rolling pin to tighten them more. Cut the dough in half vertically, then divide each half into 7 equal parts.
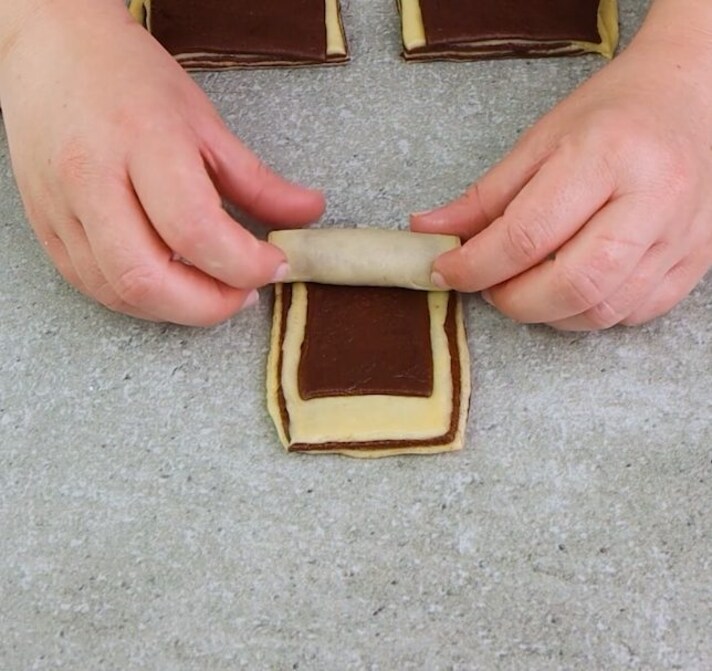
Flatten each one with a rolling pin and roll it up to make a bun.
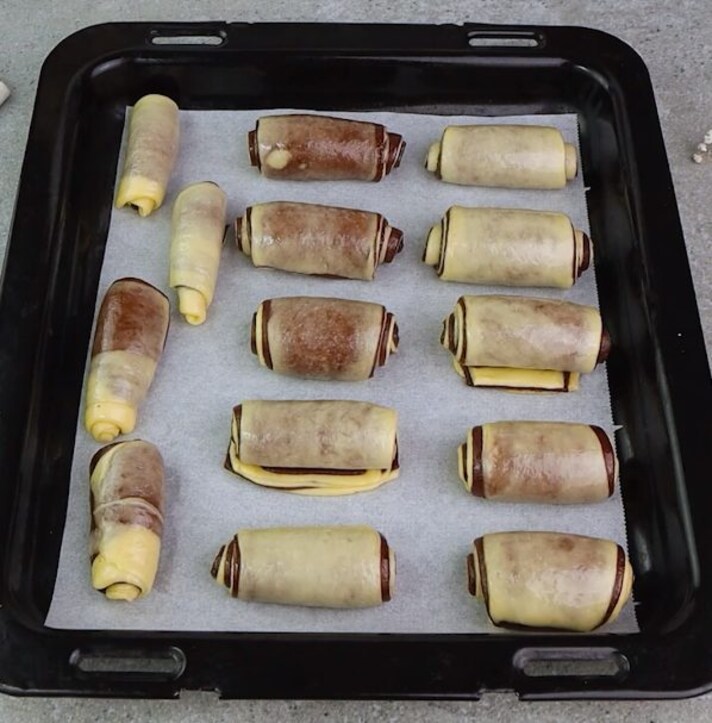
Transfer the buns to the baking tray covered with parchment paper, cover them with a cloth, and let them rise for 2 hours or until they are doubled in volume.
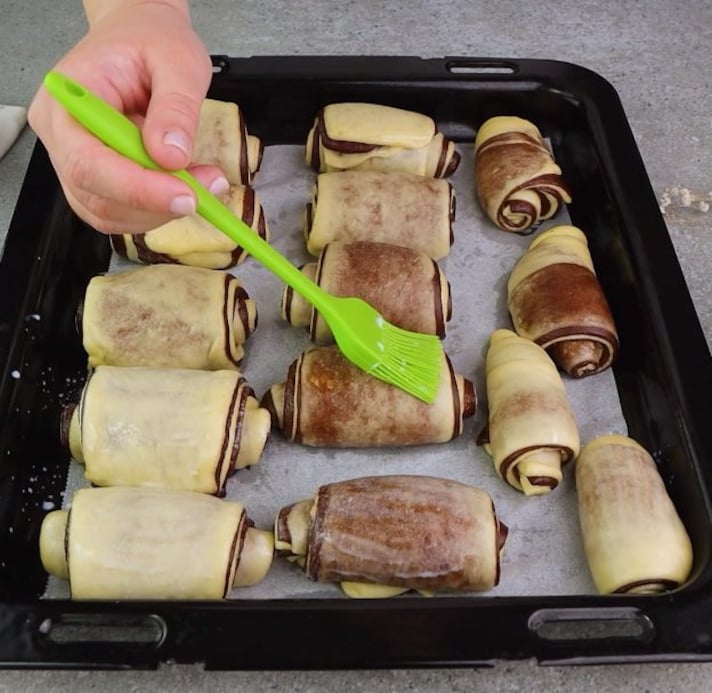
Brush each bun with milk, transfer to the oven, and bake at 180°C/360°F for 20 minutes.
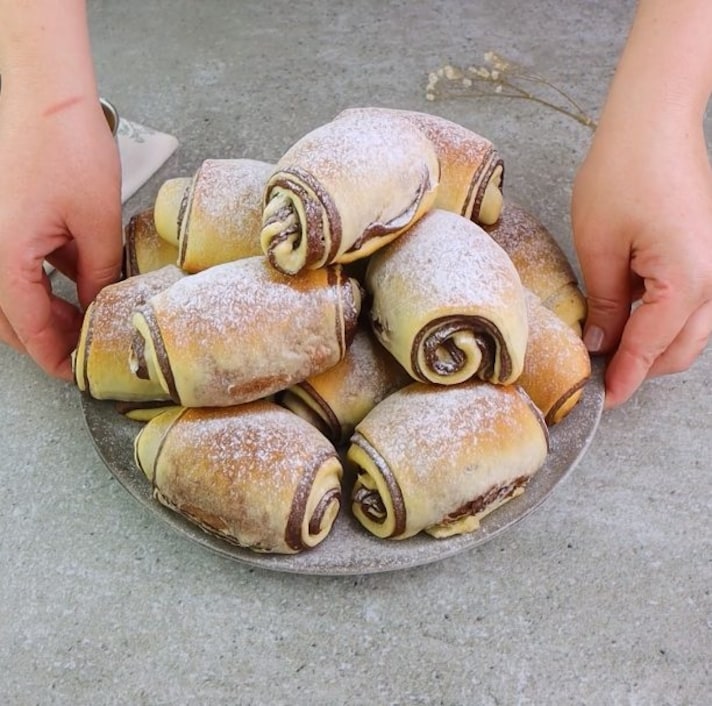
Decorate buns with powdered sugar and serve. Enjoy!
;Resize,width=767;)
