;)
Love potatoes? Never run out when you make this easy canned potatoes recipe! This simple canning recipe is especially good for anyone who grows potatoes and finds themselves with a bumper crop of spuds.
You can use canned potatoes in a million different ways. Toss them into soups, use them for hash browns, or fry them up and serve them as a side with roasts, stews, or burgers. Canned potatoes have a long shelf life when unopened, so once you make a batch, you'll have a steady supply of tasty potatoes on hand whenever you need them.
What are the Best Potatoes for Canning?
Waxy potato varieties like red potatoes, French fingerlings, and baby potatoes are the undisputed best type of potato for canning. Floury potatoes like Russets, Idaho, and Maris Piper are prone to falling apart during the canning process.
How to Make Canned Potatoes
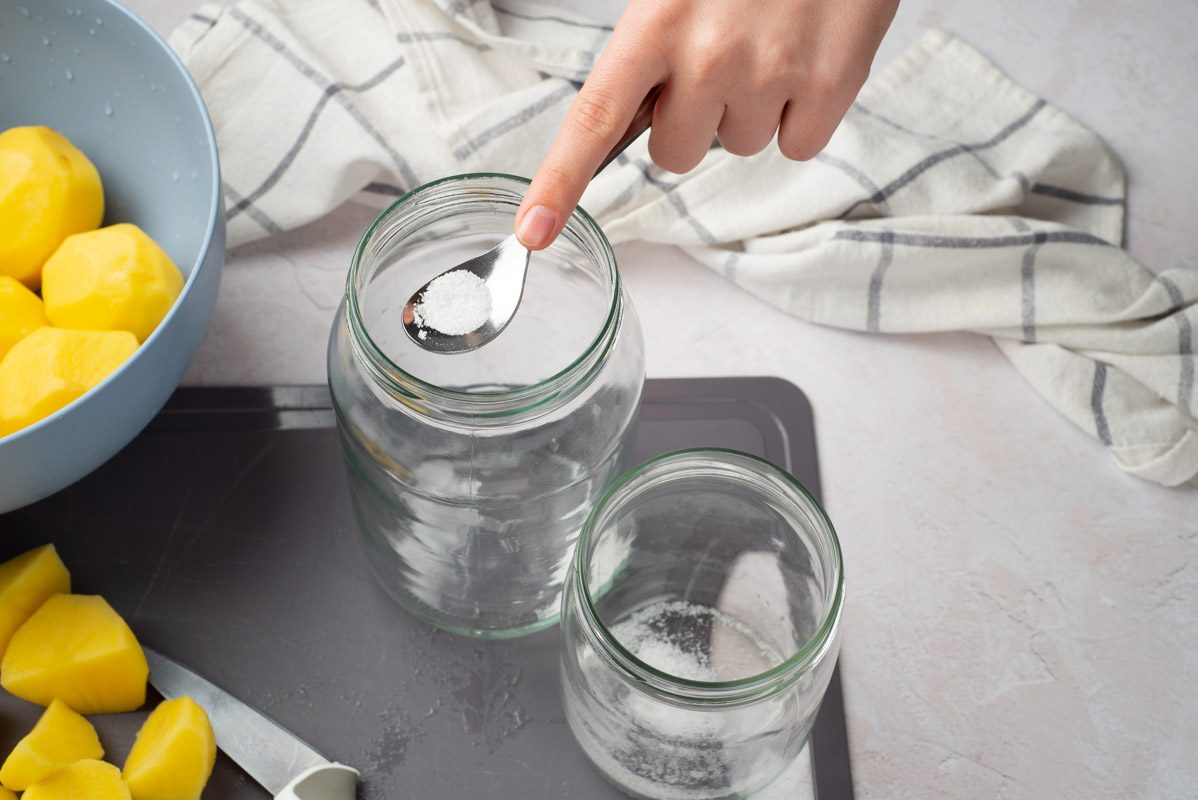
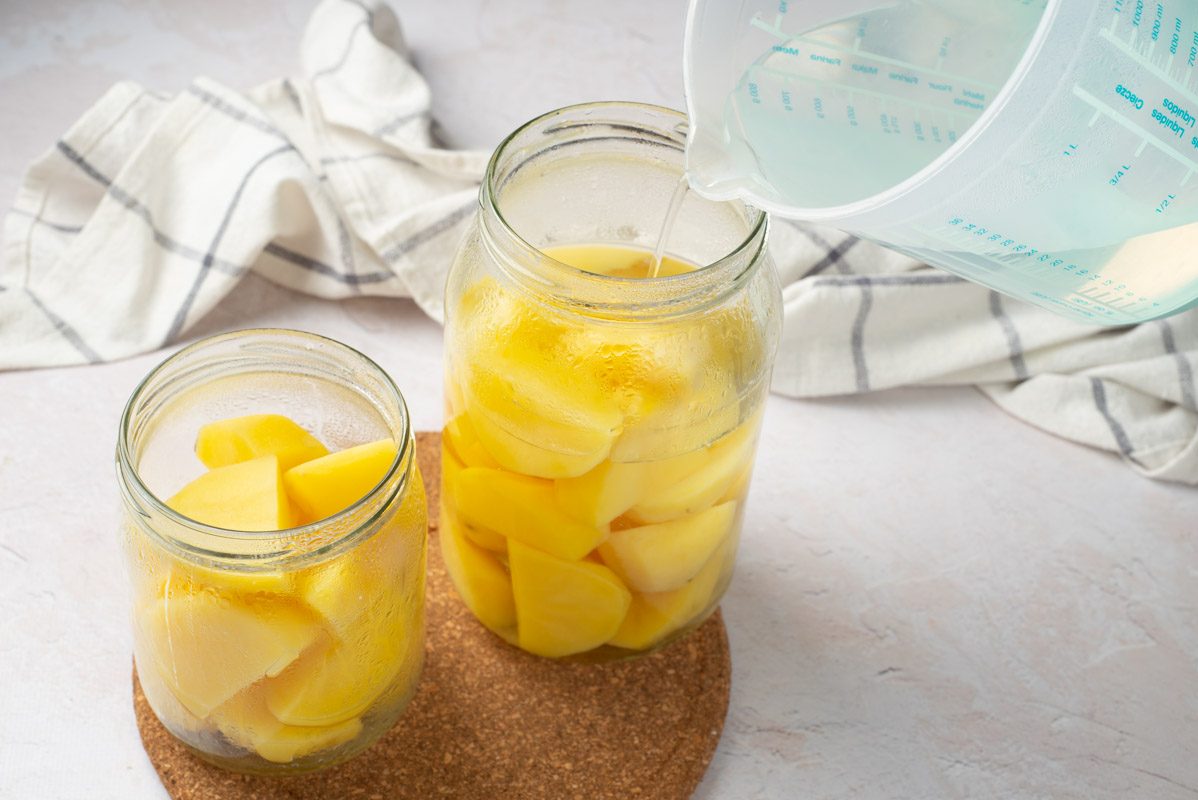
Canning potatoes at home is super simple. Your first step is to peel your potatoes and pop them into a large bowl of cold water. This will stop them from oxidizing and turning brown. After all the potatoes have been peeled, drain the water. Transfer the potatoes to a large pot filled with water. Bring the water to a boil and cook them for 10 minutes. While the potatoes are cooking, add one teaspoon of salt to your sterilized jars. Drain the potatoes and put them into the jars. Make sure you leave space at the top of the jars so they don't explode. Pour boiled water into the jars, leaving one inch of space at the top. Wipe down the rim with a clean cloth, then secure the lids.
Pour water into your pressure canner. Arrange the jars in the canner and lock the lid. Switch to high and vent for 10 minutes, then using the pressure regulator, turn the pressure to 11 PSI and process for 35 minutes. If you're using quart-sized jars, process them for 40 minutes. Take the lid off the pressure canner. Leave the jars in the hot water for 5 to 10 minutes, then put them on your counter to cool overnight. The next day, check all the lids are properly sealed. If not, place them in the fridge and use the potatoes within a few days. Properly sealed canned potatoes will last up to one year.
Tips for Making the Best Canned Potatoes
You have to peel the potatoes before canning them. This greatly reduces the risk of potential toxic bacteria and has the added benefit of being more aesthetically pleasing.
Put peeled potatoes into a large bowl of water to keep them from browning while you finish peeling the remaining spuds.
Unlike other types of vegetables which can be canned raw, you have to par-cook potatoes before canning them.
Make sure to clean and sterilize the jars before using them for canning.
How to Use Canned Potatoes
Canned potatoes are a wonderful addition to all sorts of recipes. Add them to soups and stews or chop them up to make home fries, and hash browns, or use them for mashed potatoes.
The secret is to remember not to overcook them – because canned potatoes are par-cooked they won't need as long compared to if you were cooking the potatoes from raw.
How Long do Canned Potatoes Last?
An unopened jar of canned potatoes lasts about one year. Once opened they'll last three to 4 days in the fridge.
More Recipes You'll Like
Ingredients
Instructions
;Resize,width=712;)
Peel the potatoes, putting peeled potatoes into a large bowl of cold water. Drain the potatoes.
Peel the potatoes, putting peeled potatoes into a large bowl of cold water. Drain the potatoes.
;Resize,width=712;)
Fill a large pot with water. Add the potatoes and salt the water. Bring to a boil and cook for 10 minutes.
Fill a large pot with water. Add the potatoes and salt the water. Bring to a boil and cook for 10 minutes.
;Resize,width=712;)
While the potatoes are cooking, add one teaspoon of salt to your clean, sterilized jars.
While the potatoes are cooking, add one teaspoon of salt to your clean, sterilized jars.
;Resize,width=712;)
Drain the potatoes. Put the potatoes into the jars, leaving about one inch of room at the top.
Drain the potatoes. Put the potatoes into the jars, leaving about one inch of room at the top.
;Resize,width=712;)
Pour boiled water into the jars, leaving one inch of space at the top.
Pour boiled water into the jars, leaving one inch of space at the top.
;Resize,width=712;)
Wipe the rim with a clean cloth and give a stir.
Wipe the rim with a clean cloth and give a stir.
;Resize,width=712;)
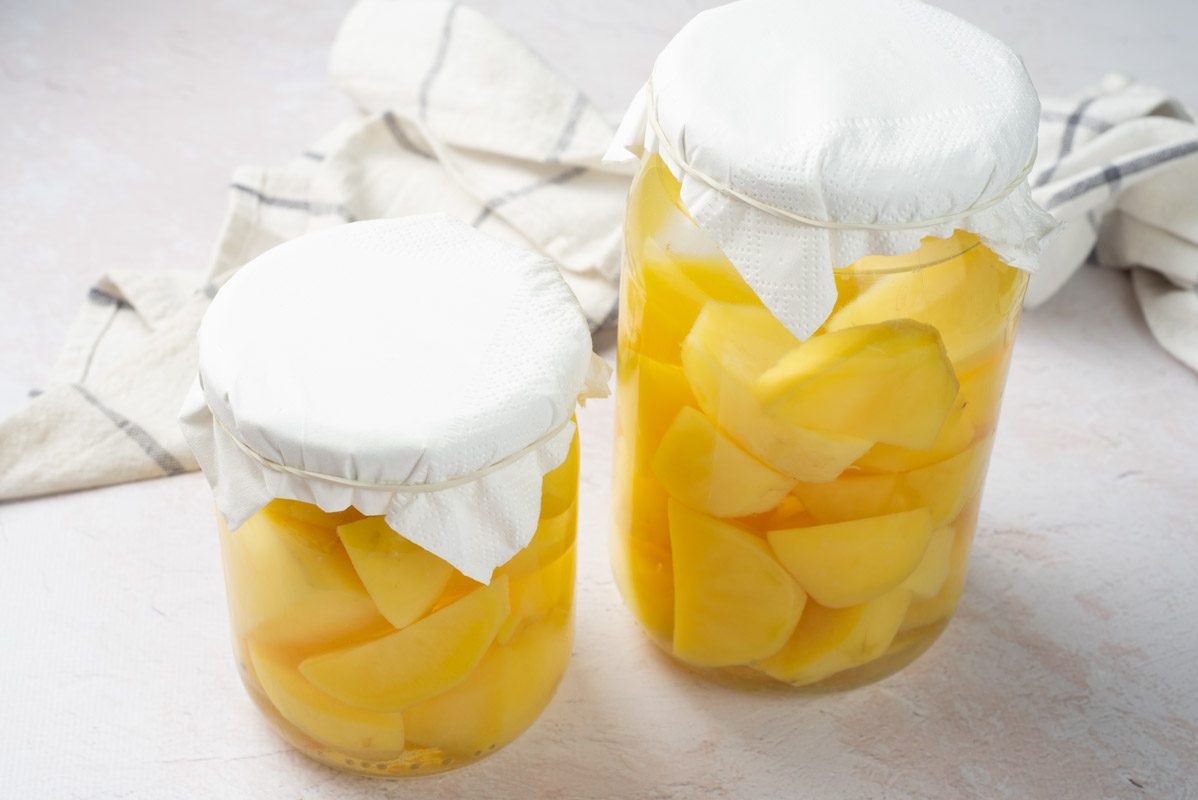
Then secure the lids. Pour water into your pressure canner. Put the jars in the canner and secure the lid. Switch to high and vent for 10 minutes. Using the pressure regulator, turn the pressure to 11 PSI and process for 35 minutes.
Then secure the lids. Pour water into your pressure canner. Put the jars in the canner and secure the lid. Switch to high and vent for 10 minutes. Using the pressure regulator, turn the pressure to 11 PSI and process for 35 minutes.
;Resize,width=712;)
Take the lid off the pressure canner. Let the jars sit for 5 to 10 minutes, then remove them. Leave the jars to cool on the counter overnight. Ensure all the lids are properly sealed. If not, place them in the fridge and use them within a few days.
Take the lid off the pressure canner. Let the jars sit for 5 to 10 minutes, then remove them. Leave the jars to cool on the counter overnight. Ensure all the lids are properly sealed. If not, place them in the fridge and use them within a few days.
Notes
You'll need a pressure canner for this recipe.
;Resize,width=767;)
