

Every home cook should have a fancy, “grown-up” dessert in the recipe repertoire. Something you can practice well, and make on special occasions to impress guests or that special someone! These chocolate baskets will teach you a great technique with chocolates that allow you to make any dessert pretty with edible chocolate baskets.
Chocolate is first melted, then piped into a beautiful basket. Once the chocolate has set, you can use the basket to decorate any of your favorite desserts. You only need chocolate and piping bags for this dessert. We’ll show you how to do it with simple items in your home like bottles and balloons.
Chocolate Basket Filling Ideas
In this recipe, we filled the chocolate baskets with custard and fruits, but feel free to fill them with whatever you like: whipped cream and strawberries, chocolate mousse and raspberries, ice cream, and caramel sauce, or even just candies!

How to temper the Chocolate
It’s not always necessary when you’re working with chocolate, but tempering will stabilize the chocolate making it suitable for use in confectionery. Tempering involves heating the chocolate to a certain temperature, then cooling it down again until it reaches a certain temperature point. The chocolate will end up smooth and shiny, and it won’t melt as easily.
To temper the chocolate, you will need a thermometer. Heat the chocolate over a double boiler, until it reaches the correct temperature. Then continue stirring while it cools down again to the right temperature (see below).
For dark chocolate, the melting temperature is 122 – 131°F (50 – 55°C) and the cooling temperature is 88 – 90° F (31 – 32°C).
For milk chocolate, the melting temperature is 113 – 122°F (45 – 50°C) and the cooling temperature is 86 – 88° F (30 – 31°C).
For white chocolate, the melting temperature is 113 – 122°F (45 – 50°C) and 84 – 86°F (29 – 30°C).

Tips
You can also use this method to decorate cakes.
Dark chocolate will work best for the chocolate baskets!
Use wax paper or acetate sheets (as opposed to parchment paper), as it will allow the chocolate baskets to peel off easily.
To make intricate designs, use a small piping tip. Don’t make the chocolate lines too thin, as this will cause the design to break.
How To Store Chocolate Baskets
Store the chocolate baskets in a cool, dry place.
Ingredients
How To Make Chocolate Baskets
;Resize,width=712;)
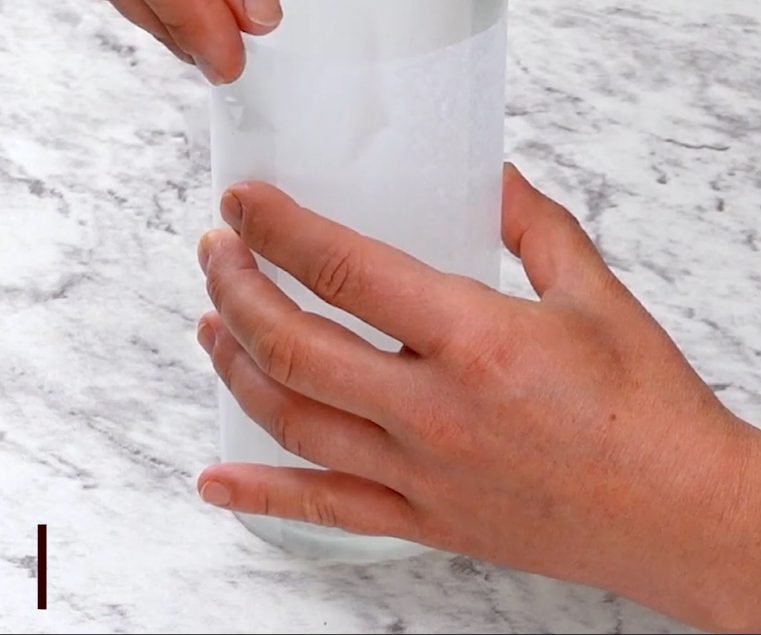
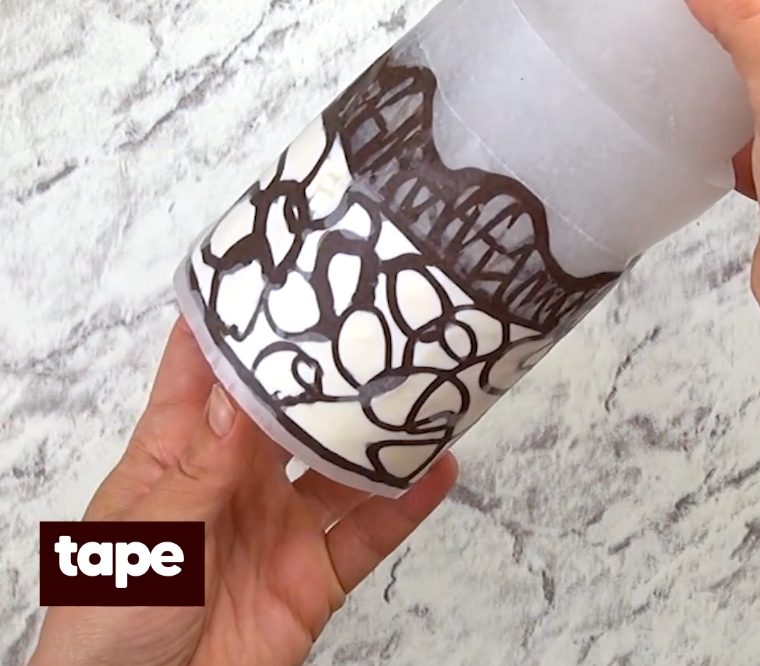
Place a strip of baking paper around an empty wine bottle and secure it with tape. Melt dark chocolate and white chocolate.
Place a strip of baking paper around an empty wine bottle and secure it with tape. Melt dark chocolate and white chocolate.
;Resize,width=712;)
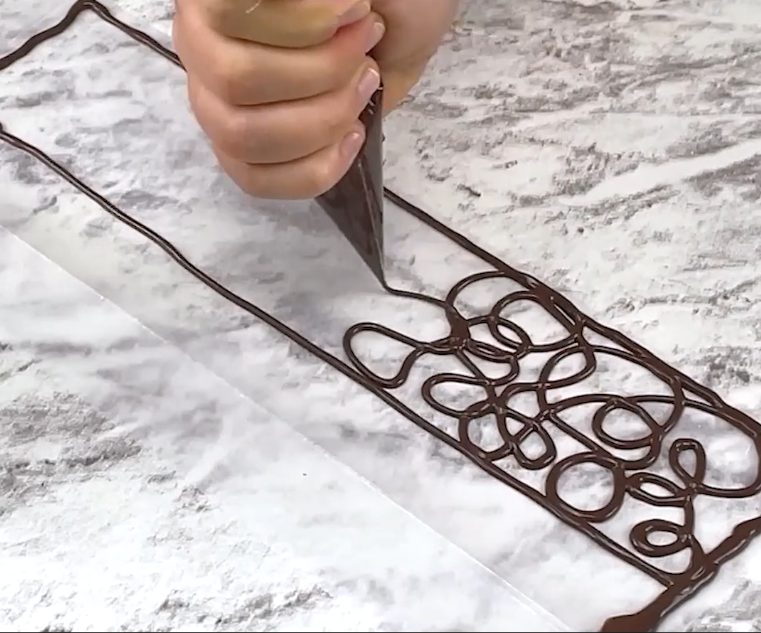
Use the dark chocolate to make a swirl pattern on top of another piece of baking paper.
Use the dark chocolate to make a swirl pattern on top of another piece of baking paper.
;Resize,width=712;)
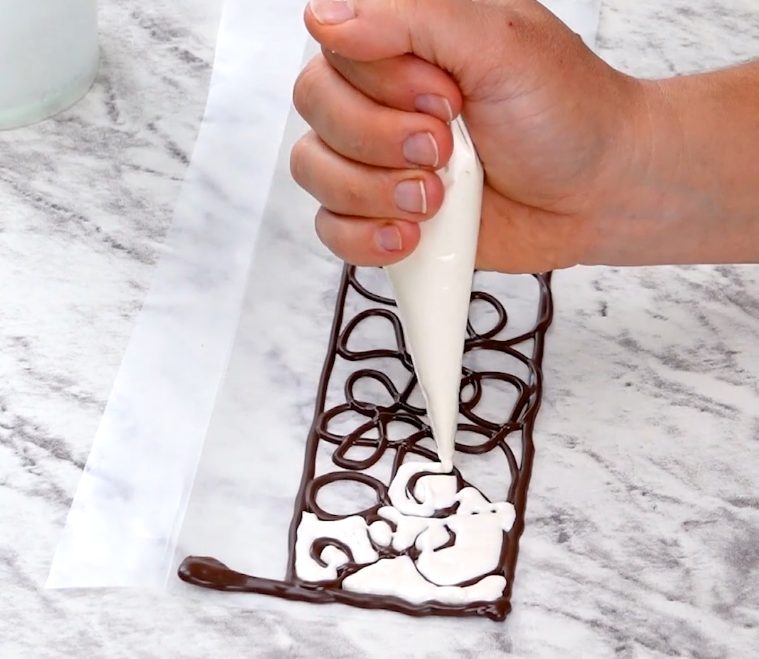
Then fill in the gaps with white chocolate.
Then fill in the gaps with white chocolate.
;Resize,width=712;)
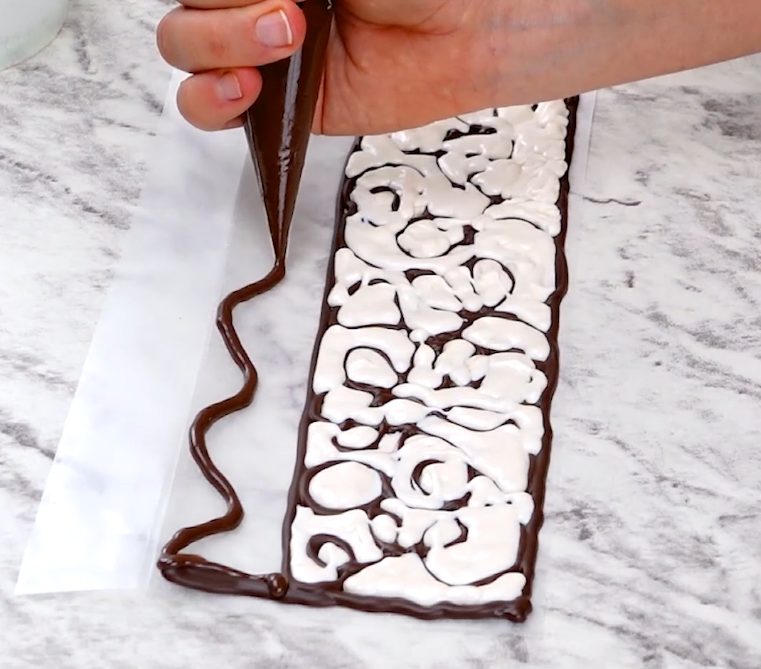
Go on decorating quickly.
Go on decorating quickly.
;Resize,width=712;)
Before the chocolate has set entirely, place it around the glass bottle and secure it with tape.
Before the chocolate has set entirely, place it around the glass bottle and secure it with tape.
;Resize,width=712;)
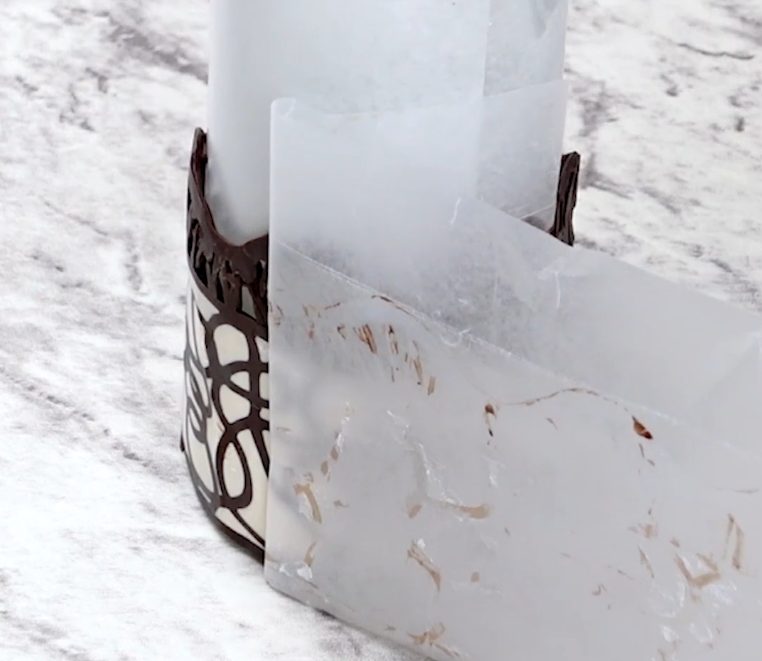
Put in the refrigerator for 10 minutes. Carefully remove the baking paper.
Put in the refrigerator for 10 minutes. Carefully remove the baking paper.
;Resize,width=712;)
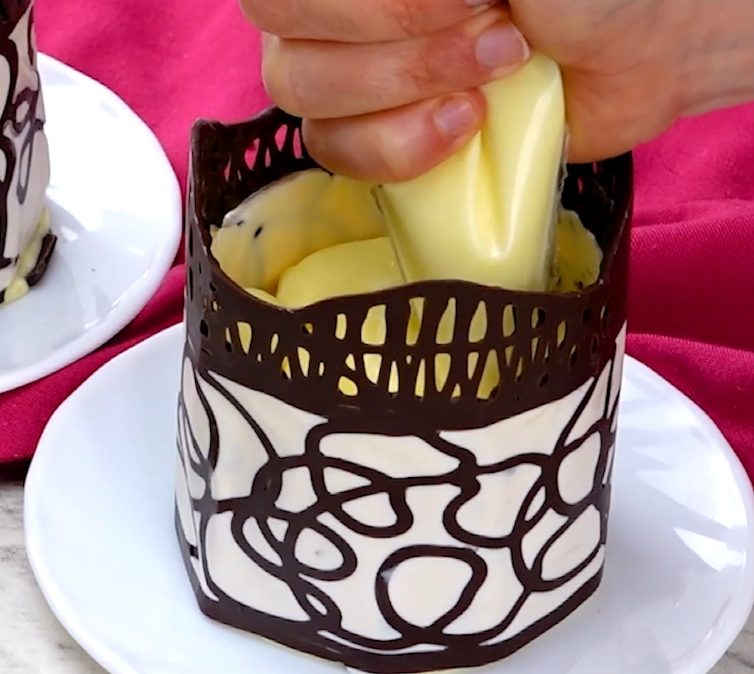
Fill the chocolate basket with the custard.
Fill the chocolate basket with the custard.
;Resize,width=712;)
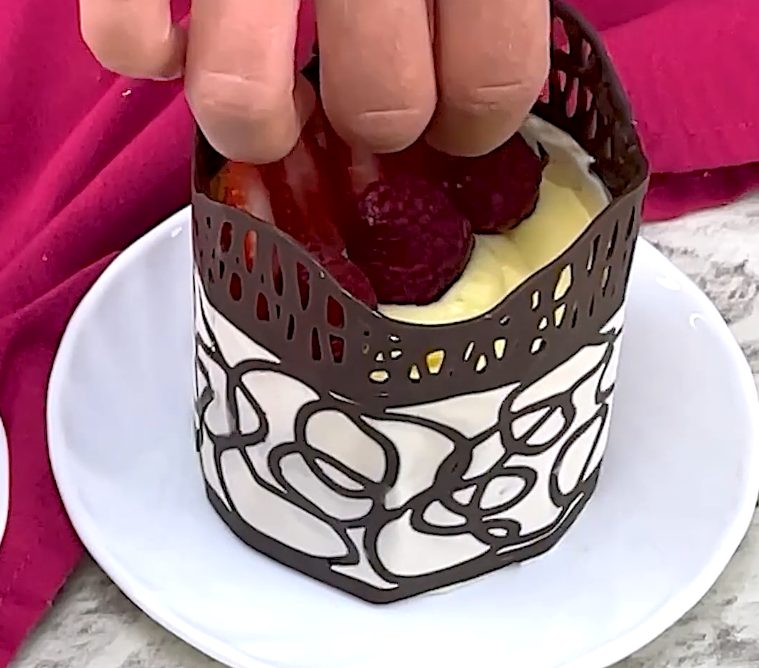
Add the fruits.Serve and enjoy!
Add the fruits.Serve and enjoy!
Notes
You can also create a bowl in the same way, using a blown-up balloon. Once the chocolate has set, pop the balloon and remove the basket.
;Resize,width=767;)
