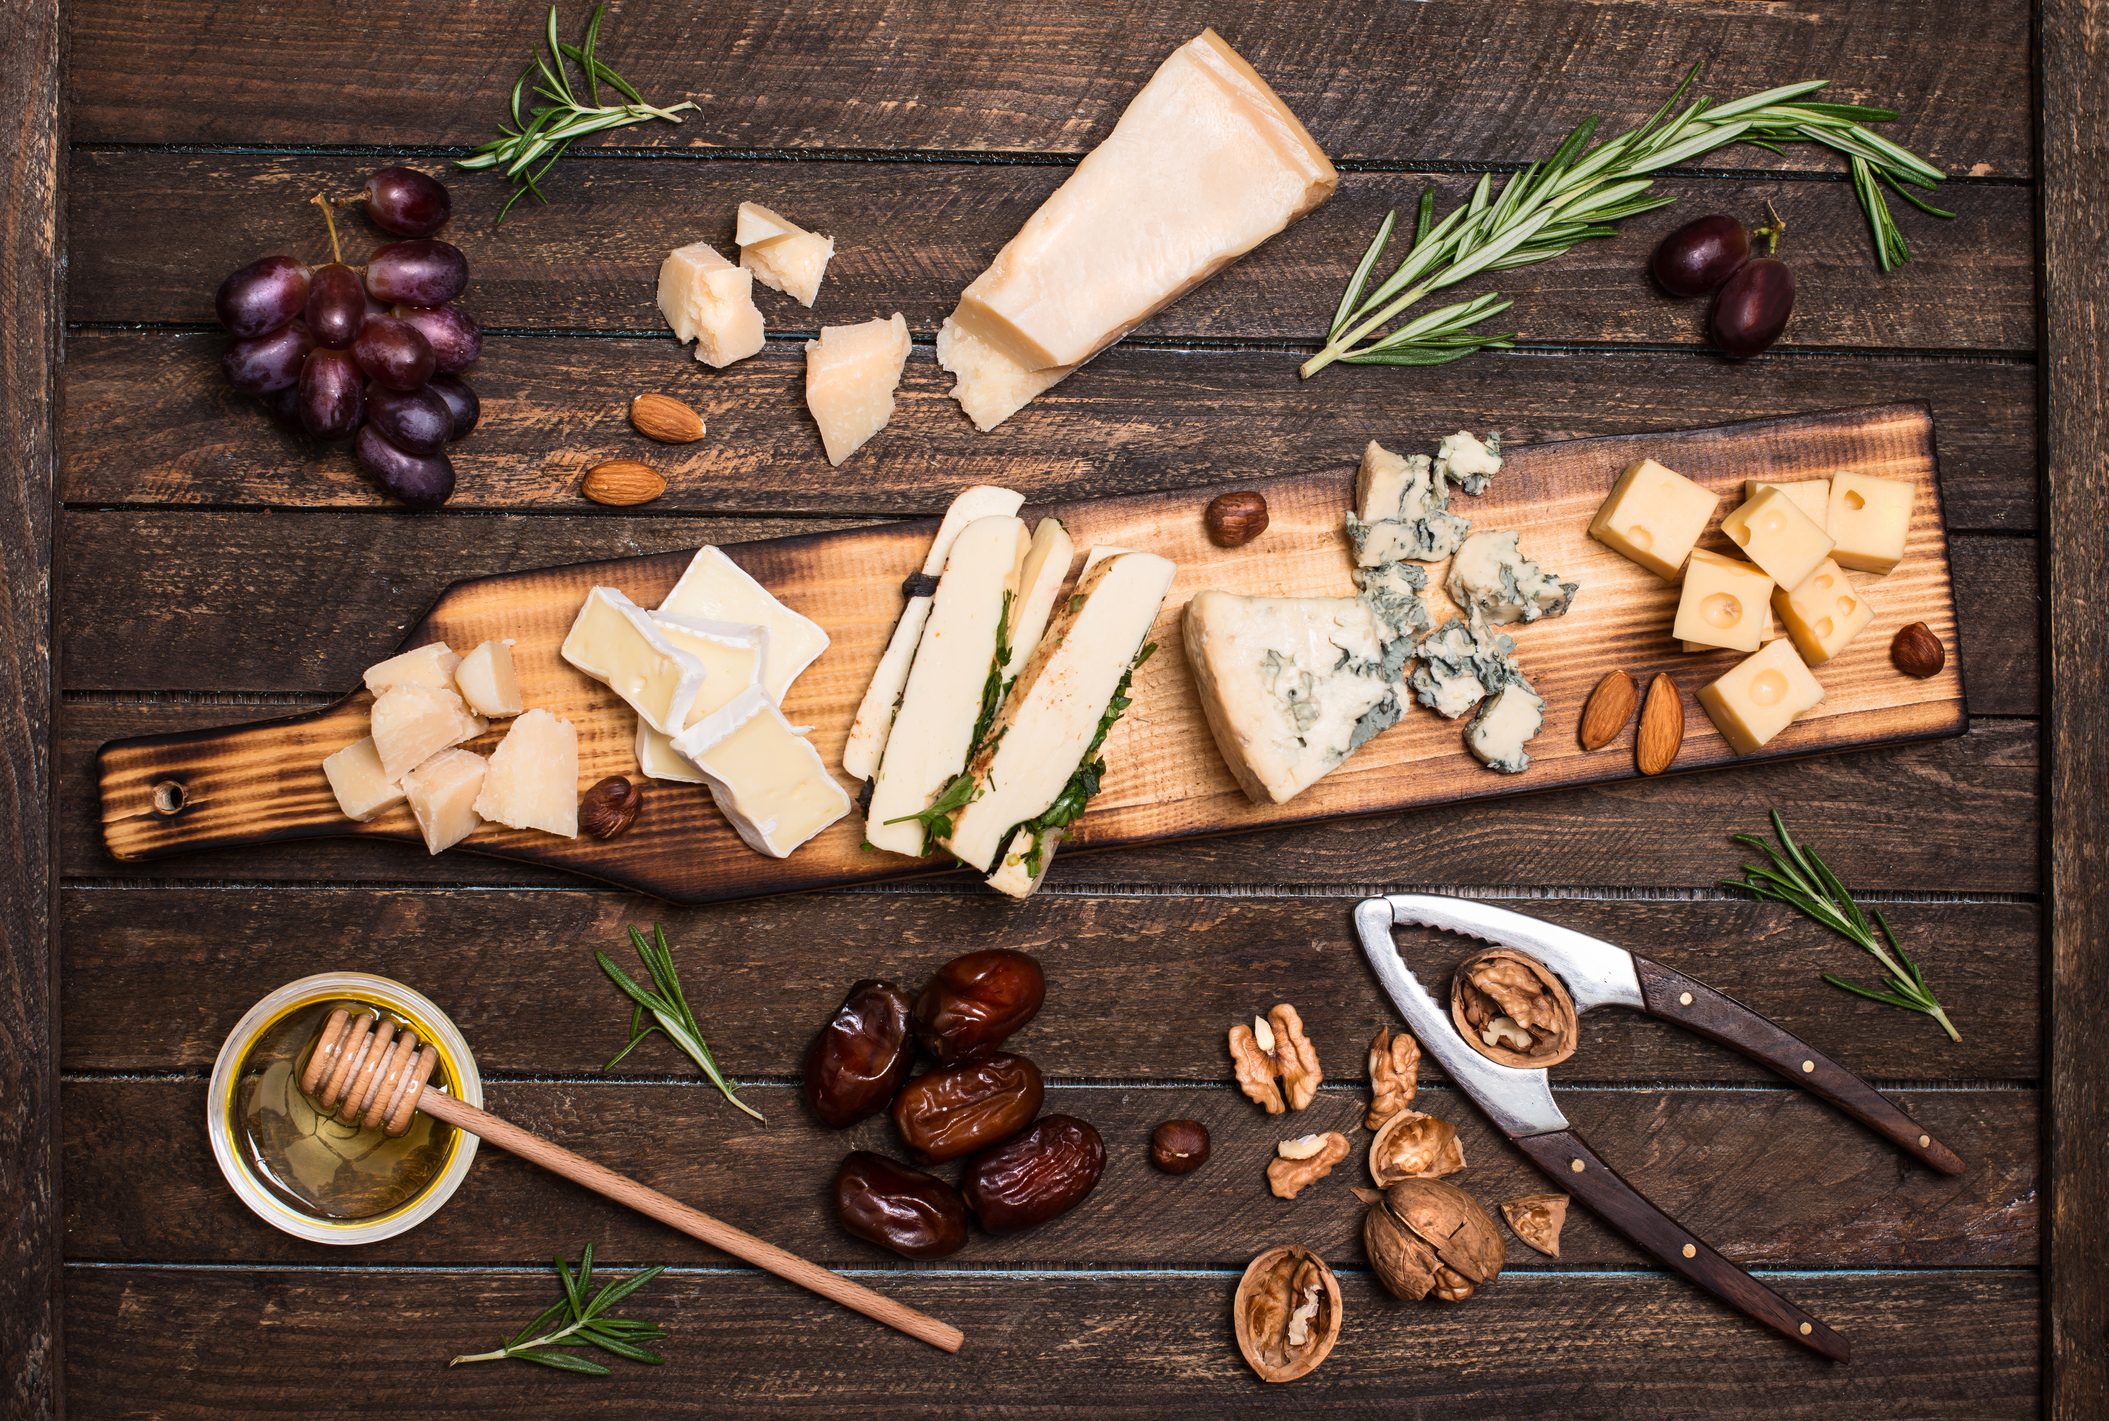
Create the Perfect Cheese Board in 7 Easy Steps!
Cheese platters have been popular for many years. And for good reason. They’re easy to put together, easy to eat while networking, and it makes for the perfect Instagram photo. But if you’ve been confused by the different varieties of cheese, nuts, and fruits, then look no further. Here is a fool-proof guide to make the perfect combinations of taste and texture!
1. Choosing a board
;)
This is basically what the food items will be served on. So it needs to be clean, large, and preferably pretty. You can use glass, marble, or stainless-steel trays, but wooden boards are very popular as the wood grains emphasizes the color of the food. If you don’t have wood, then get creative. Any large flat-surfaced tray would work!
2. Choose your cheese

Each guest needs a cheese portion of about 1 to 2 ounces, depending on how many cheeses you are serving. Try to use at least four different kinds of cheese and make sure to include cheese of different textures and flavors. Soft and semi-soft cheeses include Mozzarella, Brie, Stilton, Roquefort, Gorgonzola, and Fontina, while semi-hard and hard cheeses include Swiss, Provolone, Cheddar, Parmesan, Pecorino, and Asiago.
The cheese should preferably be served at room temperature, as this will allow the maximum flavor to develop. But they shouldn’t be too warm either. To get the cheese at the perfect temperature, remove it from the fridge about a half hour before serving.
3. Choose your meat

Look at your local deli for cured meats such as Prosciutto, Salami, and Mortadella. As with the cheese, try to include four different kinds and 1 to 2 ounces of meat per person.
4. Textural Elements and Something Sweet

Nuts (almonds, pecans, or walnuts), bread sticks, oatcakes, and crackers are a great way to add texture to the other soft food such as cheese and deli meats. If you use candied nuts, you have both sweetness and texture in one bite.
Fruits bring sweetness, but also act as palate cleansers. Especially since the meats, cheese, and crackers are all quite salty. Popular fruits include cucumbers, figs, and grapes. You can also incorporate dried fruits such as apricots or dates. Have a small pot of fruit jam or honey nearby so guests can add it to their cheese and crackers. Think outside the box, some hosts add a caramel to their cheeseboards. The sweet flavor goes well with strong cheeses.
5. Put It All Together

When putting all your elements together, make the center of the board the focal point. Put your fruits or your pot of jam in the middle, and build the platter outwards by adding your other foods.
6. Garnish

Once all the items are placed on the board, finish with beautiful garnishes. Edible flowers (geraniums, violets, marigolds, etc.) or herbs (like rosemary or mint) add a nice finishing touch.
7. Don’t Forget the Utensils!

Something that is often overlooked, are the utensils! If your cheese is not already chopped in smaller bites, then make sure each has its own knife. You don’t want to use the same knife you used to cut blue cheese, on a milder cheese. Leave soft cheeses in one whole piece so guests can serve themselves. You should also add a plane knife for spreading, a cheese fork to hold cheese in place when cutting, and tooth picks for the fruit.
Now you just need to add great wine and your event is off to a great start!
;Resize,width=767;)
;Resize,width=712;)


