
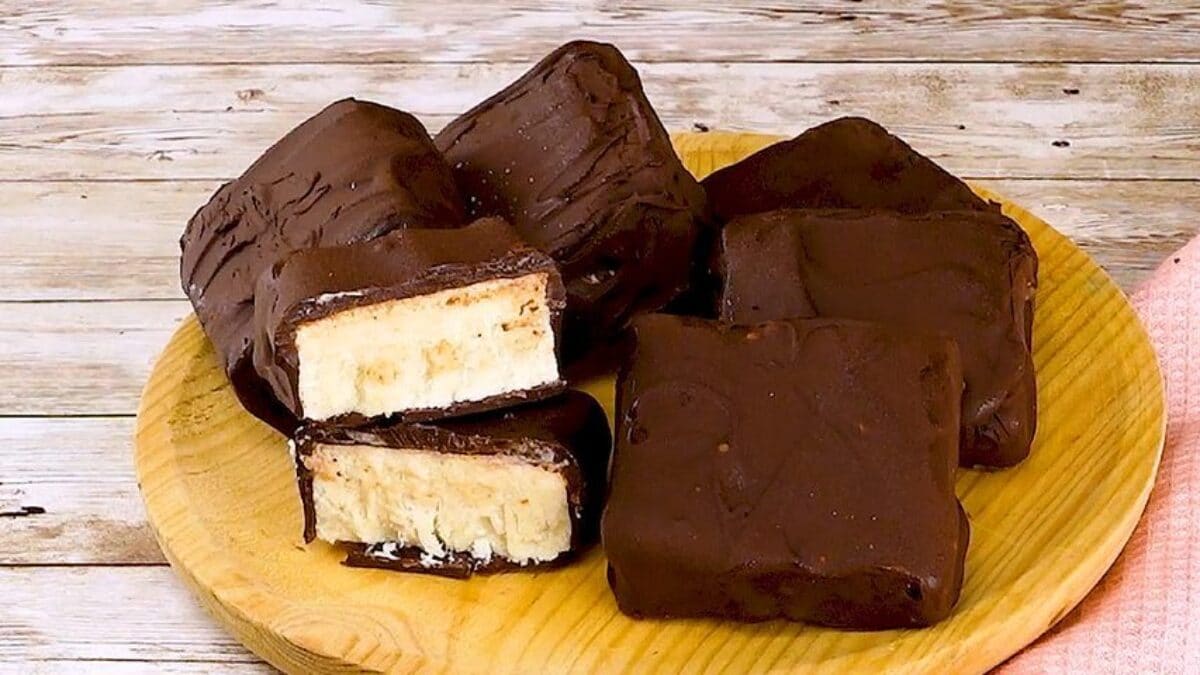
Made with creamy coconut milk, naturally sweet cashews, honey, a touch of vanilla, and a rich chocolate coating, this recipe transforms a few everyday ingredients into a frozen dessert that feels like a special occasion.
The process is surprisingly easy, just blend the ice cream mixture, let it chill until firm, slice it into squares, and coat each piece in melted chocolate. No ice cream machine is needed, and there is no need to spend hours stirring a mixture on the stove. You can serve these chocolate ice cream bars as an after-dinner treat or a refreshing snack on a warm afternoon.
What are Chocolate Ice Cream Bars?
Ice cream bars have been loved around the world for generations because they combine two irresistible dessert elements: creamy frozen filling and a chocolate exterior. The idea of frozen desserts dates back centuries, with early versions appearing in ancient cultures that mixed snow or ice with sweetened flavours. Over time, ice cream evolved from a luxury enjoyed by royalty into a popular everyday dessert available almost everywhere.
Chocolate-coated ice cream bars became especially popular because they solved a common dessert problem, which is enjoying ice cream without needing a bowl or spoon.
Pro Tips for The Best Chocolate Ice Cream Bars
- If your blender is not very powerful, soak the cashews in hot water for about 20-30 minutes before blending. This softens them and helps create a smoother ice cream base without tiny nut pieces.
- Full-fat coconut milk creates a richer and creamier texture compared with lighter versions. The extra fat helps the ice cream stay smooth once frozen.
- Take your time during blending, and the mixture should look silky and even, with no visible chunks of cashews remaining. A smooth base creates a better final texture.
- Before pouring the mixture into the tray, taste it and adjust if needed. A little extra vanilla or honey can enhance the flavour depending on your preference.
- If the frozen mixture is too hard, leave it at room temperature for a few minutes. This helps you create cleaner cuts without cracking the ice cream.
Frequently Asked Questions
How Do I Prevent the Chocolate From Cracking Too Much?
Allow the ice cream bars to sit for a minute or two before dipping them if they are extremely frozen. A slightly softened surface helps the chocolate coating attach better. Using chocolate that has been properly melted also helps create a smoother shell. Also, if the chocolate becomes too thick, warming it gently can make dipping easier.
Can I Add Other Flavors to These Ice Cream Bars?
This recipe creates a great base for experimenting with flavors. You can add ingredients like cinnamon, coffee powder, peanut butter, or coconut flakes. Just avoid adding too much liquid because it can affect the freezing texture.
Why Are My Ice Cream Bars Too Hard?
Homemade frozen desserts can sometimes freeze firmer because they do not contain commercial stabilizers. Letting the bars sit at room temperature for a few minutes before serving usually improves the texture. Also, using enough coconut milk and properly blended cashews helps create a smoother consistency.
How to Store Chocolate Ice Cream Bars
Store the finished chocolate ice cream bars in the freezer and place parchment paper between layers if stacking them. They can usually be stored for up to two weeks while maintaining good flavor and texture, and avoid storing them uncovered because ice crystals can form.
Ingredients
How to Make Chocolate Ice Cream Bars
;Resize,width=712;)
Pour the coconut milk into a blender, then add the cashews, honey, vanilla extract, and salt. Blend everything until the mixture becomes smooth.
Pour the coconut milk into a blender, then add the cashews, honey, vanilla extract, and salt. Blend everything until the mixture becomes smooth.
;Resize,width=712;)
Pour the blended mixture into a square tray lined with baking paper and place in the refrigerator overnight.
Pour the blended mixture into a square tray lined with baking paper and place in the refrigerator overnight.
;Resize,width=712;)
Once the ice cream base is fully set, remove it from the tray and cut it into squares.
Once the ice cream base is fully set, remove it from the tray and cut it into squares.
;Resize,width=712;)
Dip each ice cream square into melted dark chocolate. Place the coated bars on baking paper and allow the chocolate to set completely.
Dip each ice cream square into melted dark chocolate. Place the coated bars on baking paper and allow the chocolate to set completely.
;Resize,width=712;)
Once the chocolate coating has hardened, the homemade ice cream bars are ready to serve.
Once the chocolate coating has hardened, the homemade ice cream bars are ready to serve.
;Resize,width=712;)
Enjoy!
Enjoy!
;Resize,width=767;)
