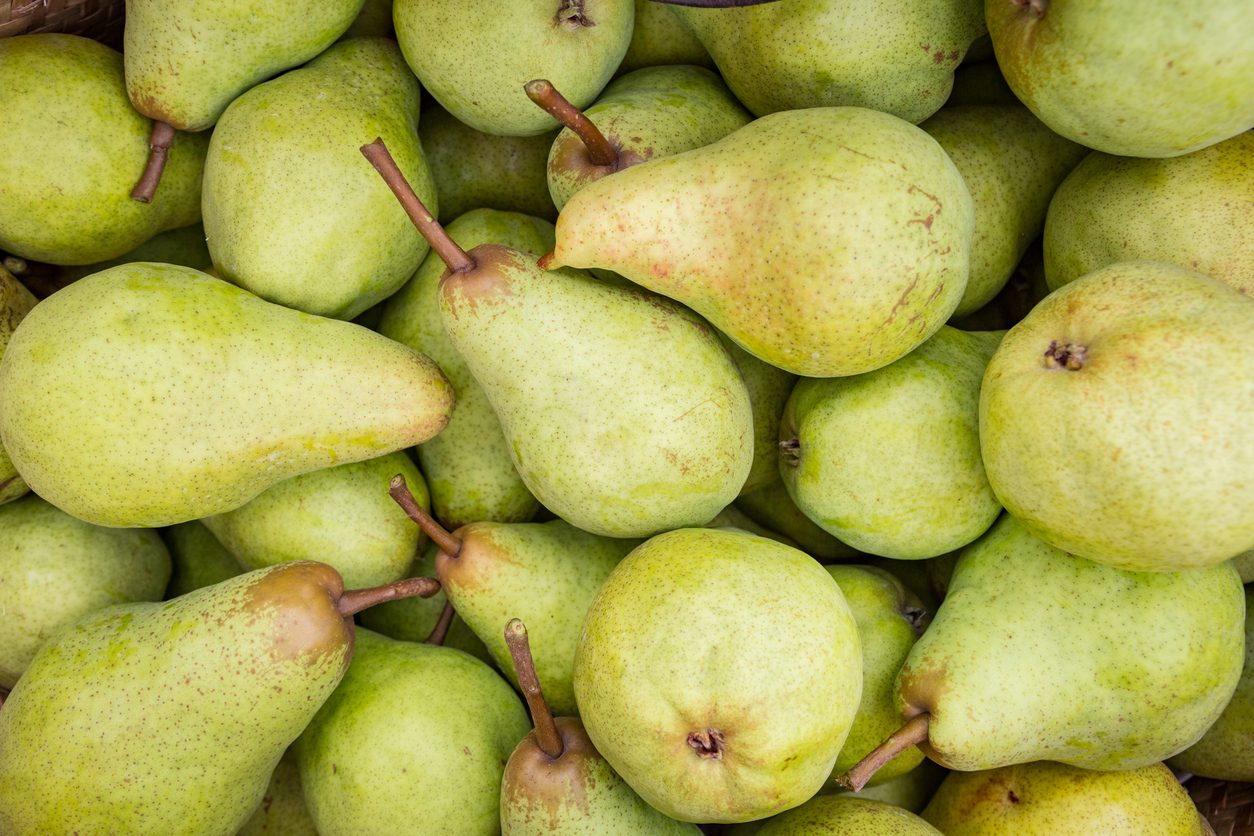
As we find ourselves in the heart of February, the season of pears invites us to relish in the sweet and juicy flavors that this fruit has to offer. Pears, with their delightful texture and refreshing taste, are not only perfect for enjoying as a standalone snack but also serve as a versatile component on a charcuterie board, and as an ingredient in a myriad of recipes, both sweet and savory. The existence of many pear varieties further enriches our winter diets, making it essential to master the art of cutting them. Knowing the right techniques to cut pears can enhance the experience of indulging in this seasonal delight and ensure that we make the most out of its culinary potential.
Method 1: Basic Slice and Core
Start by thoroughly washing the pear under running water to remove any dirt or pesticides. Then place the pear on a cutting board and use a sharp knife to slice it in half from the top (stem) to the bottom. With each half facing down, use a melon baller or a small knife to scoop out the seeds and the hard part of the core. You can now slice the pear into thin or thick slices, depending on your preference, or dice it for salads and cooking.

Method 2: Julienne for Salads and Garnishes
After washing the pear, slice off the bottom to create a stable base. Stand the pear upright and slice down along the sides, avoiding the core, to create four pieces. Take each piece and cut it into thin, matchstick-like slices. This method is perfect for adding a crunchy texture to salads or as a garnish.
Method 3: Fan Cut for Elegant Presentations
Begin by washing the pear, then cut it in half from top to bottom. Remove the core from each half as described in the first method, then place a pear half cut-side down and make thin slices, leaving about half an inch at the top uncut. Once you're done, gently press the pear half to fan out the slices. This presentation is especially appealing for dessert platings or alongside cheeses.

Tips for Storing Cut Pears
To prevent browning, submerge the cut pieces in a mixture of water and a few tablespoons of lemon juice. I f you plan to refrigerate them, store the pear slices in an airtight container in the refrigerator to keep them fresh for 3-5 days.On the other hand, for short-term storage, wrapping the cut surface with plastic wrap can also prevent browning.
Safety Tips for Cutting Pears
- Use a Sharp Knife: A sharp knife is safer and more effective than a dull one, as it requires less force to cut through the pear.
- Stable Cutting Surface: Make sure the pear is stable on the cutting board before you start slicing. Cutting a small slice off the bottom to create a flat surface can help.
- Keep Fingers Clear: Use the claw grip technique to keep your fingers away from the blade while cutting.
;Resize,width=712;)


;Resize,width=767;)
