Salt baking is widely adaptable and works wonders with different food items, including vegetables! Here are some other reasons to love salt baking:
- With proper application, the salt crust acts as a seal around your meat or fish, trapping the natural flavours inside by creating an oven within an oven.
- Salt is a poor conductor of heat. So, it allows slow heat penetration inside of the crust and helps the food maintain more of its natural juices.
- You can mix herbs and spices into the salt for even better flavor.
- Overall, the result of salt baking is more tender and flavourful food!
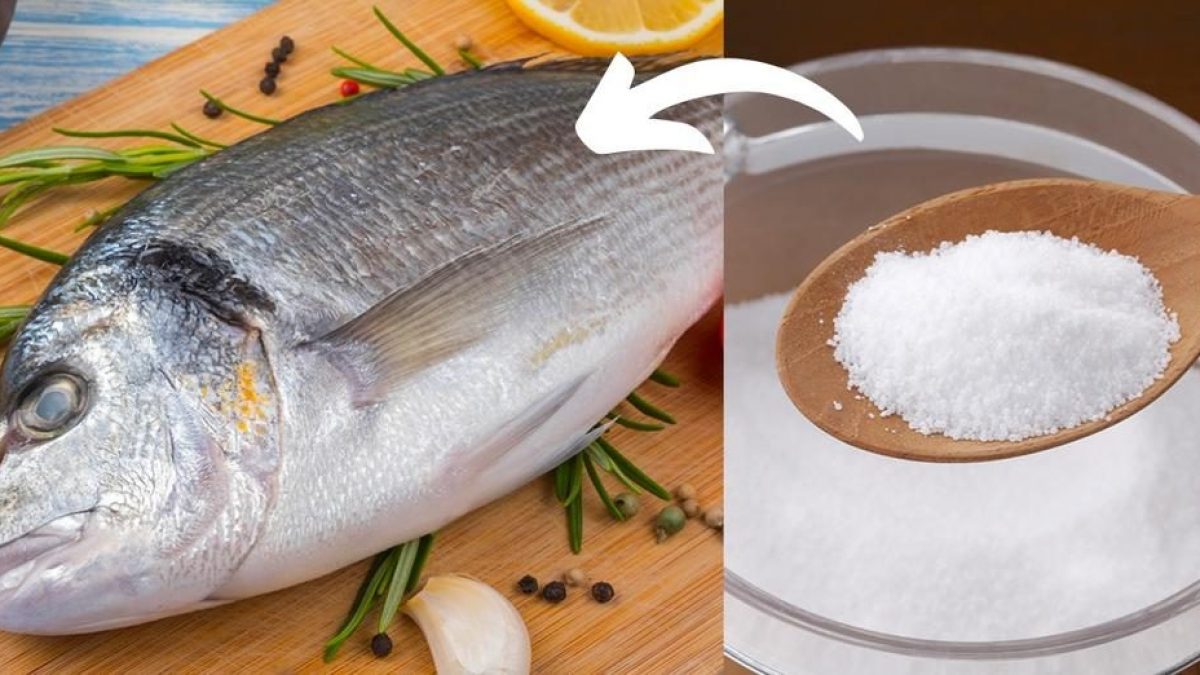
Here's a simplified guide to salt baking — this is one to save for later!
You'll need:
- 4-5 pounds of coarse kosher salt
- Egg whites
Step 1: Mix the Salt
Start by mixing very coarse salt; coarse kosher or any coarse salt works well. Use your hands to mix the salt with egg whites in a large bowl until it's well mixed and feels like damp sand. The egg helps the salt form a hard shell during baking, and makes it easier to remove it in large pieces.
Tip: You can substitute the egg whites with water.
Step 2: Form the Salt Crust

Line a rimmed baking sheet or roasting pan with a piece of parchment paper, then spread around enough of the salt mixture to form a layer about half an inch thick. Gently pat it down to pack evenly.
Lay the meat, fish, or vegetable on top of the salt layer, then cover completely with another layer of salt to fully bury and seal the ingredients in an even layer at least 1/2-inch thick.
Tip: Don't forget to pat the salt down to pack tightly, preventing it from falling apart during cooking.
Step 3: Bake

Carefully transfer the pan to a hot oven (preheated to 425°F). Such high temperature causes the salt shell to form quickly, ensuring that none of the flavor escapes and that the meat or fish don't dry out.
The salt crust might brown slightly and begin to crack in some places but don't let that tempt you into cracking it fully open to check for doneness. Instead, keep strictly to the recipe times.
Step 4: Remove the Crust

After fully baking according to a recipe, remove the pan from the oven and let it cool just slightly. Using a heavy wooden spoon or kitchen mallet, break the hot crust into large chunks. Be careful and expect that hot steam will be released as you do this.
However, try to work quickly so that the warm juices from the food don't dissolve the salt, brush away any clinging grains with a pastry brush.
Enjoy!
;Resize,width=767;)
