There are those who buy bread every day because they can't do without it, but there are also those who decide to bake it at home for the exact same reason. Diving into the art of home baking always brings great satisfaction: you enter a world as fascinating as it is complex (like that of leavened products in general), where the mistakes that can be made are numerous. Here we've collected the most common mistakes people make when deciding to make a fragrant and fragrant loaf of bread at home.
Dough Mistakes
Let's start with the mistakes you can make right from the start: avoiding them is already a step forward in making your bread according to the rules of the art.
1. Using the Wrong Flour

The main ingredient used to make bread is flour. Anyone new to the world of baking will discover that not all flours are the same and that specific types exist. These are usually products with a good gluten content, that is, the protein complex that allows the dough to have the right structure thanks to the ability to absorb water and retain gases during maturation. It is therefore necessary to pay attention to parameters such as strength (indicated by the letter W) and the balance between tenacity (P) and extensibility (L). The advantage is that when purchasing flour at the supermarket, the packaging often indicates whether it is a flour suitable for making bread or not, whether it is type 00, 0, 1 or 2. Manitoba is a strong variety that is often used mixed with weak flours, that is, those that contain little gluten, such as wholemeal flours which, despite having a good protein content, develop a less stable gluten network due to the presence of bran. The advice is to focus on a pure flour, or on a mixture and practice a lot.
2. Not Knowing What Yeast to Use

Depending on the desired result, the yeast used varies. Brewer's yeast, whether dry or fresh, works best in direct doughs with a short leavening time (2-4 hours), ensuring the necessary increase in volume. Sourdough starter, also known as mother yeast, is more suitable for longer rising times and more complex preparations. Biga and poolish, on the other hand, are pre-doughs made with brewer's yeast. If you're a beginner, managing the latter may prove more complicated, even though it can yield more aromatic results and a defined air bubbles. In any case, pay attention to the temperature: when adding the yeast, don't do it in very hot or cold water, but in lukewarm water, or you'll compromise its activation.
3. Hydrating Too Much

If you're new to baking, don't fall into the temptation of high-hydration dough: you've probably read recipes for bread (or pizza) doughs that contain more than 80% liquid, resulting in light, fragrant, flavorful, and easily digestible dough. This is true, but it can be tricky if you've never worked with dough before. The water-to-flour ratio is crucial for giving the dough the right consistency, and it's easiest to learn with a hydration level around 60%, which generally allows for good workability without the dough becoming soft and sticky, with the risk of wanting to add more flour (more than what's indicated in the recipe) to remedy this, resulting in a brick rather than a loaf.
4. Working the Dough Too Much or Too Little

The act of kneading the ingredients together allows the previously introduced gluten network to develop. If you work the dough too little, this "net" will not be able to form, penalizing the leavening, while if you handle it too much, you risk tearing it. To gain confidence, the best way to do this is to use your hands and not a stand mixer, so you can "feel" the dough. It's not easy to tell when it's ready, but at home you can use the veil test trick: take a small portion and stretch it with your fingers; it shouldn't break or fray, but rather be stretchable and resistant.
5. Letting it Rise More Than It Should

A mistake many people make when making leavened products in general is thinking that the longer they rest, the better. This isn't actually the case, as the times indicated in recipes are the correct ones for optimal growth and fermentation. At a certain point, the yeast's nourishment runs out, and therefore, allowing them to rest any longer can have the opposite effect—a loaf that has exhausted its strength and collapses. Bread is usually left to rise twice: first, the entire dough (the first), and then the individual loaves (the second). Pay attention to the containers: they must allow the dough to rise perfectly, neither too narrow nor too wide, depending on the quantity.
Cooking Mistakes
Baking bread is a particularly delicate process, which can be accomplished using a variety of techniques. A good ally is a refractory stone, as it simulates the conditions created in a wood-fired oven: it absorbs heat and releases it gradually, thus providing the right amount of softness inside and a crispy crust on the outside, ideal for large loaves. For rolls or loaves, you can also opt for the more classic baking pan provided. Steam is another essential element, especially in the early stages: at home, you can create it by placing a small pan of boiling water on the bottom for the first 10 minutes, or by mist-spraying the chamber. A cast iron pan can be very useful: cook first with the lid on, so it retains the moisture inside, and then without, to brown the surface. That said, let's look at the mistakes to avoid.
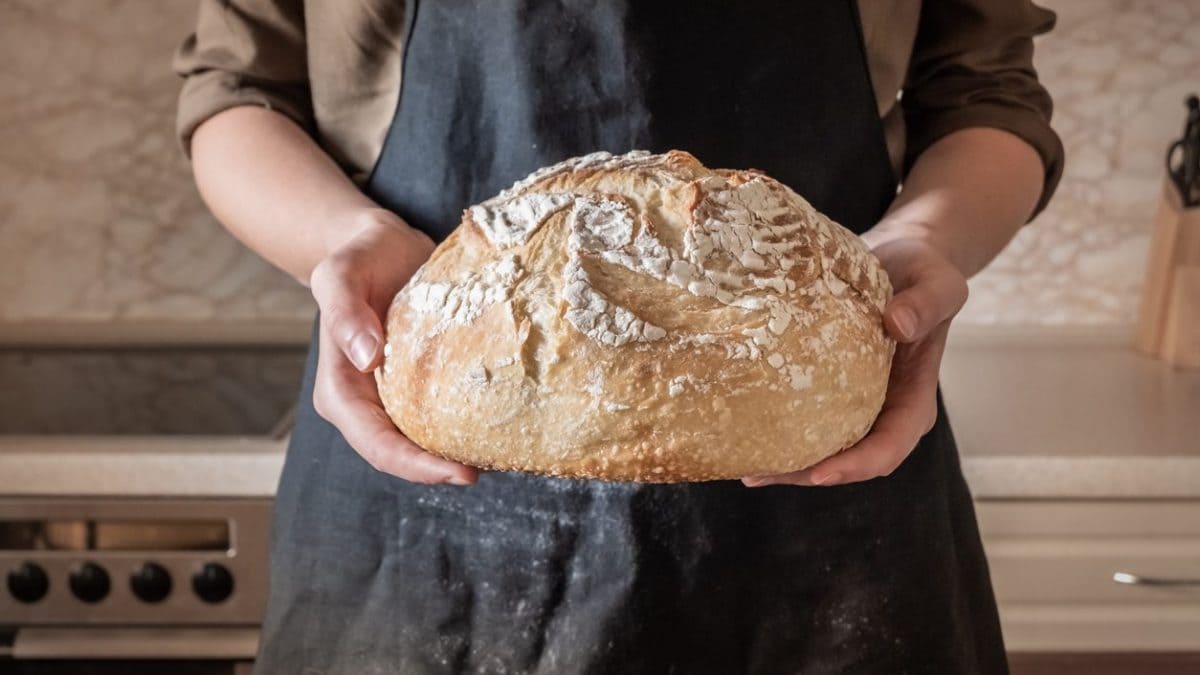
6. Not Making the Famous Cuts

Scoring the surface isn't an aesthetic affectation, but a functional step that occurs once the bread has risen properly and is ready to bake. During the first few minutes of baking, the bread rapidly expands thanks to the heat and the pressure of the internal gases: if the outside hasn't been scored, the pressure, having no escape route, can cause cracks, resulting in a misshapen loaf that bakes unevenly.
7. Not Preheating the Oven

Bread is one of those preparations that requires preheating the oven, both to encourage initial development in the oven (oven spring) and to ensure even baking, preventing the dough from remaining raw inside. The recommended setting is static, as convection is too aggressive: it can dry out the crust excessively or cause it to burn. You can also use convection only in the last few minutes to dry the crust if necessary.
8. Cooking at Too Low a Temperature

Let's start from the assumption that there is no universal temperature for all types of bread, but generally speaking, a range between 375°F/190°C and 465°F/240°C is recommended, so that the Maillard reaction can start, which gives the final product a golden color and the classic aroma. Staying too low results in a pale and undercooked result. If you have a thermometer, the bread is ready when the core is between 195-205°F/90-96°C.
Conservation Mistakes
Bread can be stored: it generally lasts fresh from two or three days to a week, but it can also be frozen for longer, from three to six months. You've reached the end of your work: there's no point ruining everything right now.
9. Not Letting it Cool Down

Once baked, place the bread on a rack or lean it upright against a wall: this allows air to circulate, drying out any excess moisture. Sealing it immediately in a bag while it's still warm will make it soft.
10. Leaving It Exposed Without Covering It

Once it has cooled, protect the bread from the air that becomes its enemy: close it inside a paper bag and wrap it in cotton or linen cloth. Be careful with sealed plastic bags, as mold may appear.
11. Freezing It Badly

Bread should never be stored in the refrigerator, but it can be frozen. The best way to freeze a large loaf is to cut it into slices and divide them into portions, wrapping them in plastic wrap and then in aluminum foil or directly in freezer bags. Smaller rolls and loaves that take up less space can be placed in the freezer whole.
12. Throwing Away Stale Bread

We conclude with one of the biggest mistakes people commonly make: throwing stale bread in the garbage. Stale bread can be used to create countless recipes, both sweet and savory, creative and traditional, all while avoiding waste in the kitchen.
;Resize,width=767;)
