
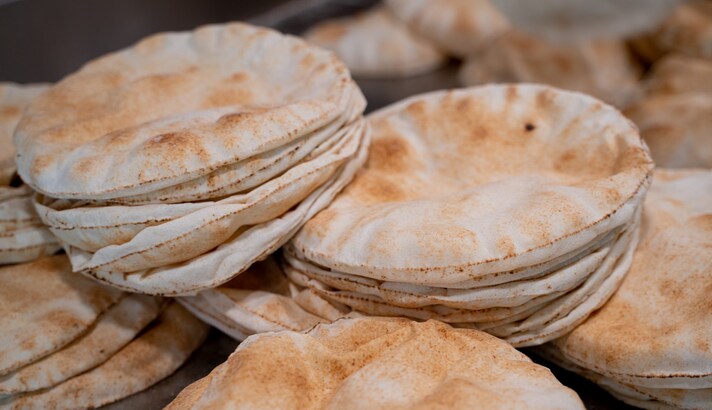
Pita bread has its origin from the Mediterranean, and owes its roots to the Arabians. As such, it is often called Arabic- or Syrian Bread. But don’t let these fancy names scare you. Here we will show you how to get the perfect pita with simple ingredients and a few easy steps.
Which Flour Should You Use?

Although you can use any type of flour, it is a good thing to add a little bit of Whole Wheat or Atta flour to your recipe. The reason for adding this is to give stability to your dough. Whenever you roll out dough it often shrinks or springs back, and this prevents you from getting a puffy pita. Thus, the addition of some Whole Wheat or Atta makes the rolling out part, which is an important part, much easier.
Don’t Kill The Yeast

Any type of yeast will do, whether it fresh or instant. But make sure that the yeast has not reached its expiry date yet! The fresher the better. If you opt for the active dry variety, remember that you must first activate the yeast before you can use it. If you are using instant yeast, then this is not important.
Water Temperature is Important

The temperature of the water is very important. If the water is too hot, you end up killing the yeast and your pita will never rise. On the other hand, if your water is too cold then the yeast will not active, leading to the same result, i.e., a flat pita. Thus, it is crucial that you maintain the water at the correct temperature, which is about 90 to 100-degree Fahrenheit. Salt, sugar, and oil are what finishes off the basic recipe.
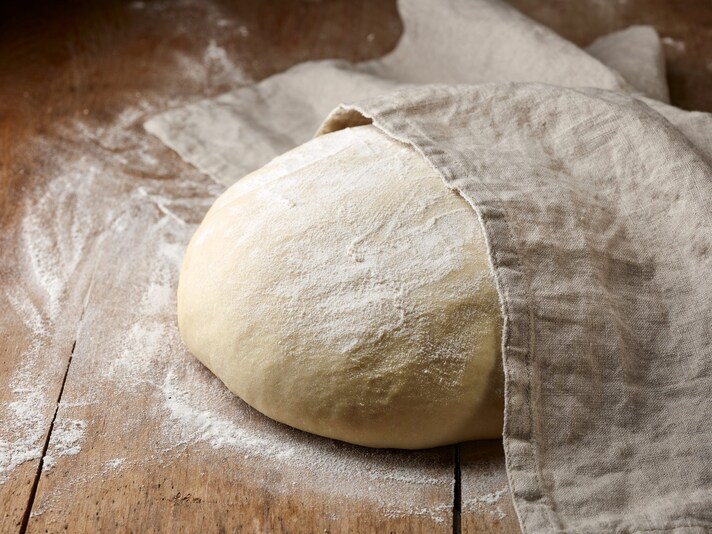
Getting Your Knead On

One thing that we often tempted to do in any type of bread backing is to add more flour when we think the dough is too sticky. However, don’t be tempted to add more flour just yet. This can make the dough too dry, and you need the moisture in the dough to create the steam that will puff up those pitas. Also, the dough eventually becomes less sticky the more you work it due to gluten development
Shaping And Rolling Your Pitas Correctly

The dough should proof for about 2 hours after the first kneading after which it can be divided into pieces. It is important to roll the dough out evenly. If the dough is uneven, then it might puff up more in certain areas and stay flat in others. Also, the thinner the dough is rolled out, the more it will puff up when it is baked. Avoid tearing or cracking the dough, which will let moisture out and deflate the pita.
Don’t Skip The Second Proofing

After rolling out, it is time for a second proofing. Here it is essential that the pieces of dough are placed on parchment paper or on a surface that is lightly dusted with flour, and then covered with a tea towel. It is very important that the dough not stick to the surface that it is placed on, since this can cause tears in the dough when handling them. Such tears will cause steam to escape and won’t puff up the pita.
Get The Temperature Right
To get that perfect puffy pita, you need the right conditions when baking. This involved having the stove top or oven in which you are baking them to be extremely hot. This is crucial since you need to seal the outside of the pita quickly while at the same time quickly creating steam inside that will puff them up. A low temperature will not cause the pitas to puff up, resulting in a disappointing flat and thick pita.
How To Bake The Pit Bread
The right temperature is not the only important consideration in baking the pitas. It is equally important that they be placed properly. This means that you have to start baking the pita with rolled out side (i.e., top) facing down first. This is because the top become slightly drier than the bottom, and this drier part is easier to flip on the stove top and also seals quicker.
How To Store Them Correctly

When the pitas are done, you need to keep them warm and soft. Do this by loosely wrapping them in a tea towel when they are done. By wrapping them in a tea towel, you keep them soft for a longer time than without it, while at the same ensuring that some of the moisture can escape so that they don’t become soggy.
What To Do With Leftover Dough

If you have too much leftover dough, you can store it in the fridge for about a week. Otherwise, you can store the rolled-out dough in the freezer for about a month or two. Stack them on top of each other with a piece of parchment paper between each of the pitas. This might make it worthwhile to prepare a large batch and then just remove pitas from the fridge or freezer as you need them.
;Resize,width=767;)
