Ingredients
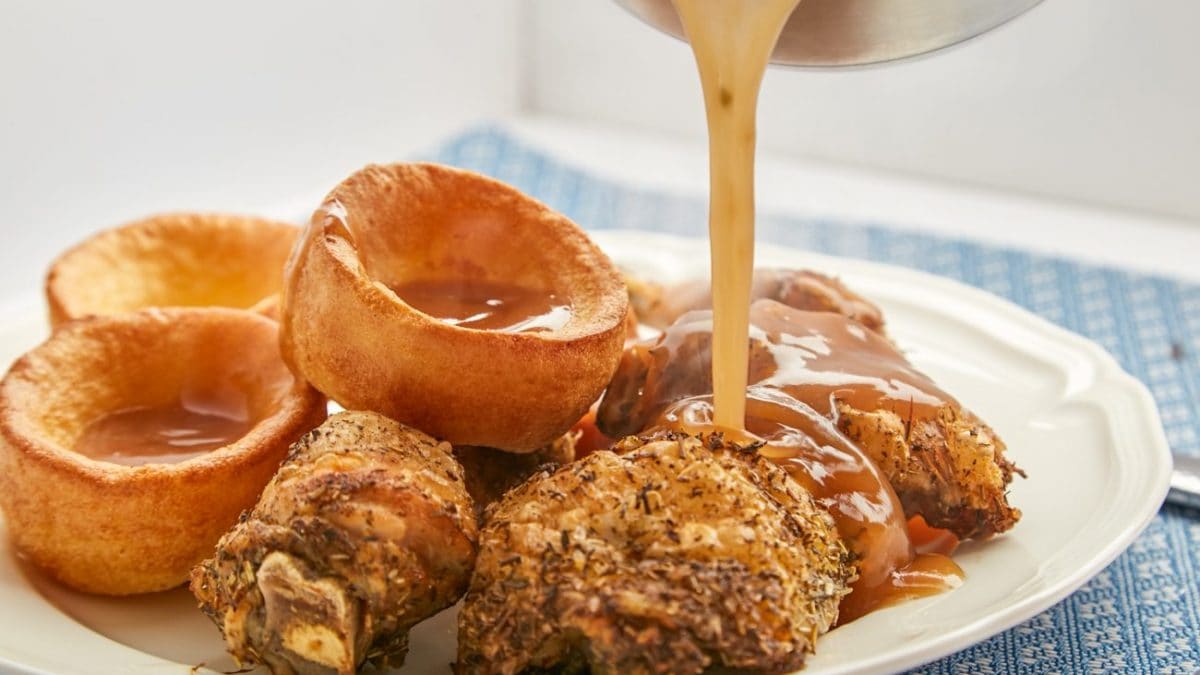
If you love the crispy skin of perfectly cooked chicken that opens up to the tender meat beneath, then you’ll love this crispy herb chicken with gravy!
Skin-on chicken thighs and drumsticks make the perfect (and budget-friendly) cut of poultry for this recipe. The secret to getting beautifully crispy skin on the chicken lies in the herb rub and the cooking method. The chicken is cooked on a rack above a roasting tin in a very hot oven which gives crisp skin while keeping the meat moist and succulent underneath.
It only takes around 30 minutes to cook this dish, so is perfect for a speedy supper or for feeding a hungry crowd. You can also make the perfect no-fuss gravy to go with the chicken.
How to make Crispy Herb Baked Chicken
If you want extra crispy skin, then remove chicken from packaging, and pat chicken skin dry with paper towels. Leave the chicken in the fridge overnight, uncovered, to dry the skin out.
When you are ready to cook, preheat oven to 240°C/ 465°F (220°C fan).
Line tray with foil then baking / parchment paper, place rack on the tray. I used a foil tray with a rack on top instead.
;Resize,width=107;)
;Resize,width=107;)
;Resize,width=107;)
If you want extra crispy skin, then remove chicken from packaging, and pat chicken skin dry with paper towels. Leave the chicken in the fridge overnight, uncovered, to dry the skin out.
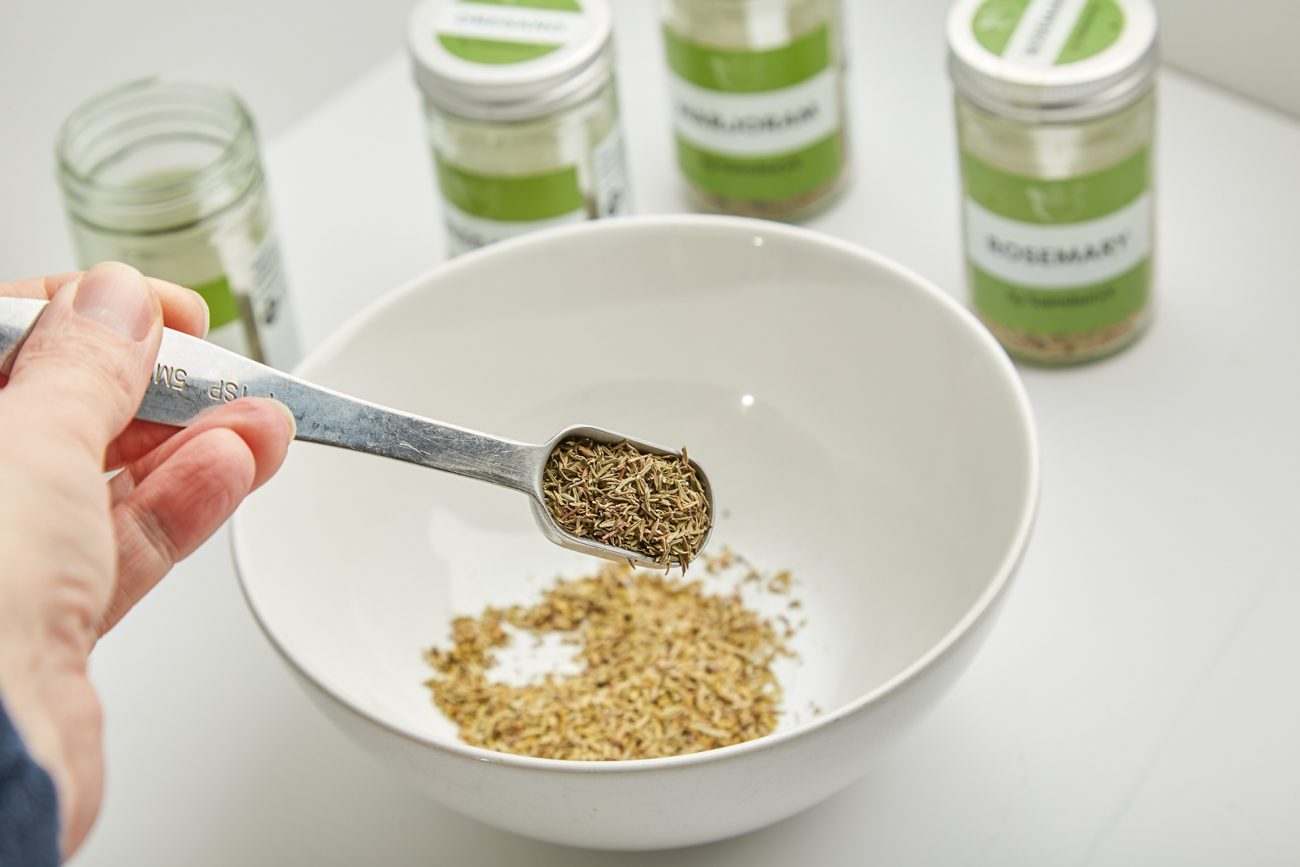
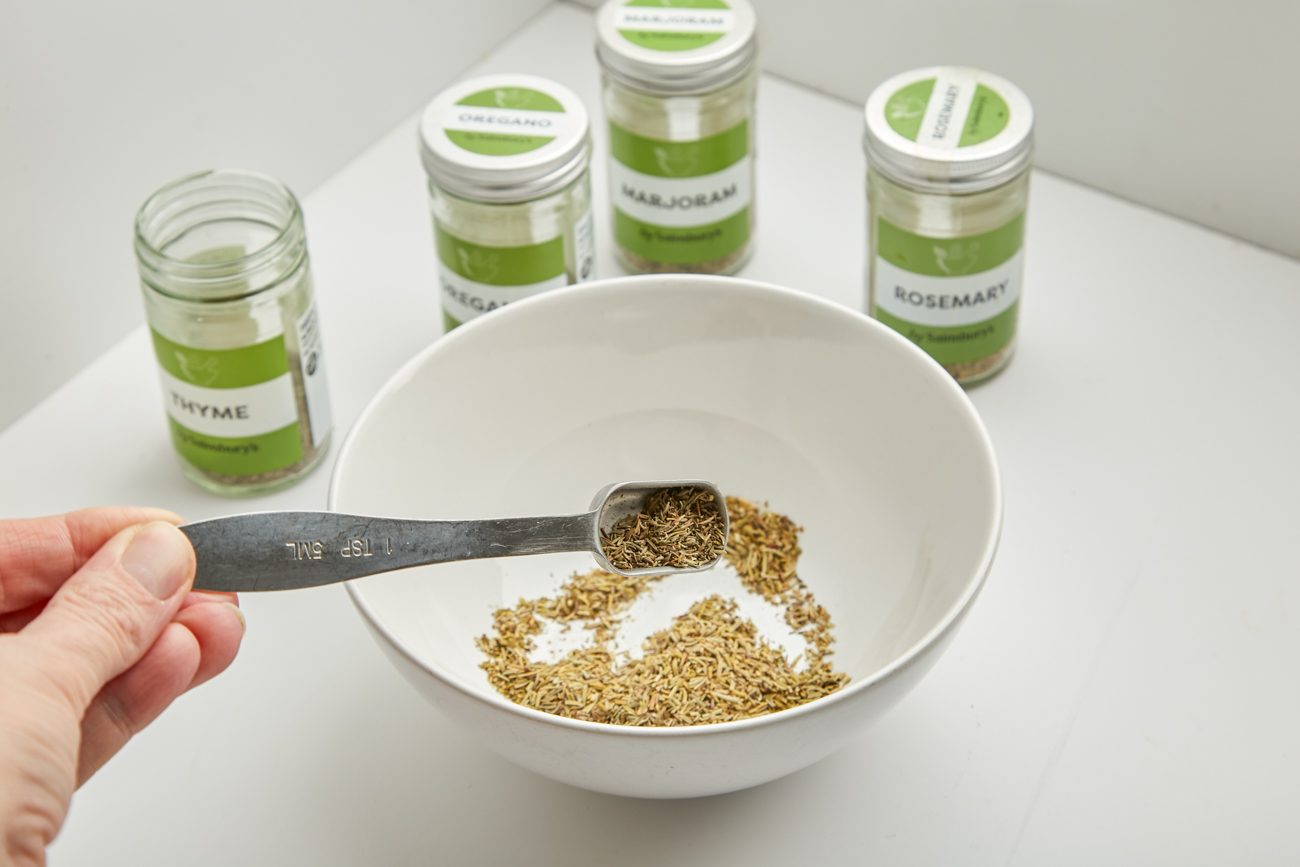
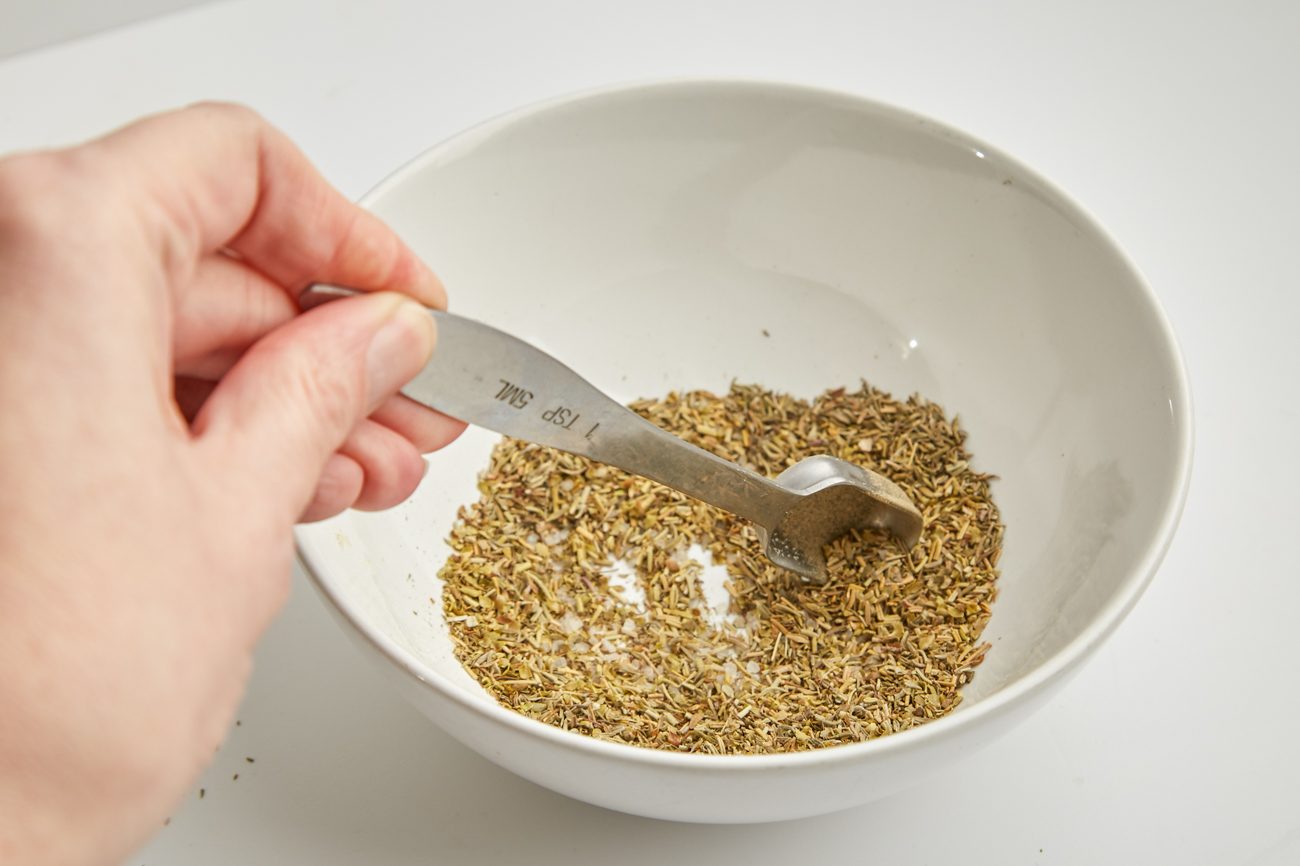
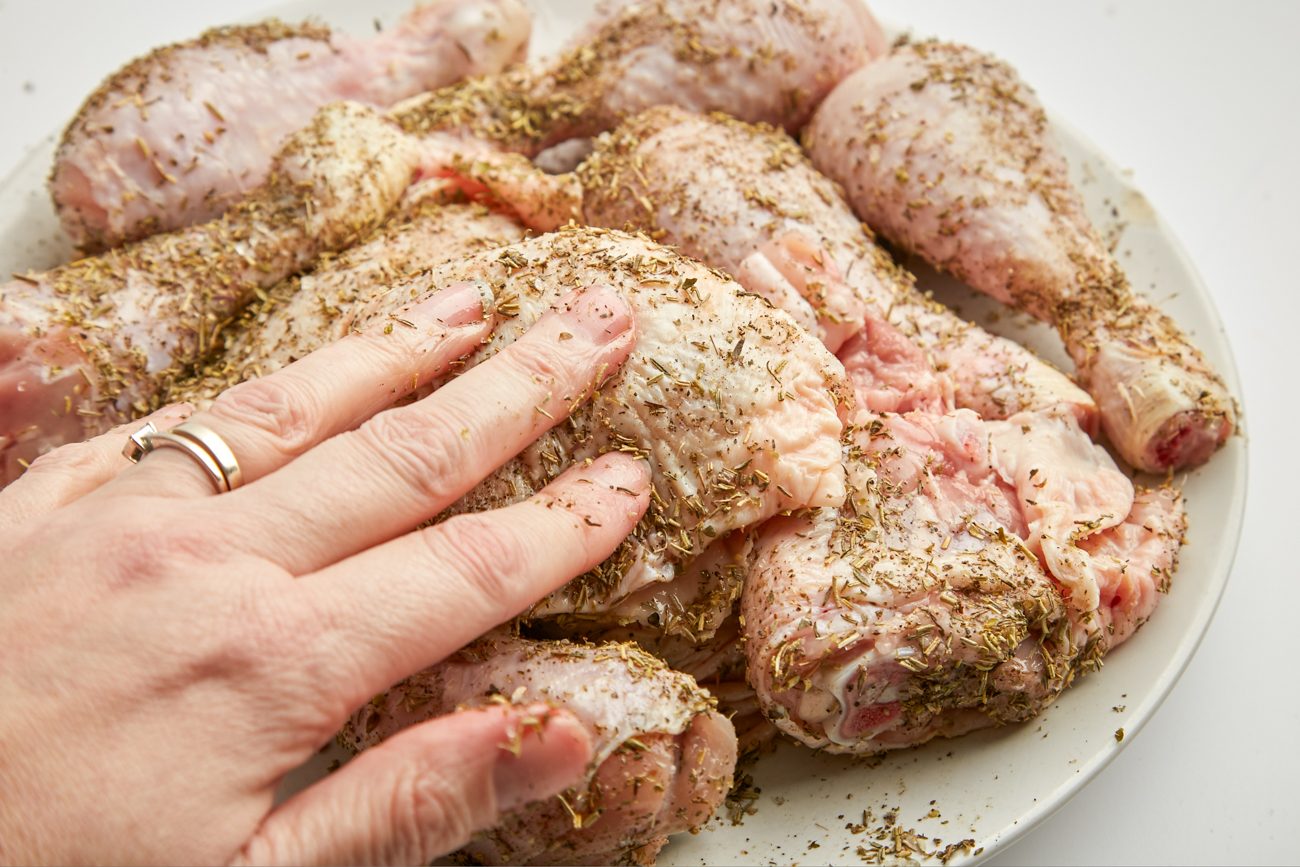
Mix the herb rub in a bowl, and pat chicken skin down with a paper towel again.
Drizzle the chicken with oil and rub all over, then sprinkle with the rub. Use your hands to rub herbs all over the chicken, making sure all the skin is covered.
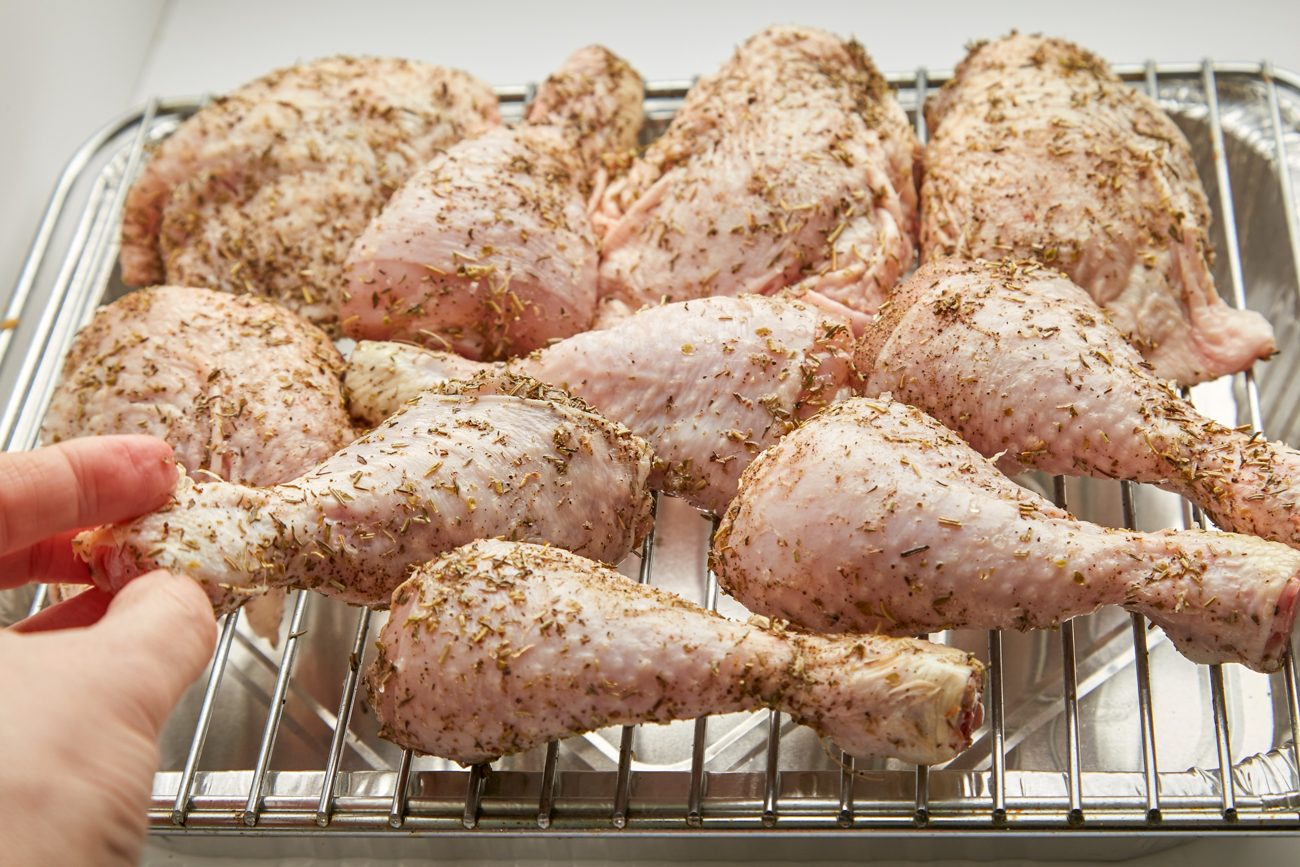
Place on the rack.
;Resize,width=107;)
;Resize,width=107;)
;Resize,width=107;)
When you are ready to cook, preheat oven to 240°C/ 465°F (220°C fan).
For thighs and drumsticks – Arrange thigh pieces with the skin side up, and for drumsticks the side with the most skin upwards.
For butterflied/spatchcocked chicken – Arrange breast side up. The tail end of chicken should be pointed towards the back of oven, and neck end closest to the door.
Roast
;Resize,width=107;)
;Resize,width=107;)
;Resize,width=107;)
Line tray with foil then baking / parchment paper, place rack on the tray. I used a foil tray with a rack on top instead.
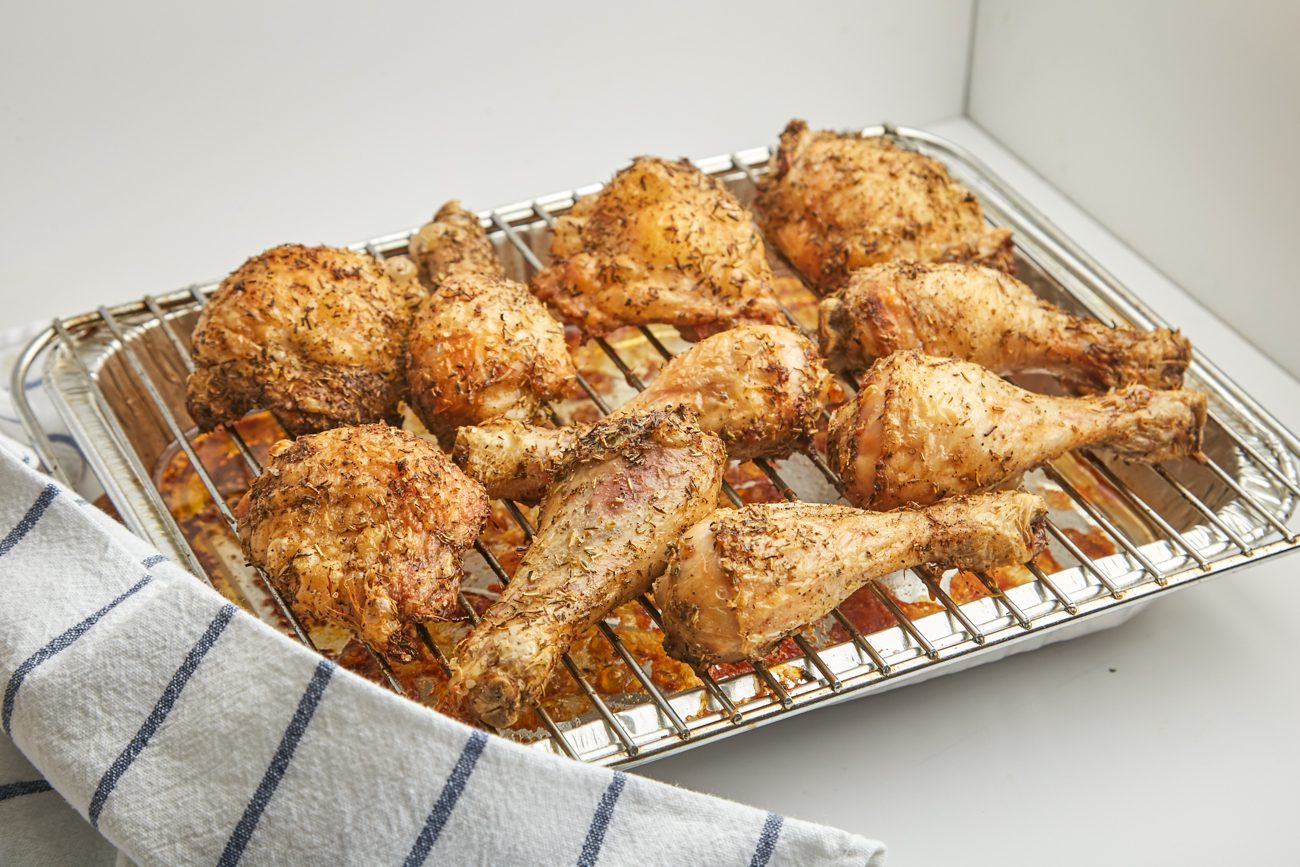
For thighs and drumsticks – roast for 35 minutes or until internal temperature is 75°C/165°F. Make sure the juices run clear when you test with a skewer in the middle.
For butterflied/spatchcocked chicken – roast for 45 minutes, or until internal temperature is 66°C / 151°F for the breast AND 75°C/165°F when a thermometer is inserted into the joint between the leg and the thigh.
Remove from oven and tent VERY loosely with foil to keep the skin crispy. Let it rest for 5 minutes while you make the gravy.
Gravy
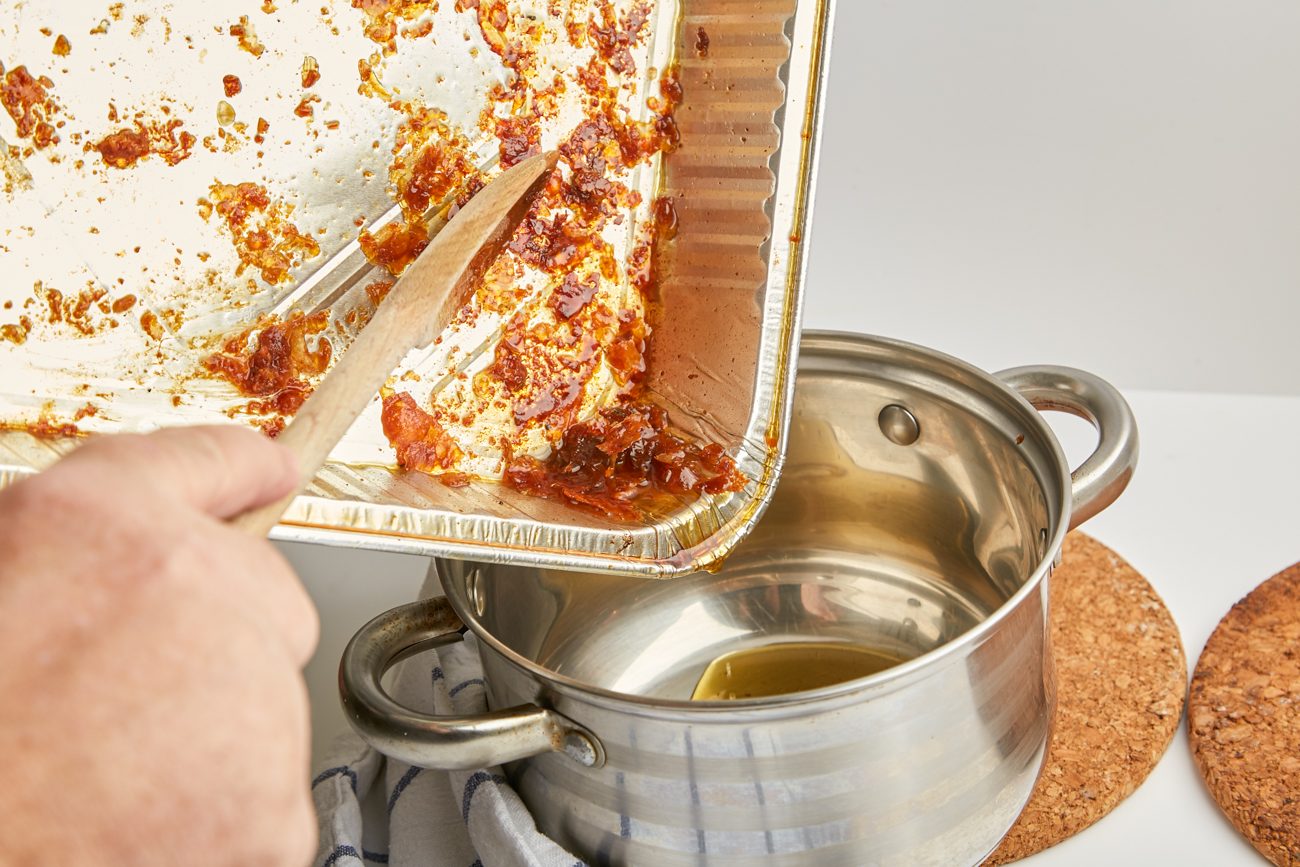
Scrape every bit of juice, fat, and all the crispy and sticky brown stuff off the tray into a saucepan. (Sounds horrible, but these flavors are what makes the gravy so good!)
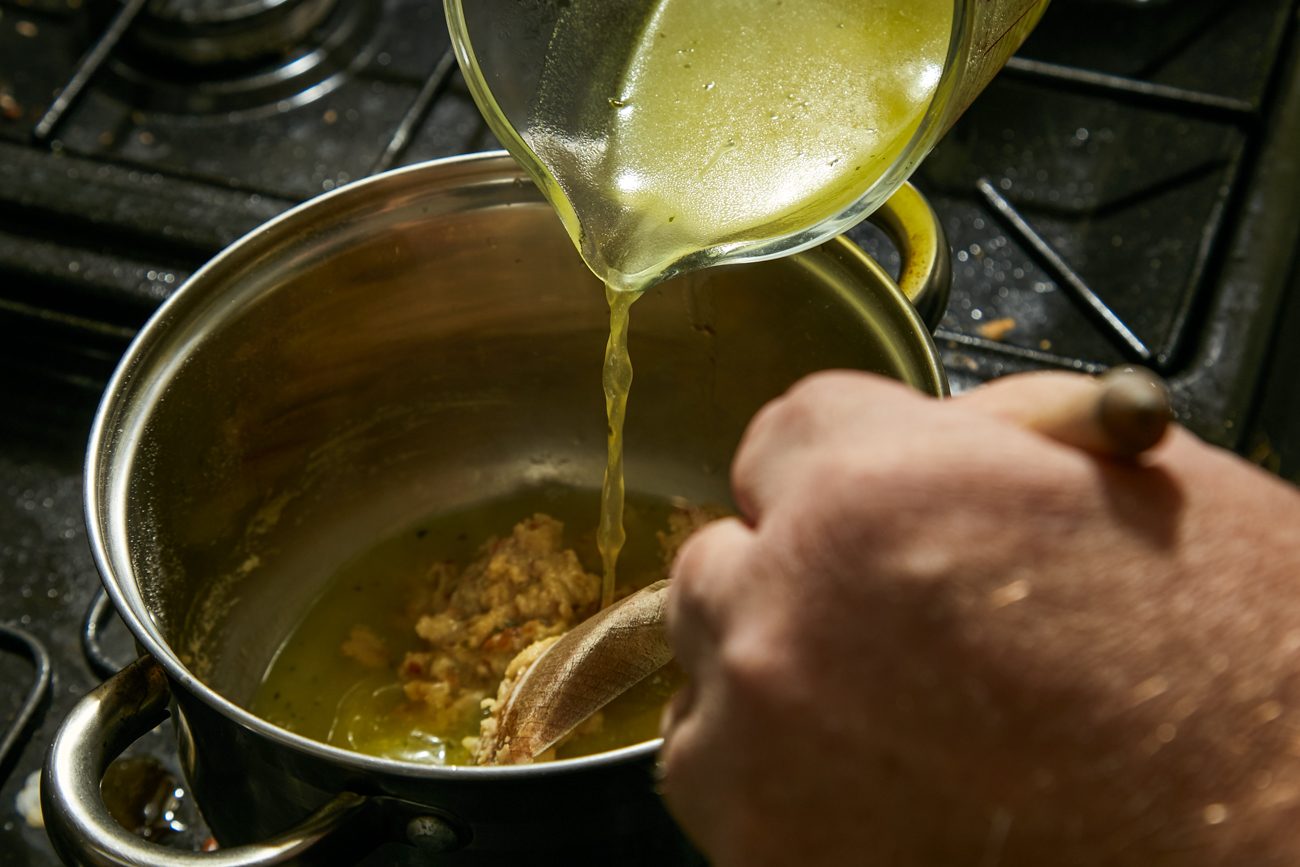
Put the pan onto a medium heat on the stove. Once juices are bubbling, add flour and whisk to combine. Slowly pour in the broth, whisking constantly.
Add soy sauce or gravy browner and pepper.
Continue stirring for 3 to 5 minutes until the gravy has thickened. Remove from stove, check seasoning and pour into a jug for serving.
You can serve the thighs and drumsticks on a big platter without carving them up, but if you did a spatchcocked chicken, carve as follows:
Carve up the chicken as you would a roast chicken. Cut the breast into 3 or 4 pieces. Cut thighs in half along the bone.
Pile it all up onto a plate, garnish with parsley or other fresh herbs. Serve with gravy on the side for those who like it.
Recipe Notes
* Oil – this recipe calls for high-temperature cooking, so you need an oil with a high smoke point. Butter and olive oil will burn and taste unpleasant.
* Herbs – this combo of herbs gives the chicken a good flavor without being overpowering, but feel free to change the herbs you use. Try to avoid fresh garlic because it will burn at high temperatures and taste bitter. Powdered spices will also prevent the skin from crisping up as much as it should.
For the cooking tray, you need a rack to ensure the pan juices brown and also to keep chicken out of the fat. If you don't have one, that's ok – it will still work just fine, but the underside of chicken will be more oily.
I didn’t have a roasting tin with a rack, so I improvised and used a foil roasting tray with my grill pan rack on top – it did the job just fine!
;Resize,width=767;)
