How to Grease Your Baking Pan: a Step-By-Step Guide With 5 Tricks to Do It Perfectly!
Greasing your cake pan properly is crucial for ensuring your cake releases smoothly, without sticking and ruining the dessert. By selecting the right greasing agent, covering all surfaces, optionally flouring the pan, and using parchment paper, you can achieve a perfectly released cake every time.

In the world of baking, several ingredients and steps contribute to the creation of the perfect cake. However, one foundational step that can't be overlooked is greasing the pan. It's a simple yet crucial task; neglect it, and you might find your beautifully baked creation refusing to leave the confines of its pan, with half of it clinging stubbornly to the bottom, ruining your dessert. To avoid such a catastrophe and ensure your cake slides out smoothly, follow our step-by-step guide on how to perfectly grease your cake pan.
A Step-by-Step Guide on How to Grease Your Cake Pan
1. Choose Your Greasing Agent
The first step is to select a greasing agent. Common options include butter, shortening, or non-stick cooking sprays. Each has its benefits, but for the best flavor and release, butter or shortening is recommended. These fats coat the pan more evenly and add a subtle richness to your cake's edges.
2. Cover Every Nook and Cranny
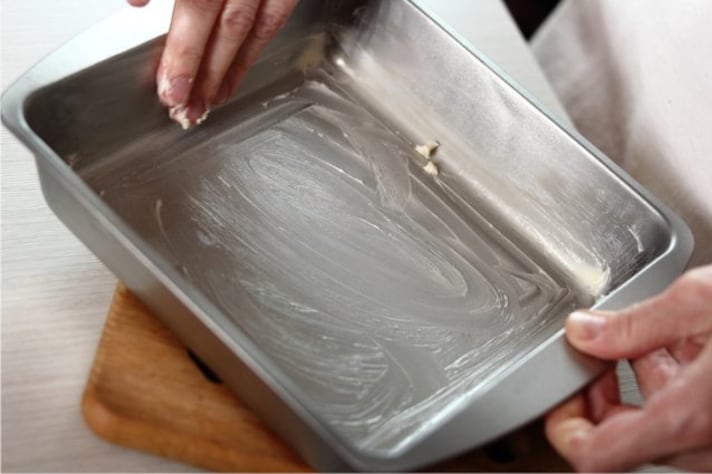
Using a paper towel, a pastry brush, or your fingers, apply your greasing agent to the entire interior surface of the cake pan. Be thorough, covering the bottom, sides, and corners. This ensures that every part of the cake will release easily, without sticking.

3. Flouring (Optional, but Recommended)
After greasing, add a tablespoon or two of flour to the pan. Tilt and tap the pan, rotating it to ensure the flour sticks to the greasing agent, covering all surfaces. This extra layer acts as a barrier between the cake batter and the pan, further preventing sticking. For chocolate cakes, consider using cocoa powder instead of flour to maintain the color. Once the pan is evenly coated, turn it upside down and tap out any excess flour. This step ensures your cake won't have a gummy or floury texture on the outside.
4. Prepare Parchment Paper (For Extra Caution)
For even more assurance, you can cut out a piece of parchment paper to fit the bottom of the pan. Grease the pan first, place the parchment paper down, and then grease (and possibly flour) the parchment paper as well. This method virtually guarantees your cake will release without issue.
5. Fill and Bake
Once your pan is prepared, you can fill it with your batter and bake according to your recipe's instructions. With your pan properly greased, you can focus on the baking, confident that your cake will come out perfectly.
;Resize,width=767;)


;Resize,width=712;)
