Ingredients
These sweet bites are an easy take on traditional Japanese chocolate truffles called Nama chocolate. It’s often sold in fancy packaging and makes a great gift (even if it’s just a gift for yourself!). Nama chocolate is a form of ganache, made from cream and chocolate.
Technically, it can only be called Nama chocolate if it contains at least 40% chocolate. Fortunately, you don’t have to worry about this recipe containing too little chocolate.
With condensed milk and cocoa powder, these sweet cubes have all the chocolate you want! They’re rich in flavor, with a smooth and silky texture. And the best yet? You only need two ingredients!
What is Nama Chocolate?
Nama chocolate (pronounced nah-mah) means raw or fresh in Japanese. The recipe is made with basic ingredients—usually chocolate, cream, and cocoa powder.
In this recipe, we swapped the chocolate and cream for condensed milk and cocoa powder, making it a slightly cheaper option.

Nama Chocolate Origins
Nama chocolate is similar to Brazilian brigadeiro. Some sources say that the sweets made as far back as the 1930s in Geneva, Switzerland. The chocolates were called “Pave de Geneva”, and similar to Nama Chocolate, it was made with fresh cream and chocolate, and cut into small cubes.
Actual Nama chocolates were first created in 1988, by sweet shop owner and chef, Masakazu Kobayashi. In 1993, the sweets were commercialized by the Meiji snack company under the name “Meltykiss”. These days you can find Nama chocolates sold by several manufacturers. In Japan, it’s mostly available during winter, as the sweets melt too quickly during the summer months.
Nama Chocolate Ingredients
Condensed milk – use any brand, but make sure it’s sweetened condensed milk!
Cocoa powder – because the sweets contain a lot of cocoa powder, it’s important to use a high-quality brand cocoa powder.
Some people add a little bit of liqueur for flavor—you can use any of your favorites.
How To Make Nama Chocolate
Start by heating up the condensed milk. You can use a small saucepan on the stove, or a glass bowl in the microwave—microwave it in short 30-second burst over medium heat.
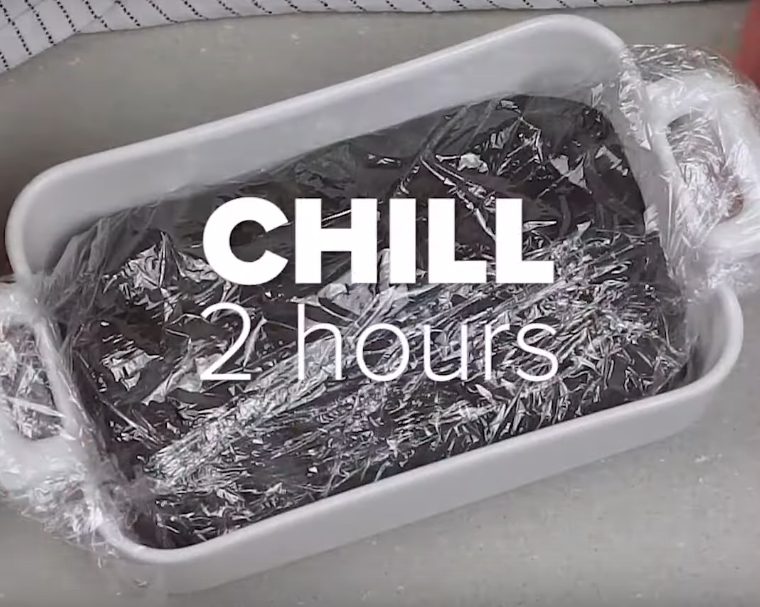
Add cocoa powder in batches, stir until it forms a smooth dough at the end. Press the dough into a food container, cover it with plastic wrap and chill it for about 2 hours.
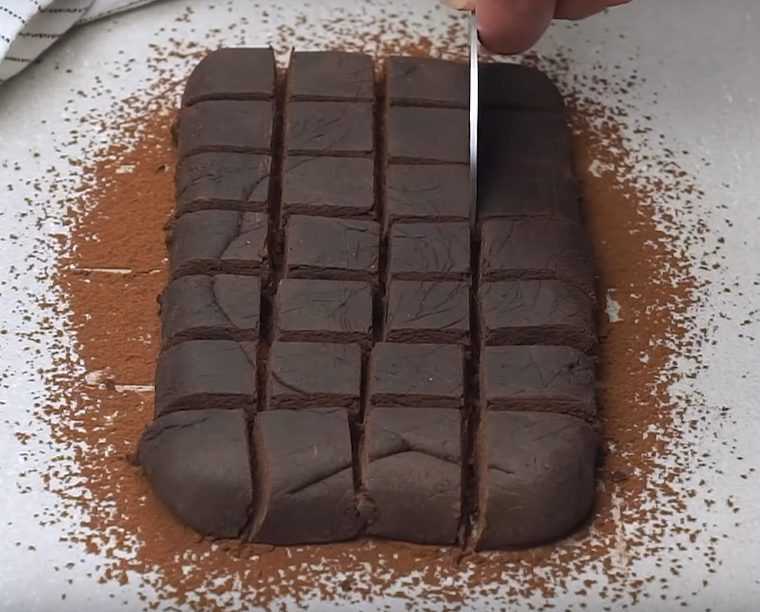
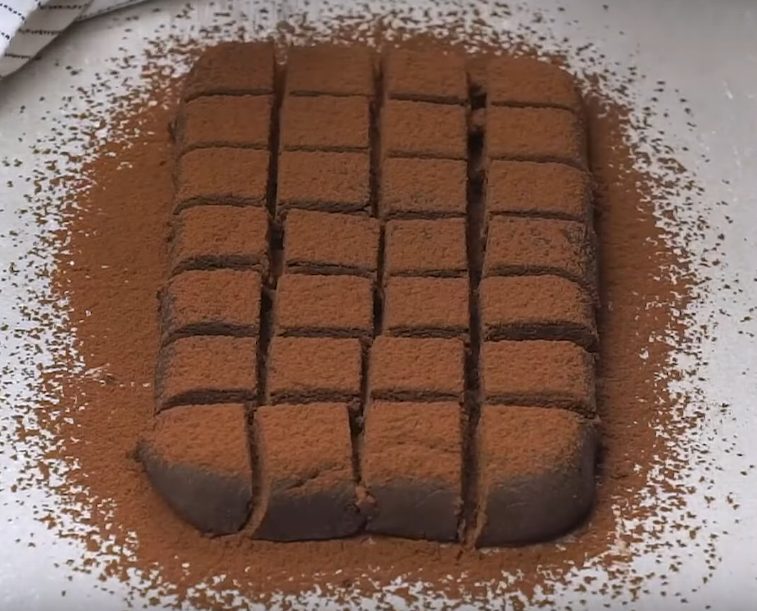
Dust the surface with cocoa powder, then place there the dough, once chilled. Cut it into small squares, top with more sifted cocoa powder, press each square a little bit, and finally dust extra cocoa powder.

Tips For The Best Nama Chocolate
You can freeze the formed block of dough. Simply wrap it tightly with plastic wrap and store up to 3 months. Allow to thaw in the refrigerator, then slice into cubes and cover with cocoa powder.
Instead of covering with more cocoa powder, you can also cover the Nama chocolates with sprinkles.
How To Store Nama Chocolate
It’s best to keep the Nama chocolate in the fridge to prevent it from softening too much. Store in an airtight container.
Instructions
;Resize,width=712;)
Heat condensed milk in a pot over low heat, stirring constantly just until it starts to bubble.
Heat condensed milk in a pot over low heat, stirring constantly just until it starts to bubble.
;Resize,width=712;)
Remove from the heat and transfer to a bowl. Add sifted cocoa powder in batches.
Remove from the heat and transfer to a bowl. Add sifted cocoa powder in batches.
;Resize,width=712;)
Stir until you obtain an elastic homogeneous mixture. It will start forming a dough once all the cocoa powder is added.
Stir until you obtain an elastic homogeneous mixture. It will start forming a dough once all the cocoa powder is added.
;Resize,width=712;)
Press the dough into a food container or glass baking dish and cover with plastic wrap.
Press the dough into a food container or glass baking dish and cover with plastic wrap.
;Resize,width=712;)
Chill for at least 2 hours.
Chill for at least 2 hours.
;Resize,width=712;)
Dust your working surface with cocoa powder and put the chilled dough on top.
Dust your working surface with cocoa powder and put the chilled dough on top.
;Resize,width=712;)
Cut into small squares.
Cut into small squares.
;Resize,width=712;)
Sift more cocoa on top.
Sift more cocoa on top.
;Resize,width=712;)
Shape each square by pressing its sides a bit.
Shape each square by pressing its sides a bit.
;Resize,width=712;)
Arrange all squares onto a serving plate or cutting board and sift more cocoa powder on top.
Arrange all squares onto a serving plate or cutting board and sift more cocoa powder on top.
Notes
When storing the chocolates in the fridge, allow them to come up to room temperature before serving.


;Resize,width=712;)
;Resize,width=712;)
;Resize,width=767;)
