
Making a homemade dessert for your sweetheart is such a romantic thing to do for Valentine's Day and other special occasions like birthdays and anniversaries. This Valentine's Day, instead of going out to buy a box of chocolates, why not make these easy red velvet cake balls?
Similar to cake pops, red velvet cake balls are made by combining crumbling red velvet cake and mixing it with frosting, then shaping the mixture into balls and dipping them in melted white chocolate. Each bite tastes divine, and these scrumptious desserts are ideal for anyone who loves the chocolate-vanilla flavor of red velvet cake. You can even make red velvet cake balls several days ahead of time!
Red Velvet Cake Ball Ingredients
You'll need all the classic ingredients for red velvet cake. Make sure they are at room temperature.
To give the cake flavor, you'll need sugar, cocoa powder, and vanilla. Buttermilk and vinegar are essential to any red velvet cake recipe – they add a subtle tangy while making the cake crumbs incredibly tender and moist. Flour, vegetable oil, egg white, and baking soda round out the list of ingredients you'll require, and don't forget the red food coloring to dye the cake batter.
For the frosting, you'll need cream cheese and powdered sugar.
Finally, you'll need white chocolate or candy melts to make the chocolate coating.
How to Make Red Velvet Cake Balls
Making homemade red velvet cake balls is so easy and fun – anyone can do it! You'll start by making red velvet muffins. First, mix the flour, cocoa powder, baking soda, and salt in a bowl. Grab a second bowl and combine the oil, sugar, buttermilk, egg white, red food coloring, vinegar, and vanilla. Whisk the flour mixture into the oil mixture until smooth, but don't overwork the batter. Place cupcake liners in the wells of the outer edge of a standard muffin tin. Pour the batter into the liners and bake the cupcakes at 350F for 20 to 22 minutes. Take them out and leave them on a rack to cool to room temperature.
While the muffins are cooling, combine the powdered sugar and cream cheese to make the frosting. Break the muffins into fine crumbs. Stir the cream cheese mixture into the red velvet crumbs.
With a cookie scoop, place a scoop of the mixture in your hand. Shape it into a ball, then set it on a plate. Repeat with the remaining mixture. Freeze the cake balls for at least four hours. Melt the white chocolate pieces in a microwave-safe bowl in 30-second intervals, stirring between each interval. Dip each cake ball into the white chocolate, then set them on a parchment paper-lined tray to harden. Decorate the cake balls while the chocolate is still setting if desired.

Tips for the Best Red Velvet Cake Truffles
To cut down on your time in the kitchen, you can use store-bought boxed red velvet cake mix and store-bought frosting to make your cake balls.
Use neutral vegetable oil to make your cake truffles. Canola, vegetable, refined coconut, avocado, and sunflower seed oil will all work for this recipe.
If you don't have buttermilk, you can substitute Greek yogurt.
The muffins are done baking when a toothpick inserted into the center comes out clean and crumb-free.
For gluten-free red velvet cake balls, use gluten-free flour instead of all-purpose flour.
Turn your red velvet cake balls into cake pops by dipping cake pop sticks into the melted white chocolate and then sticking them in the cake balls. Dip the cake balls in the white chocolate, and voila! Perfect red velvet cake balls.
Decorate your cake balls any way you like. Dust them with edible glitter, coat them in sprinkles, or drizzle them with dark chocolate.
How to Store Red Velvet Cake Balls
Put your red velvet cake balls in an airtight container lined with parchment paper. Put them in the fridge and enjoy them within 2 to 4 weeks.
Can You Freeze Red Velvet Cake Balls?
Of course! Cake truffles freeze incredibly well, so they're a great make-ahead treat. Place the cake balls in an airtight container and freeze them for up to 6 weeks. Allow them to thaw overnight in the fridge the day before serving.
More Recipes You'll Like
Ingredients
Instructions
Preheat your oven to 350F.
;Resize,width=712;)
Preheat your oven to 350F.
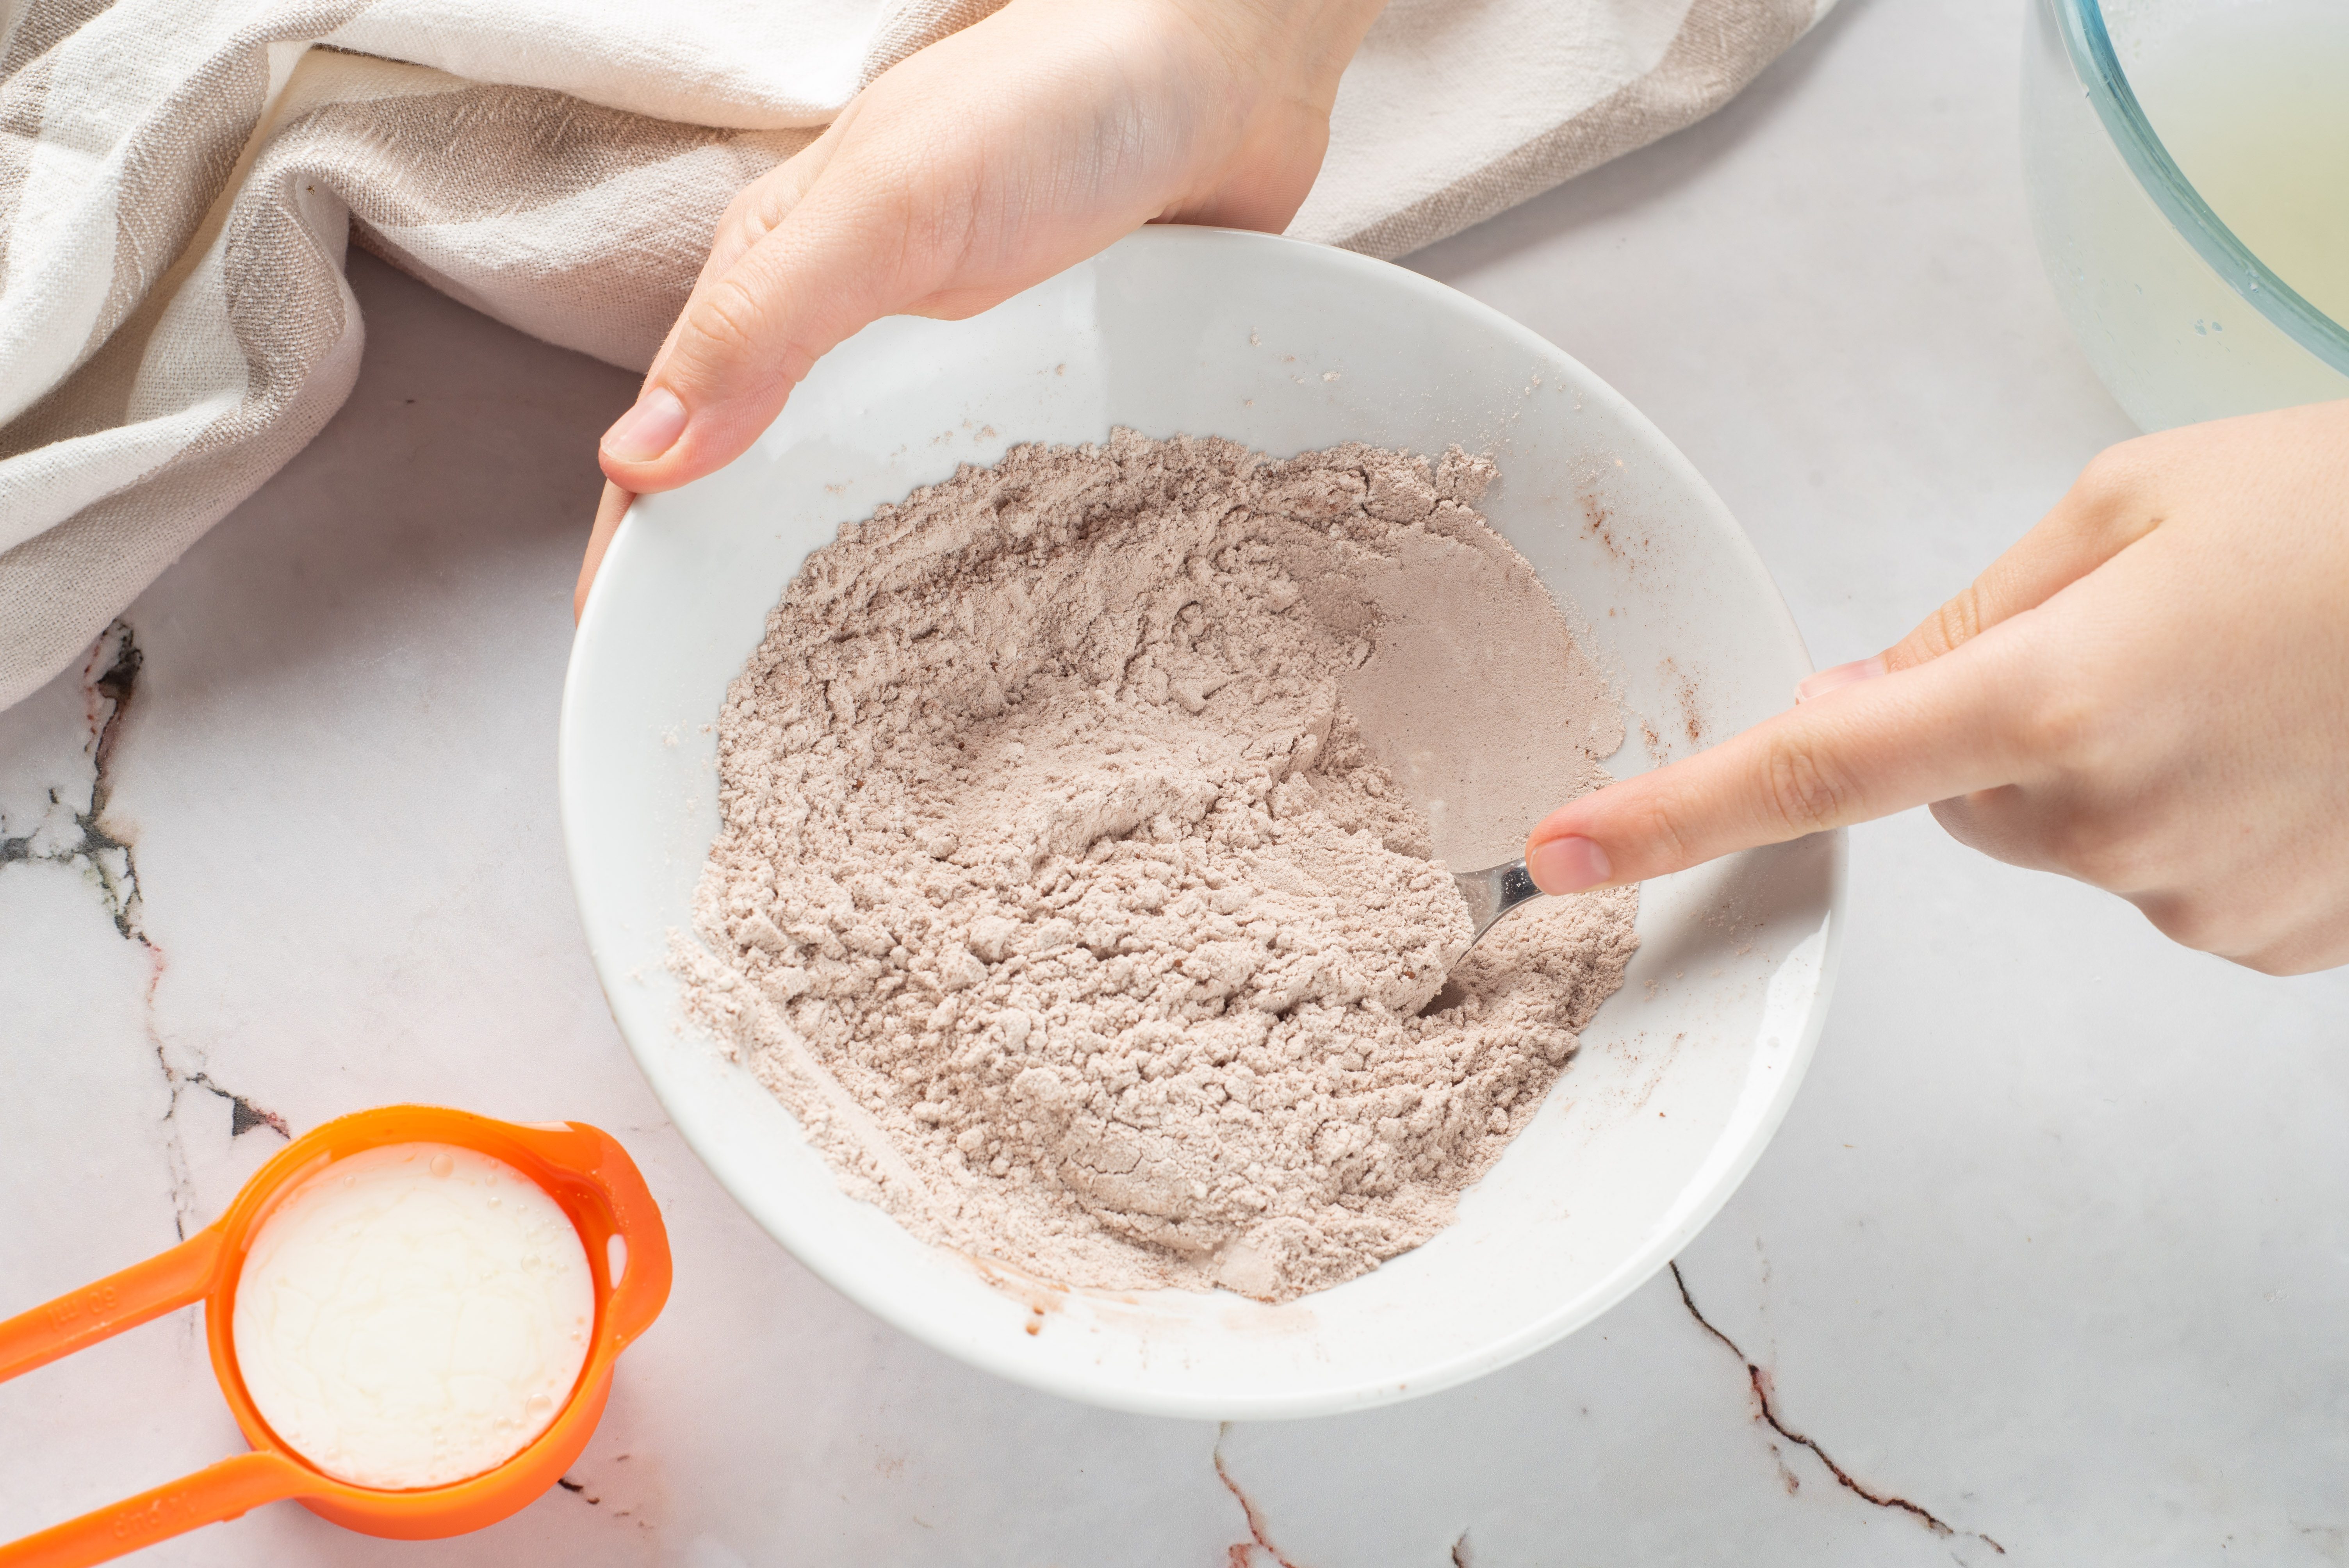
Whisk flour, cocoa powder, baking soda, and salt in a bowl.
;Resize,width=712;)
Whisk flour, cocoa powder, baking soda, and salt in a bowl.
In a second bowl, add the oil, egg white and sugar.
;Resize,width=712;)
In a second bowl, add the oil, egg white and sugar.
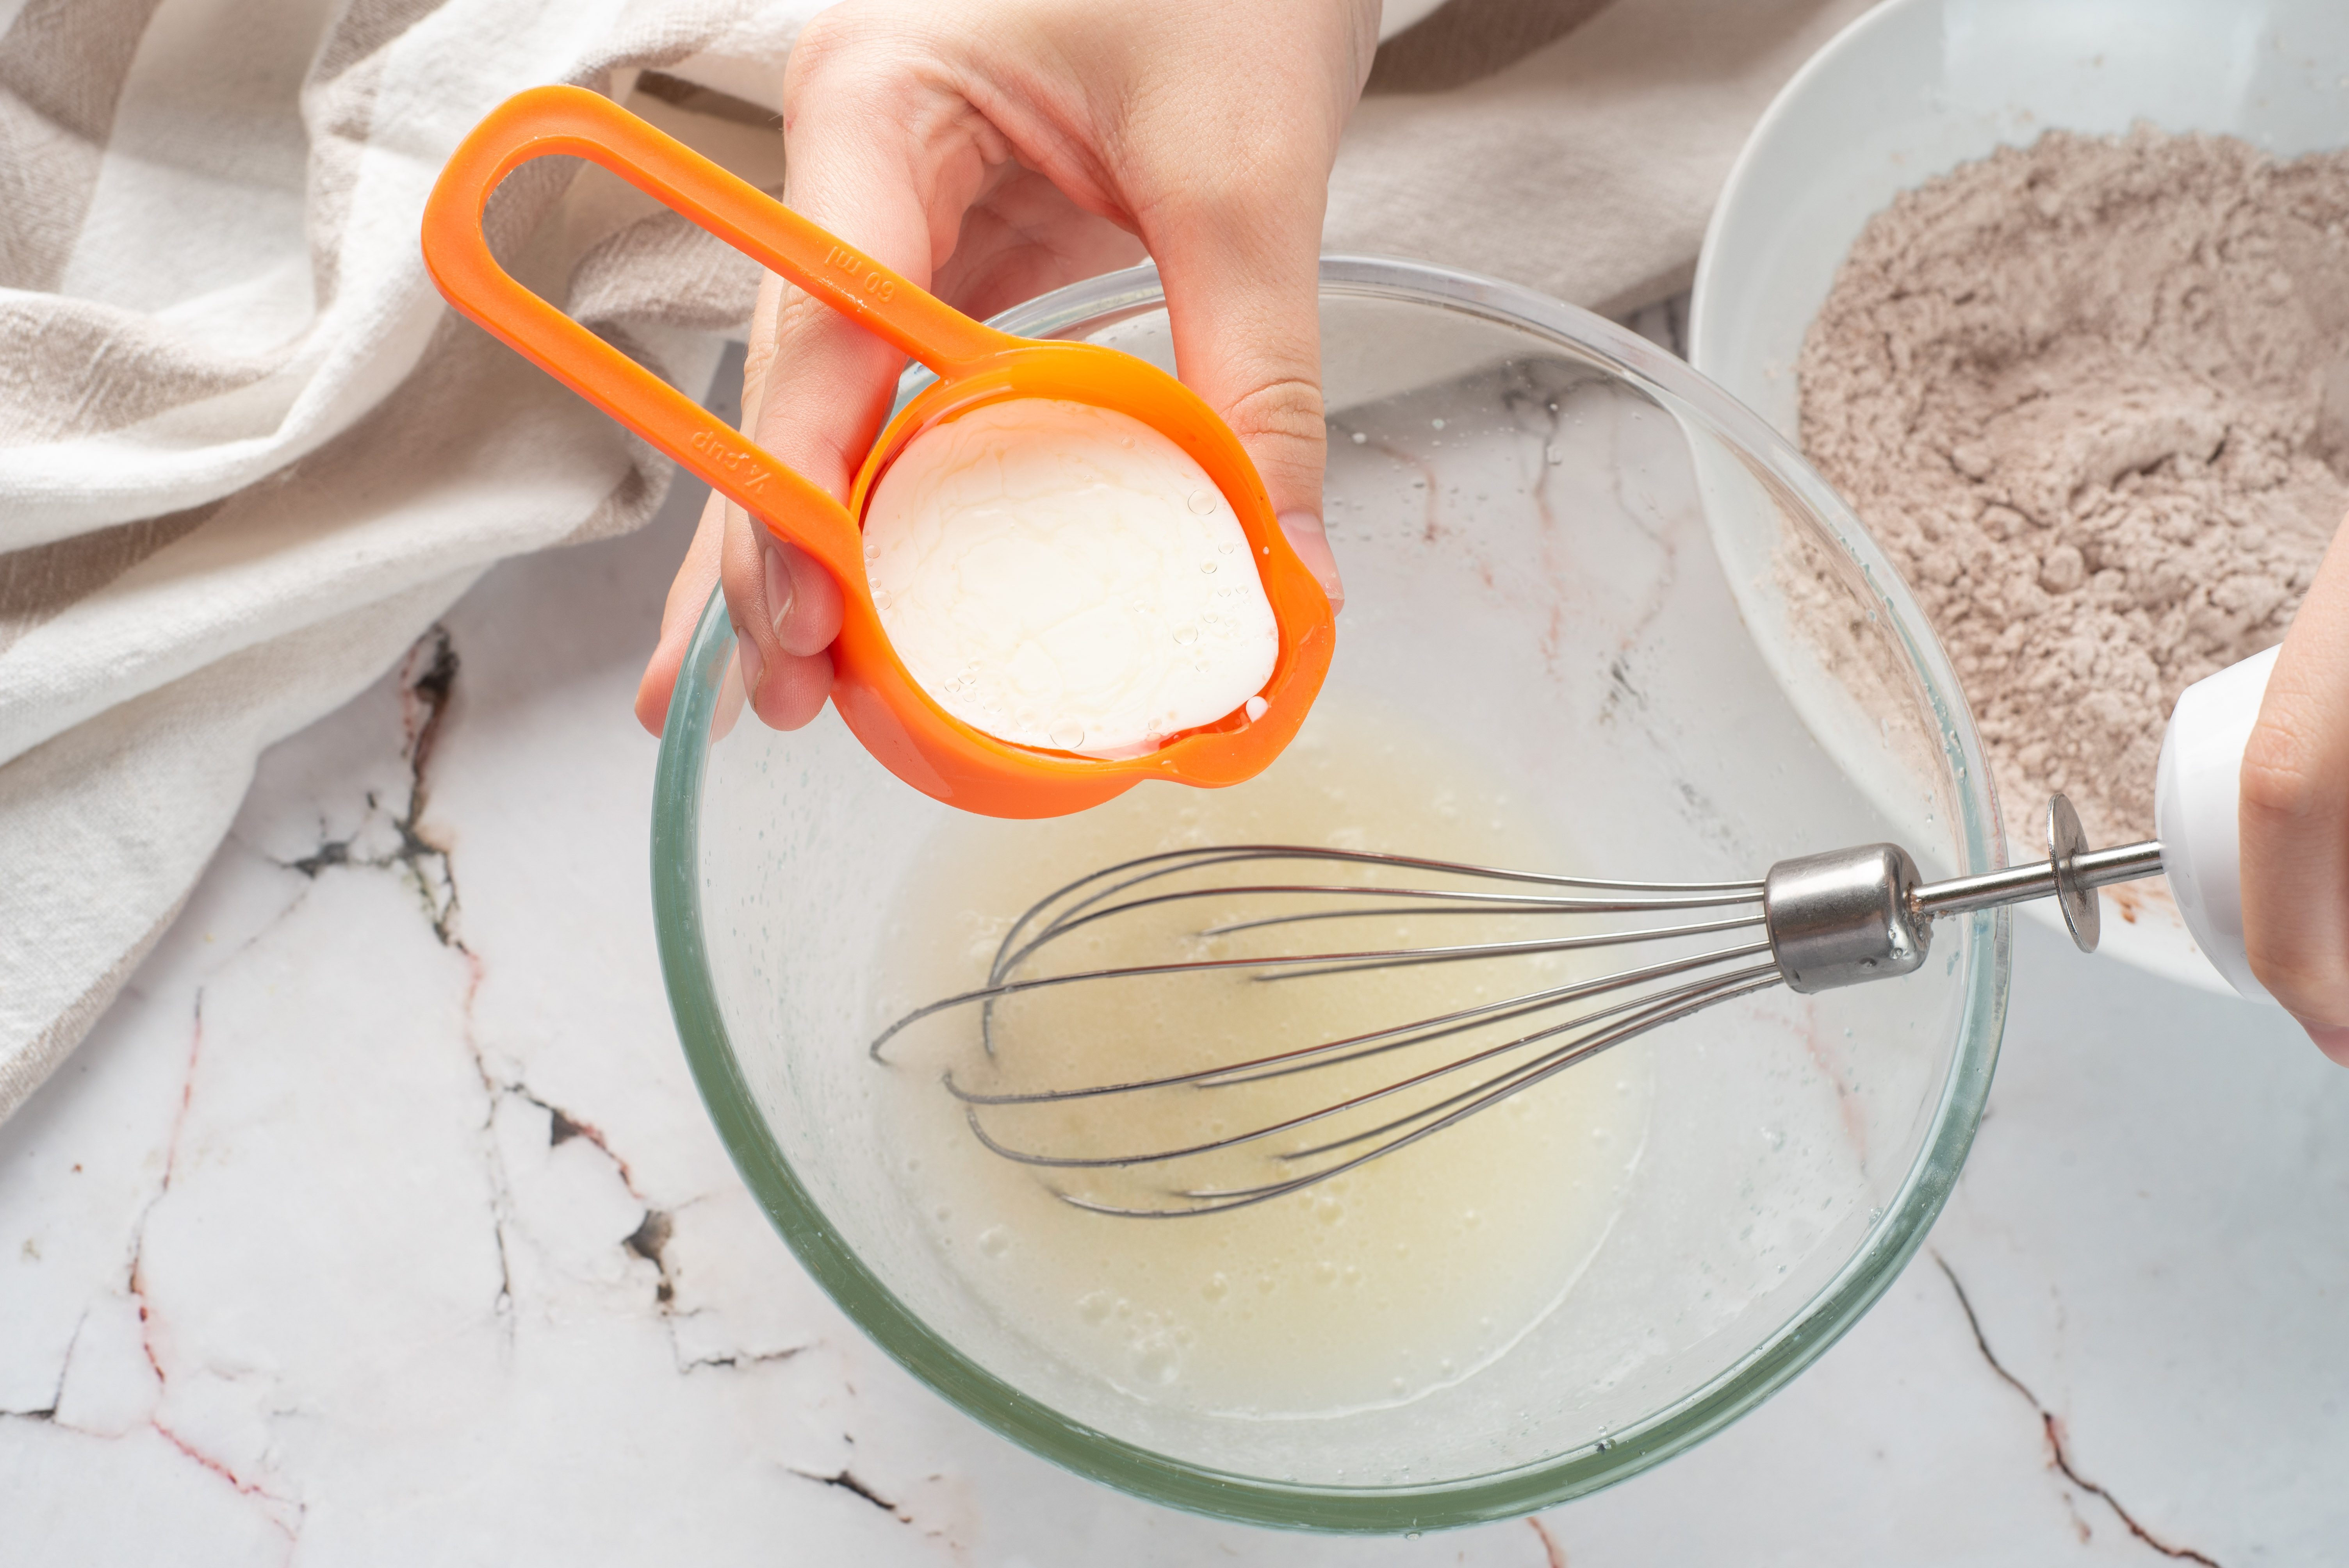
Whisk in the vinegar.
;Resize,width=712;)
Whisk in the vinegar.
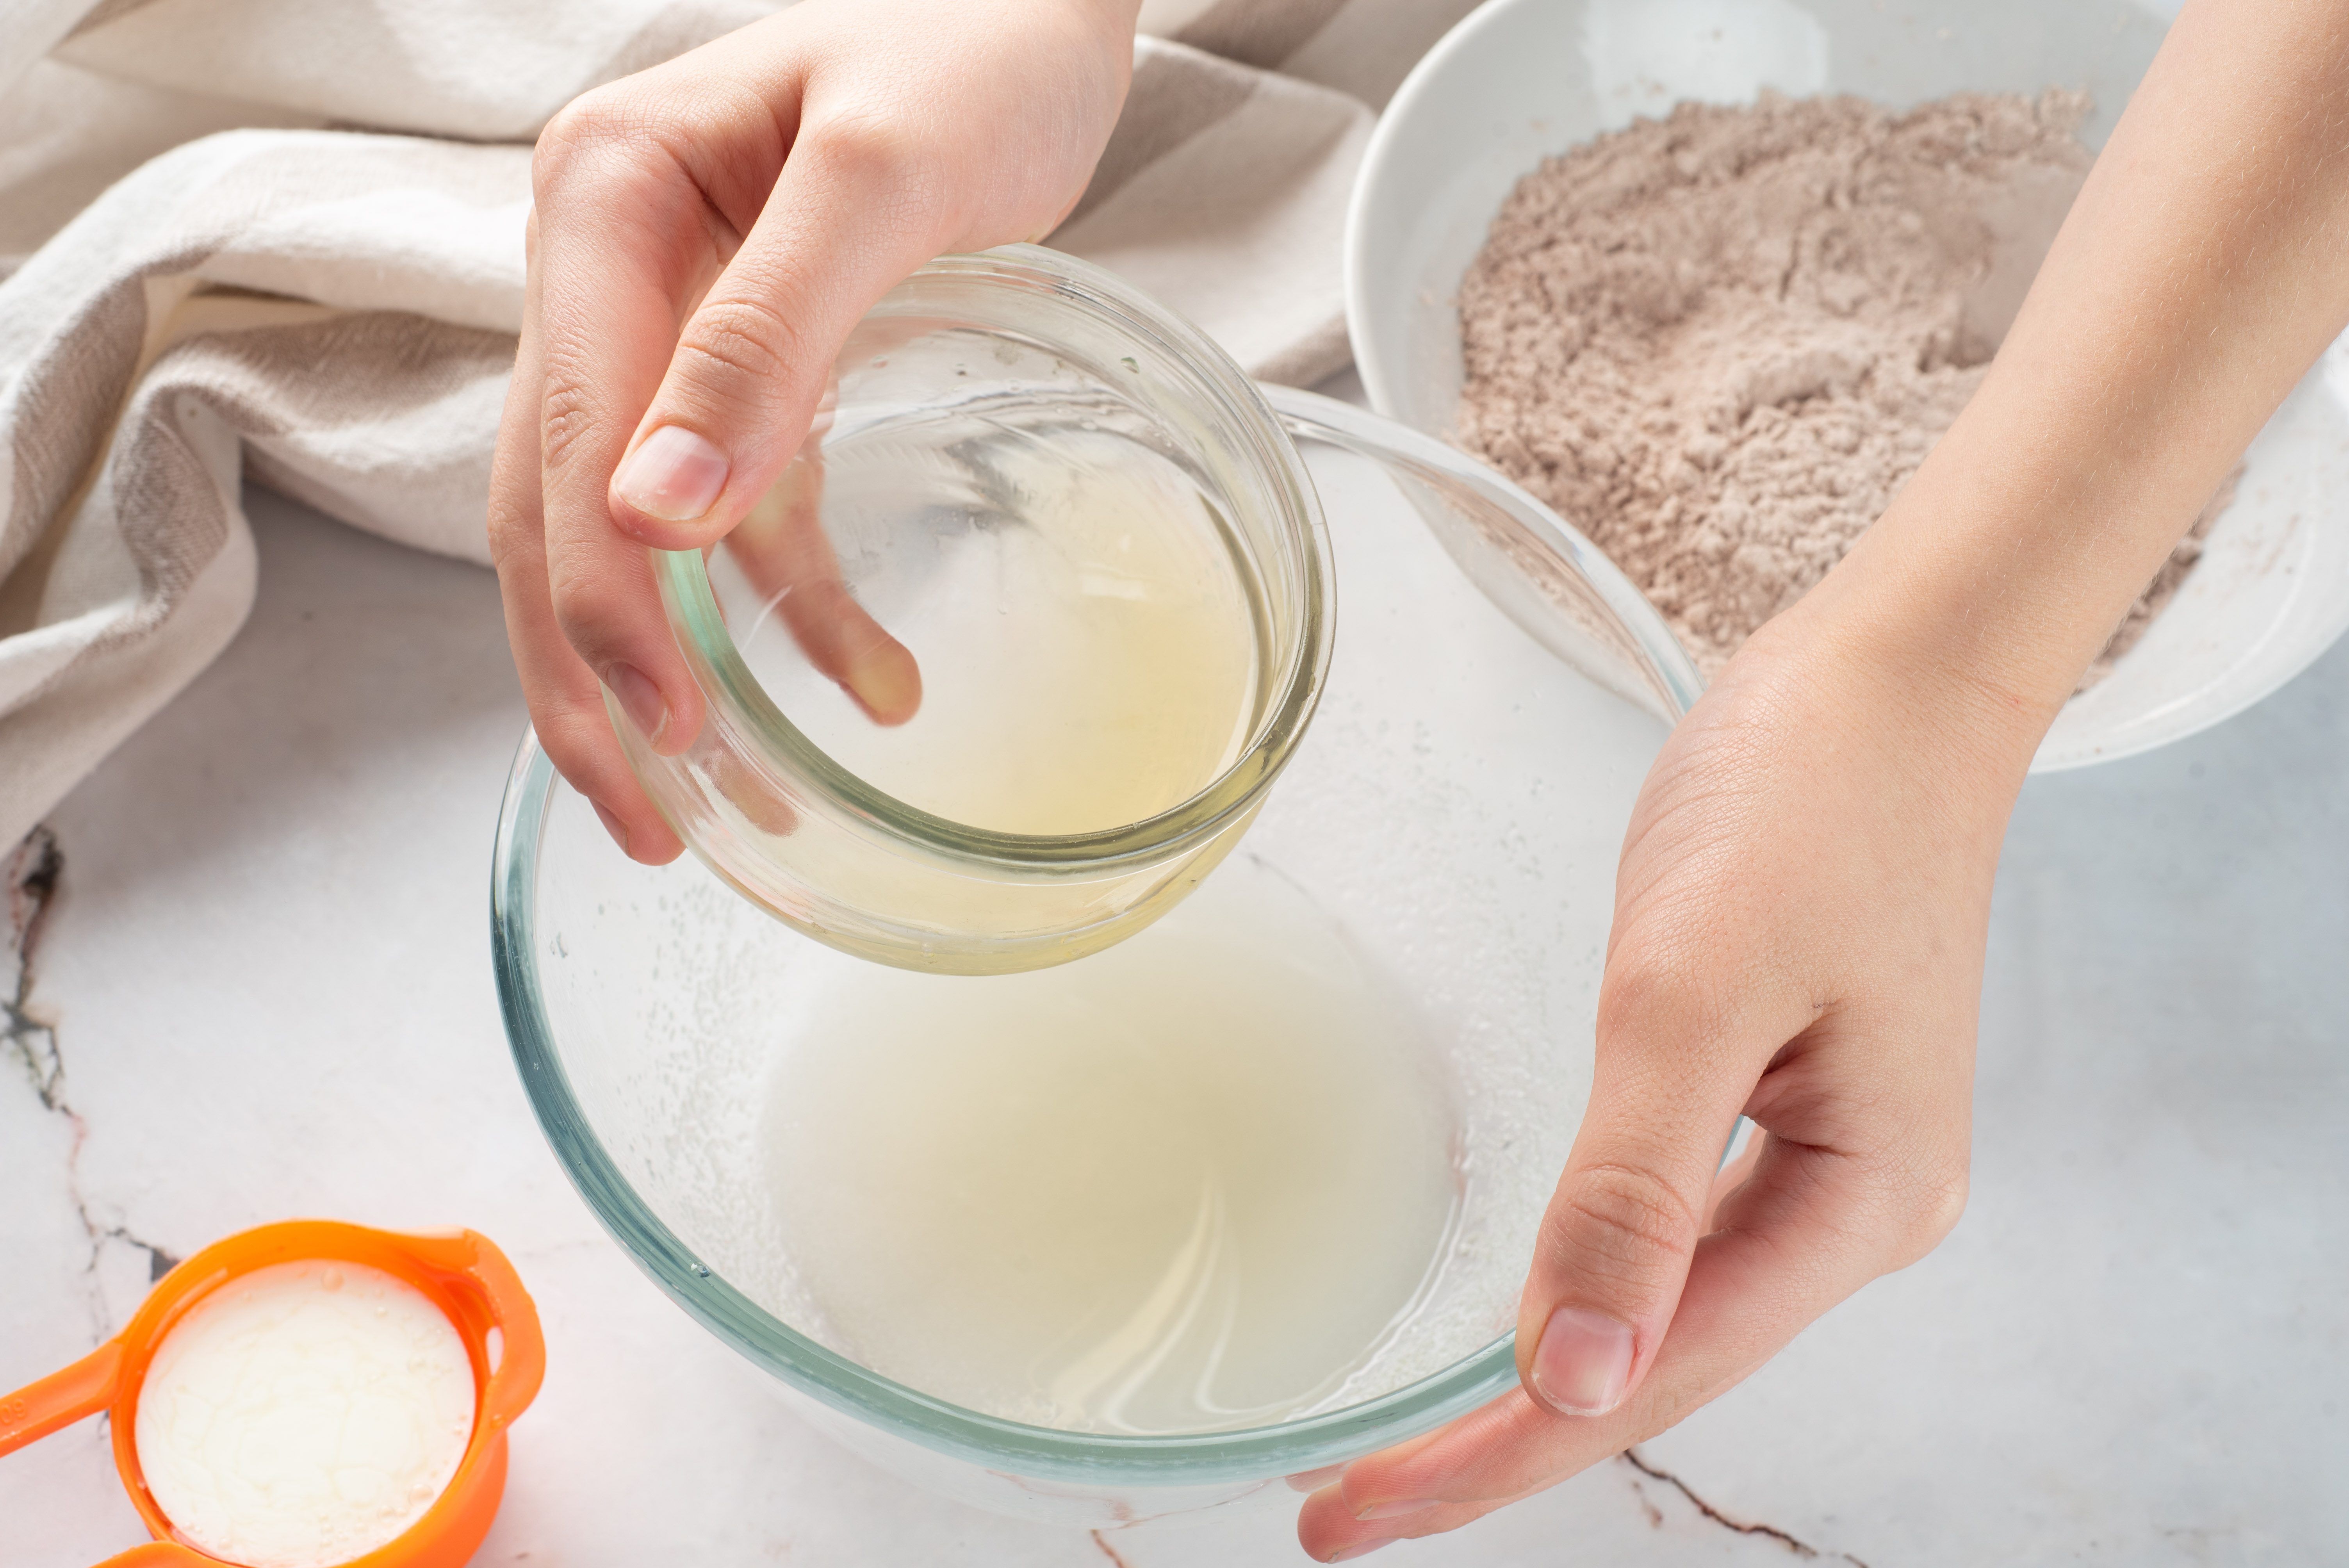
Pour in the buttermilk.
;Resize,width=712;)
Pour in the buttermilk.
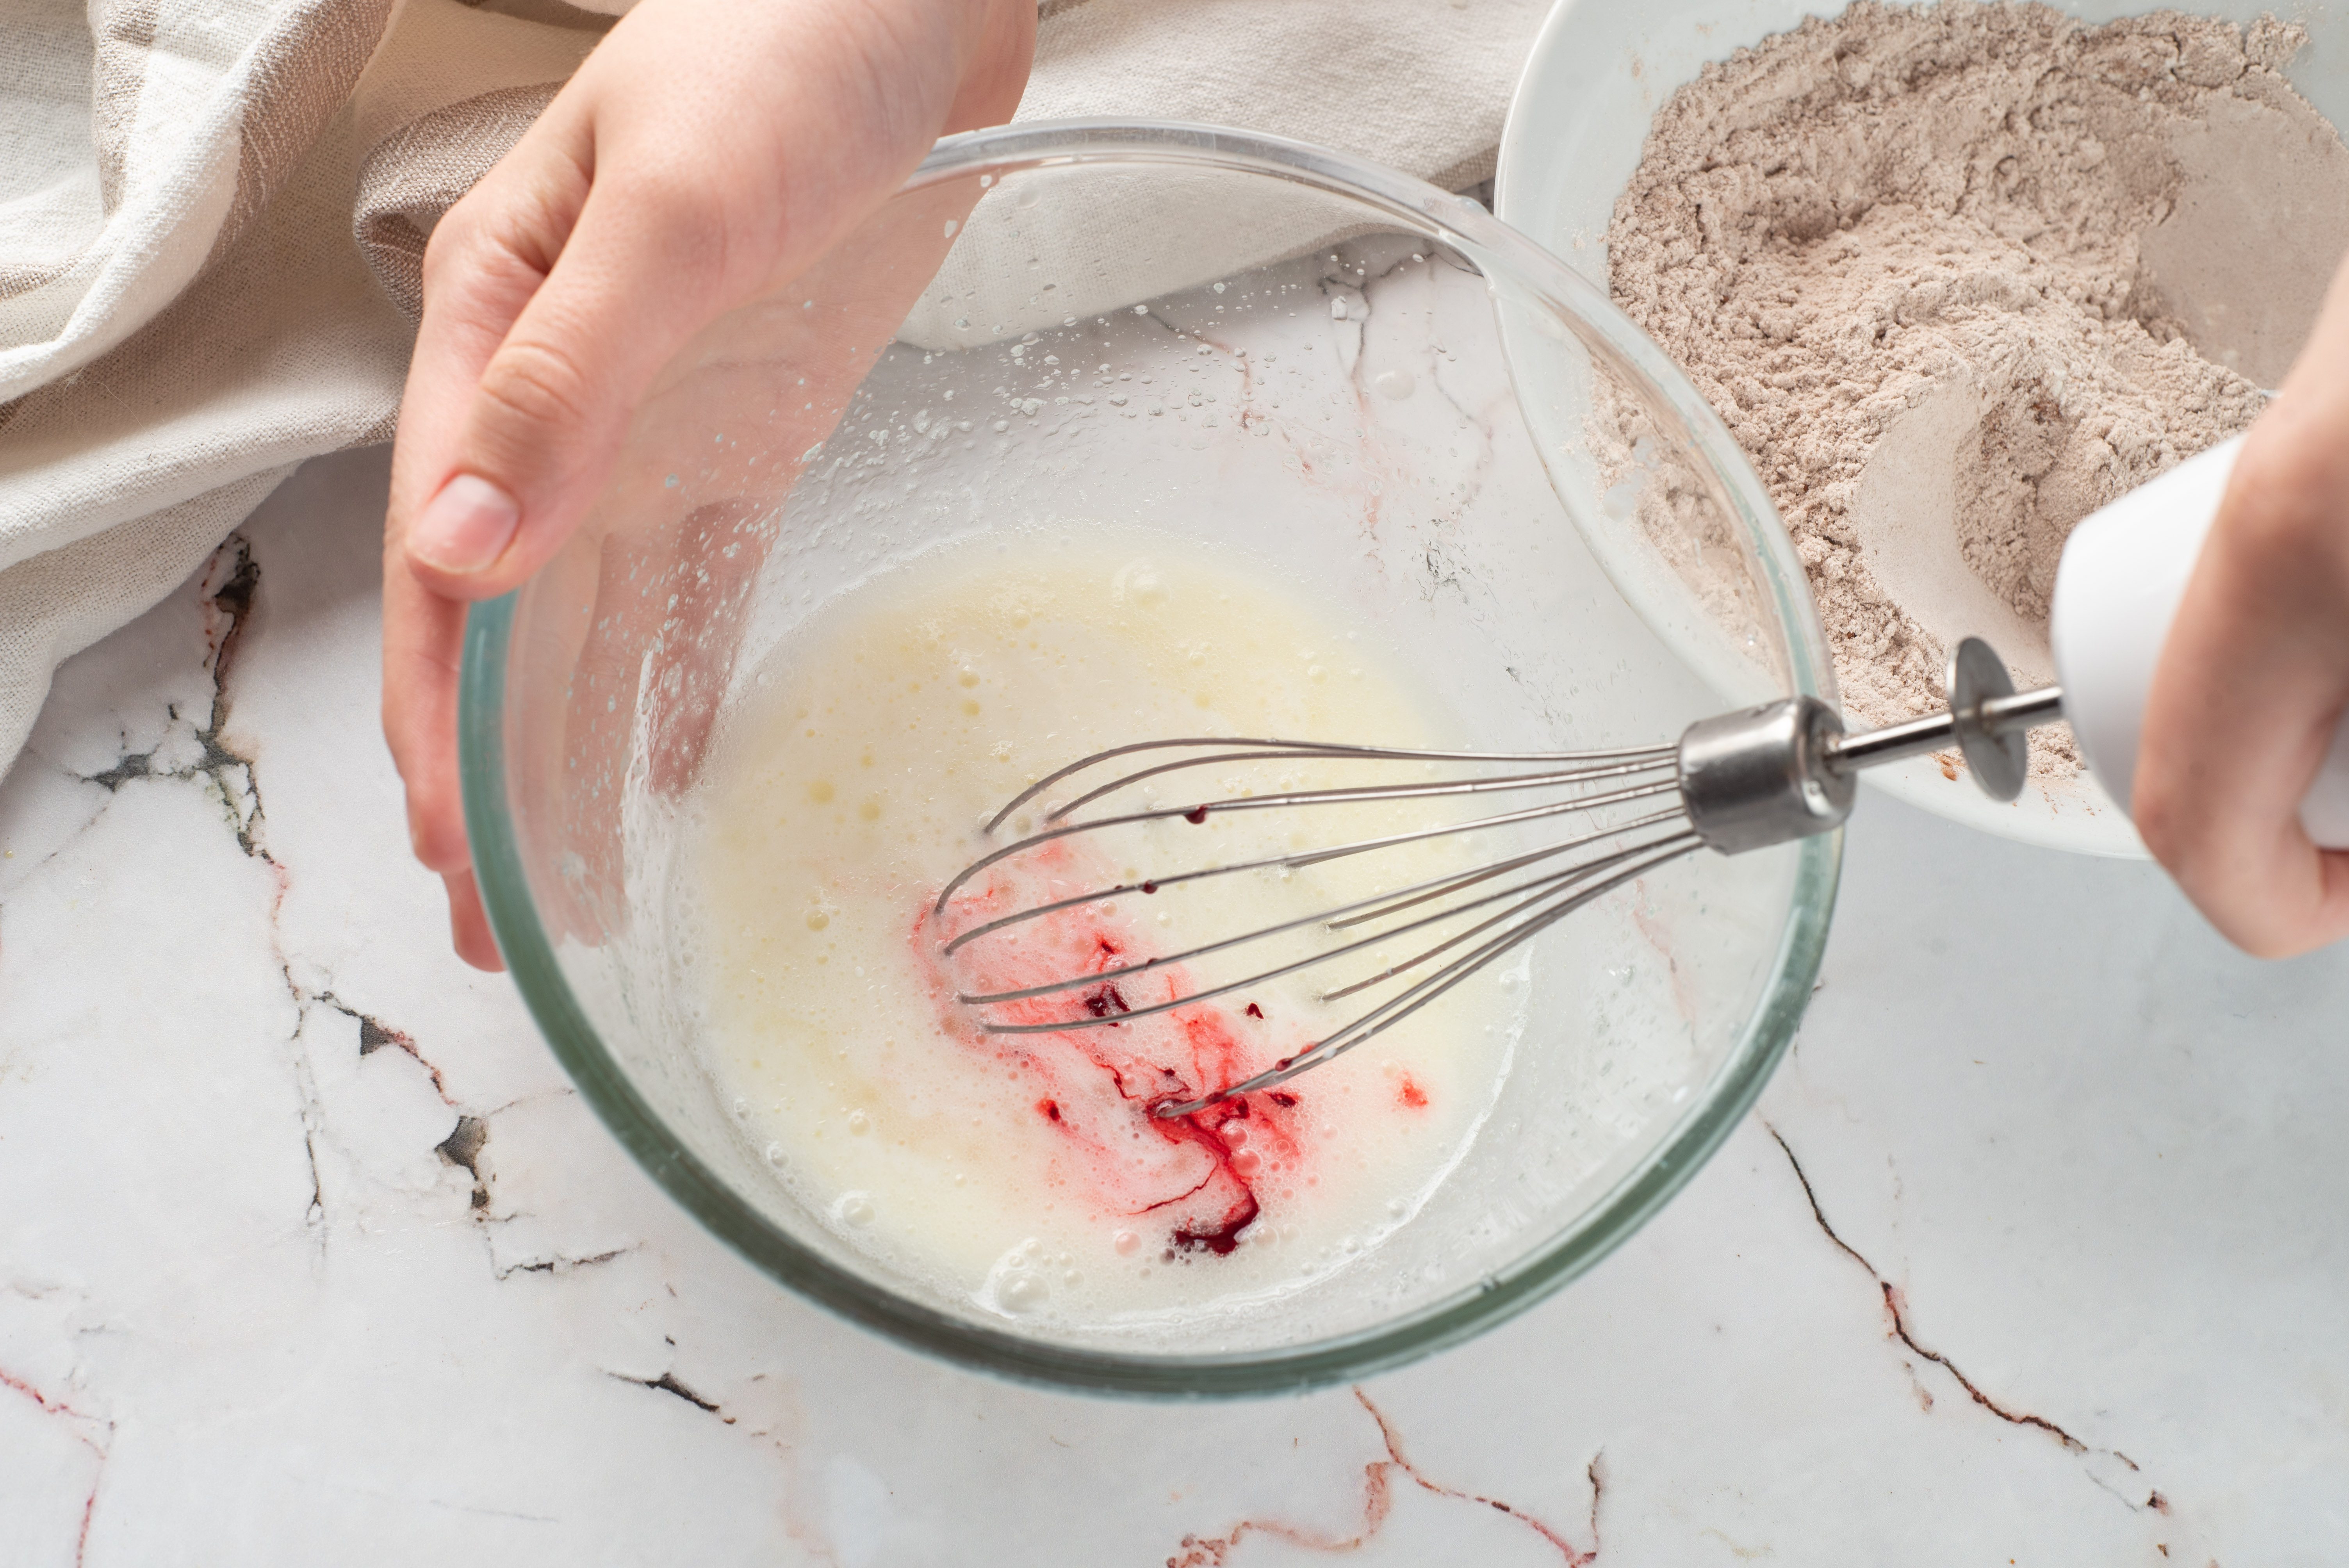
Add the red dye, and vanilla, then whisk until smooth.
;Resize,width=712;)
Add the red dye, and vanilla, then whisk until smooth.
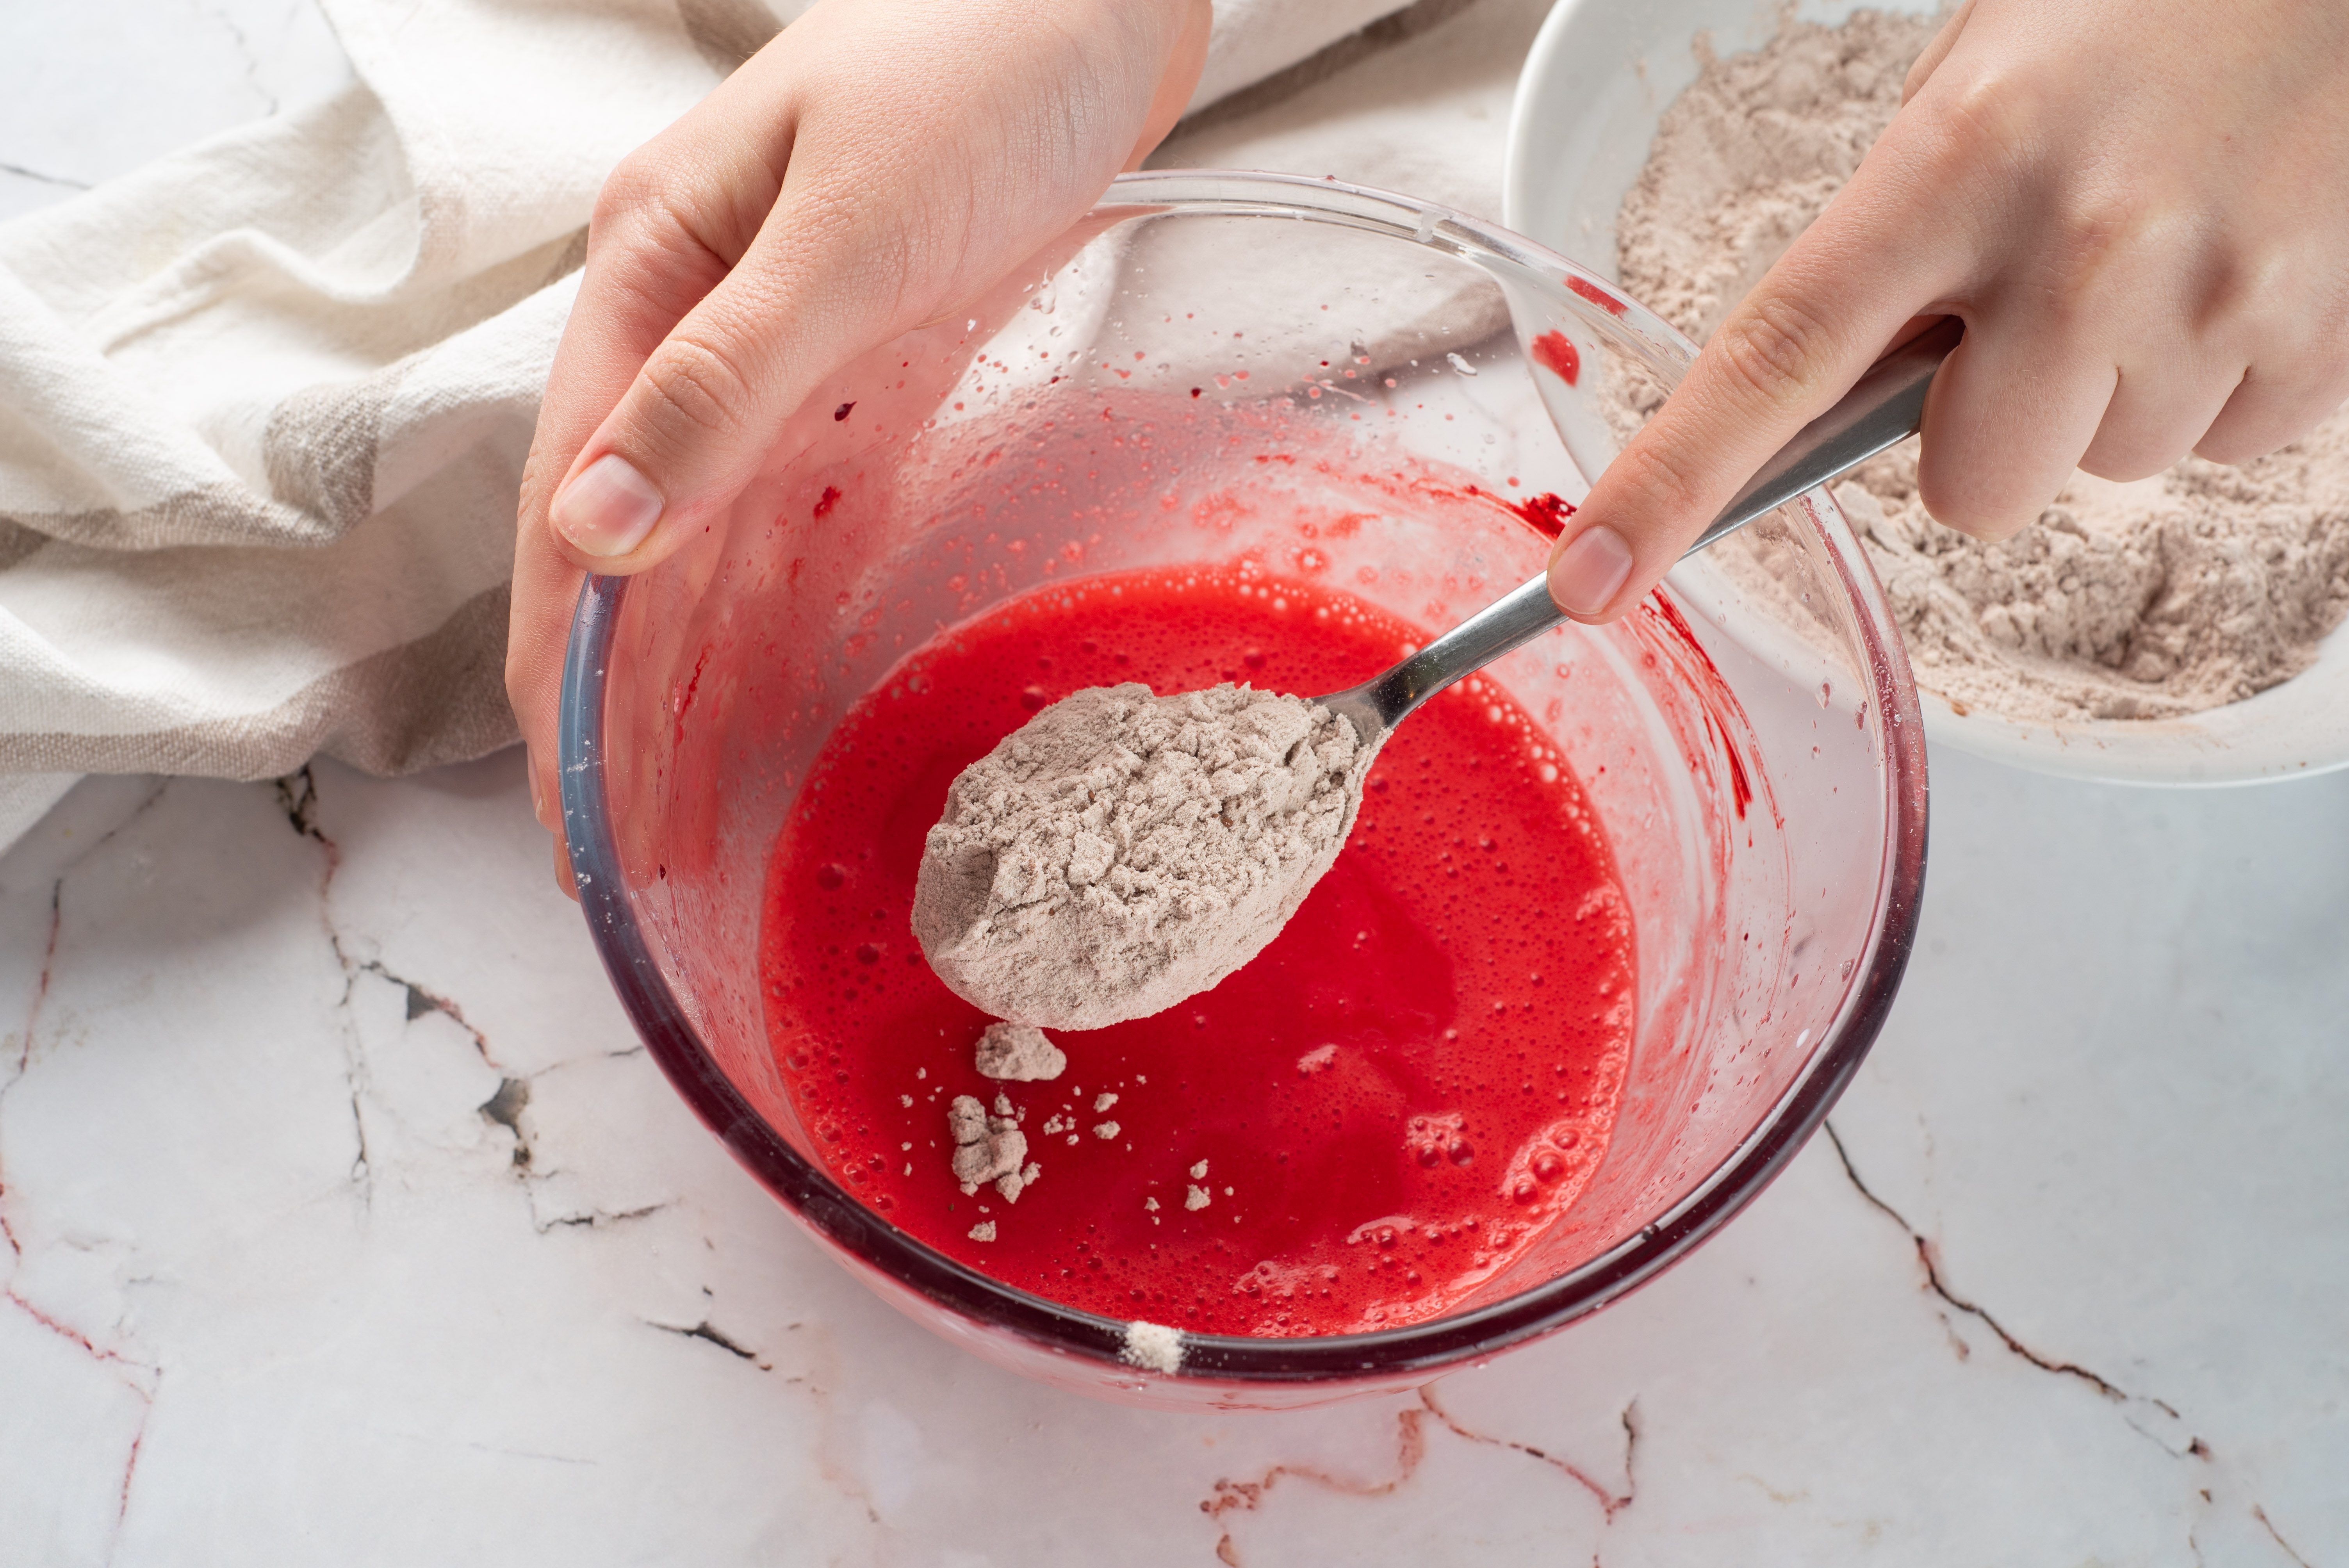
Gradually beat the flour mixture into the oil mixture.
;Resize,width=712;)
Gradually beat the flour mixture into the oil mixture.
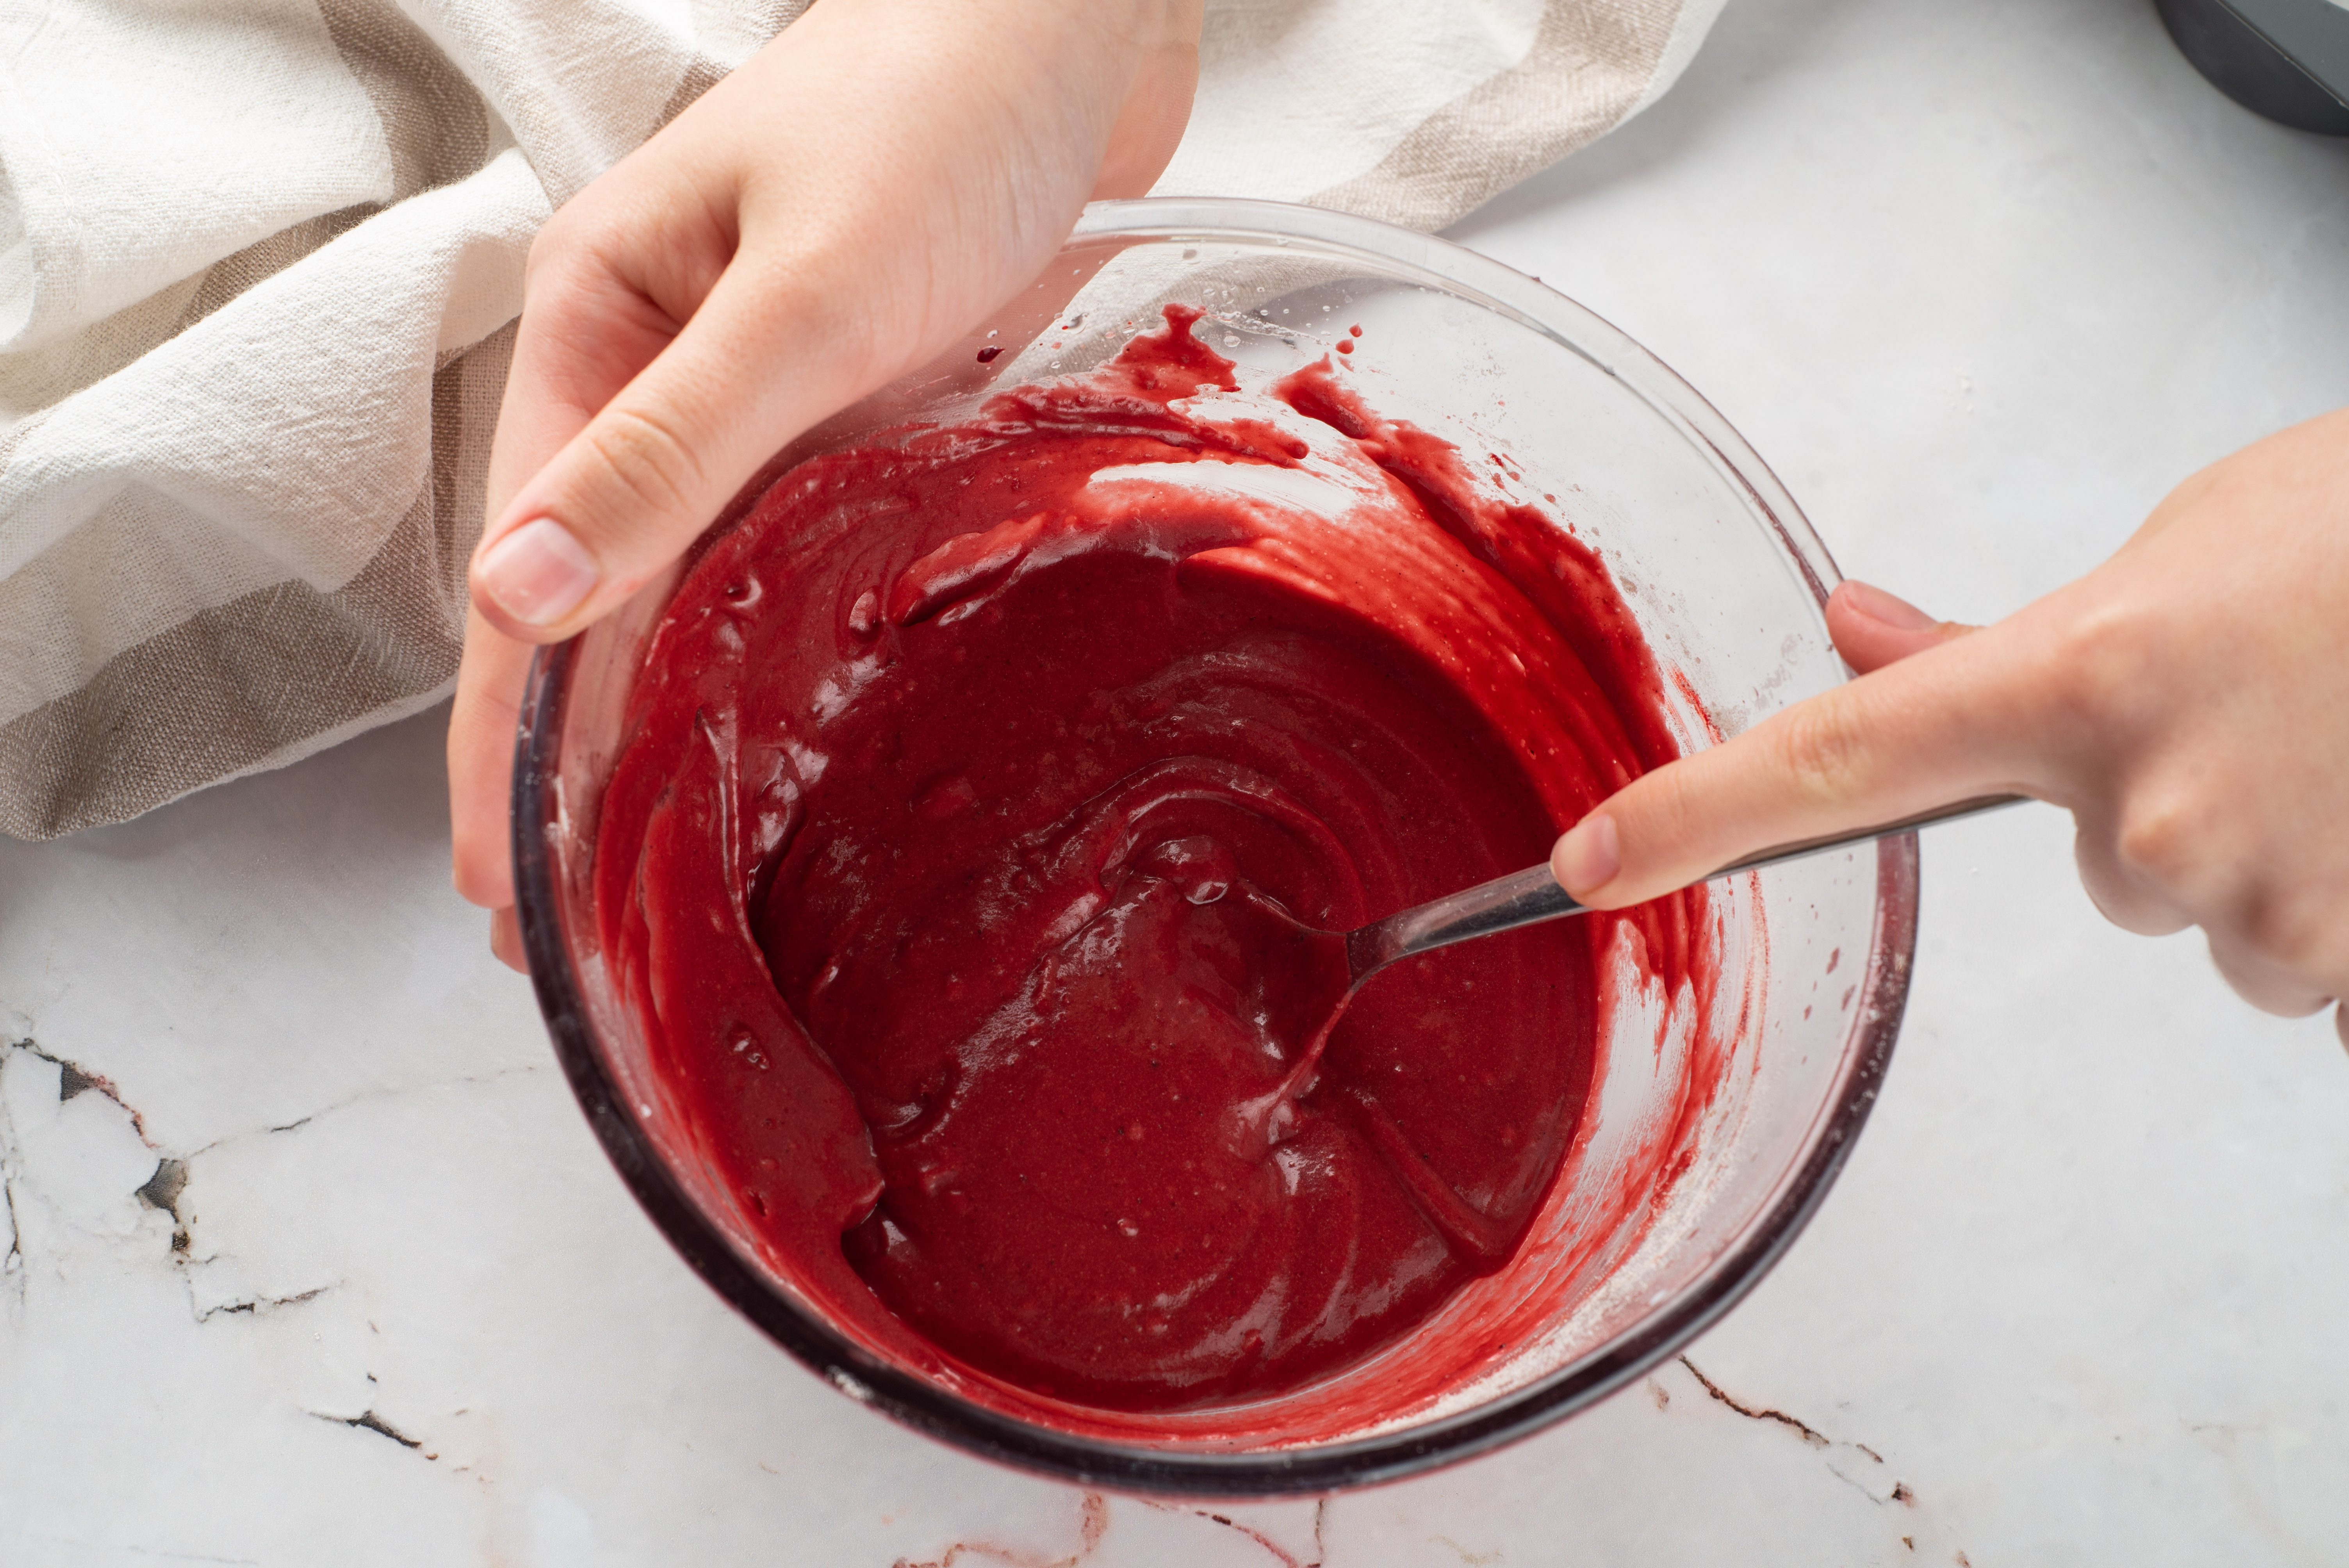
Mix well until combined.
;Resize,width=712;)
Mix well until combined.
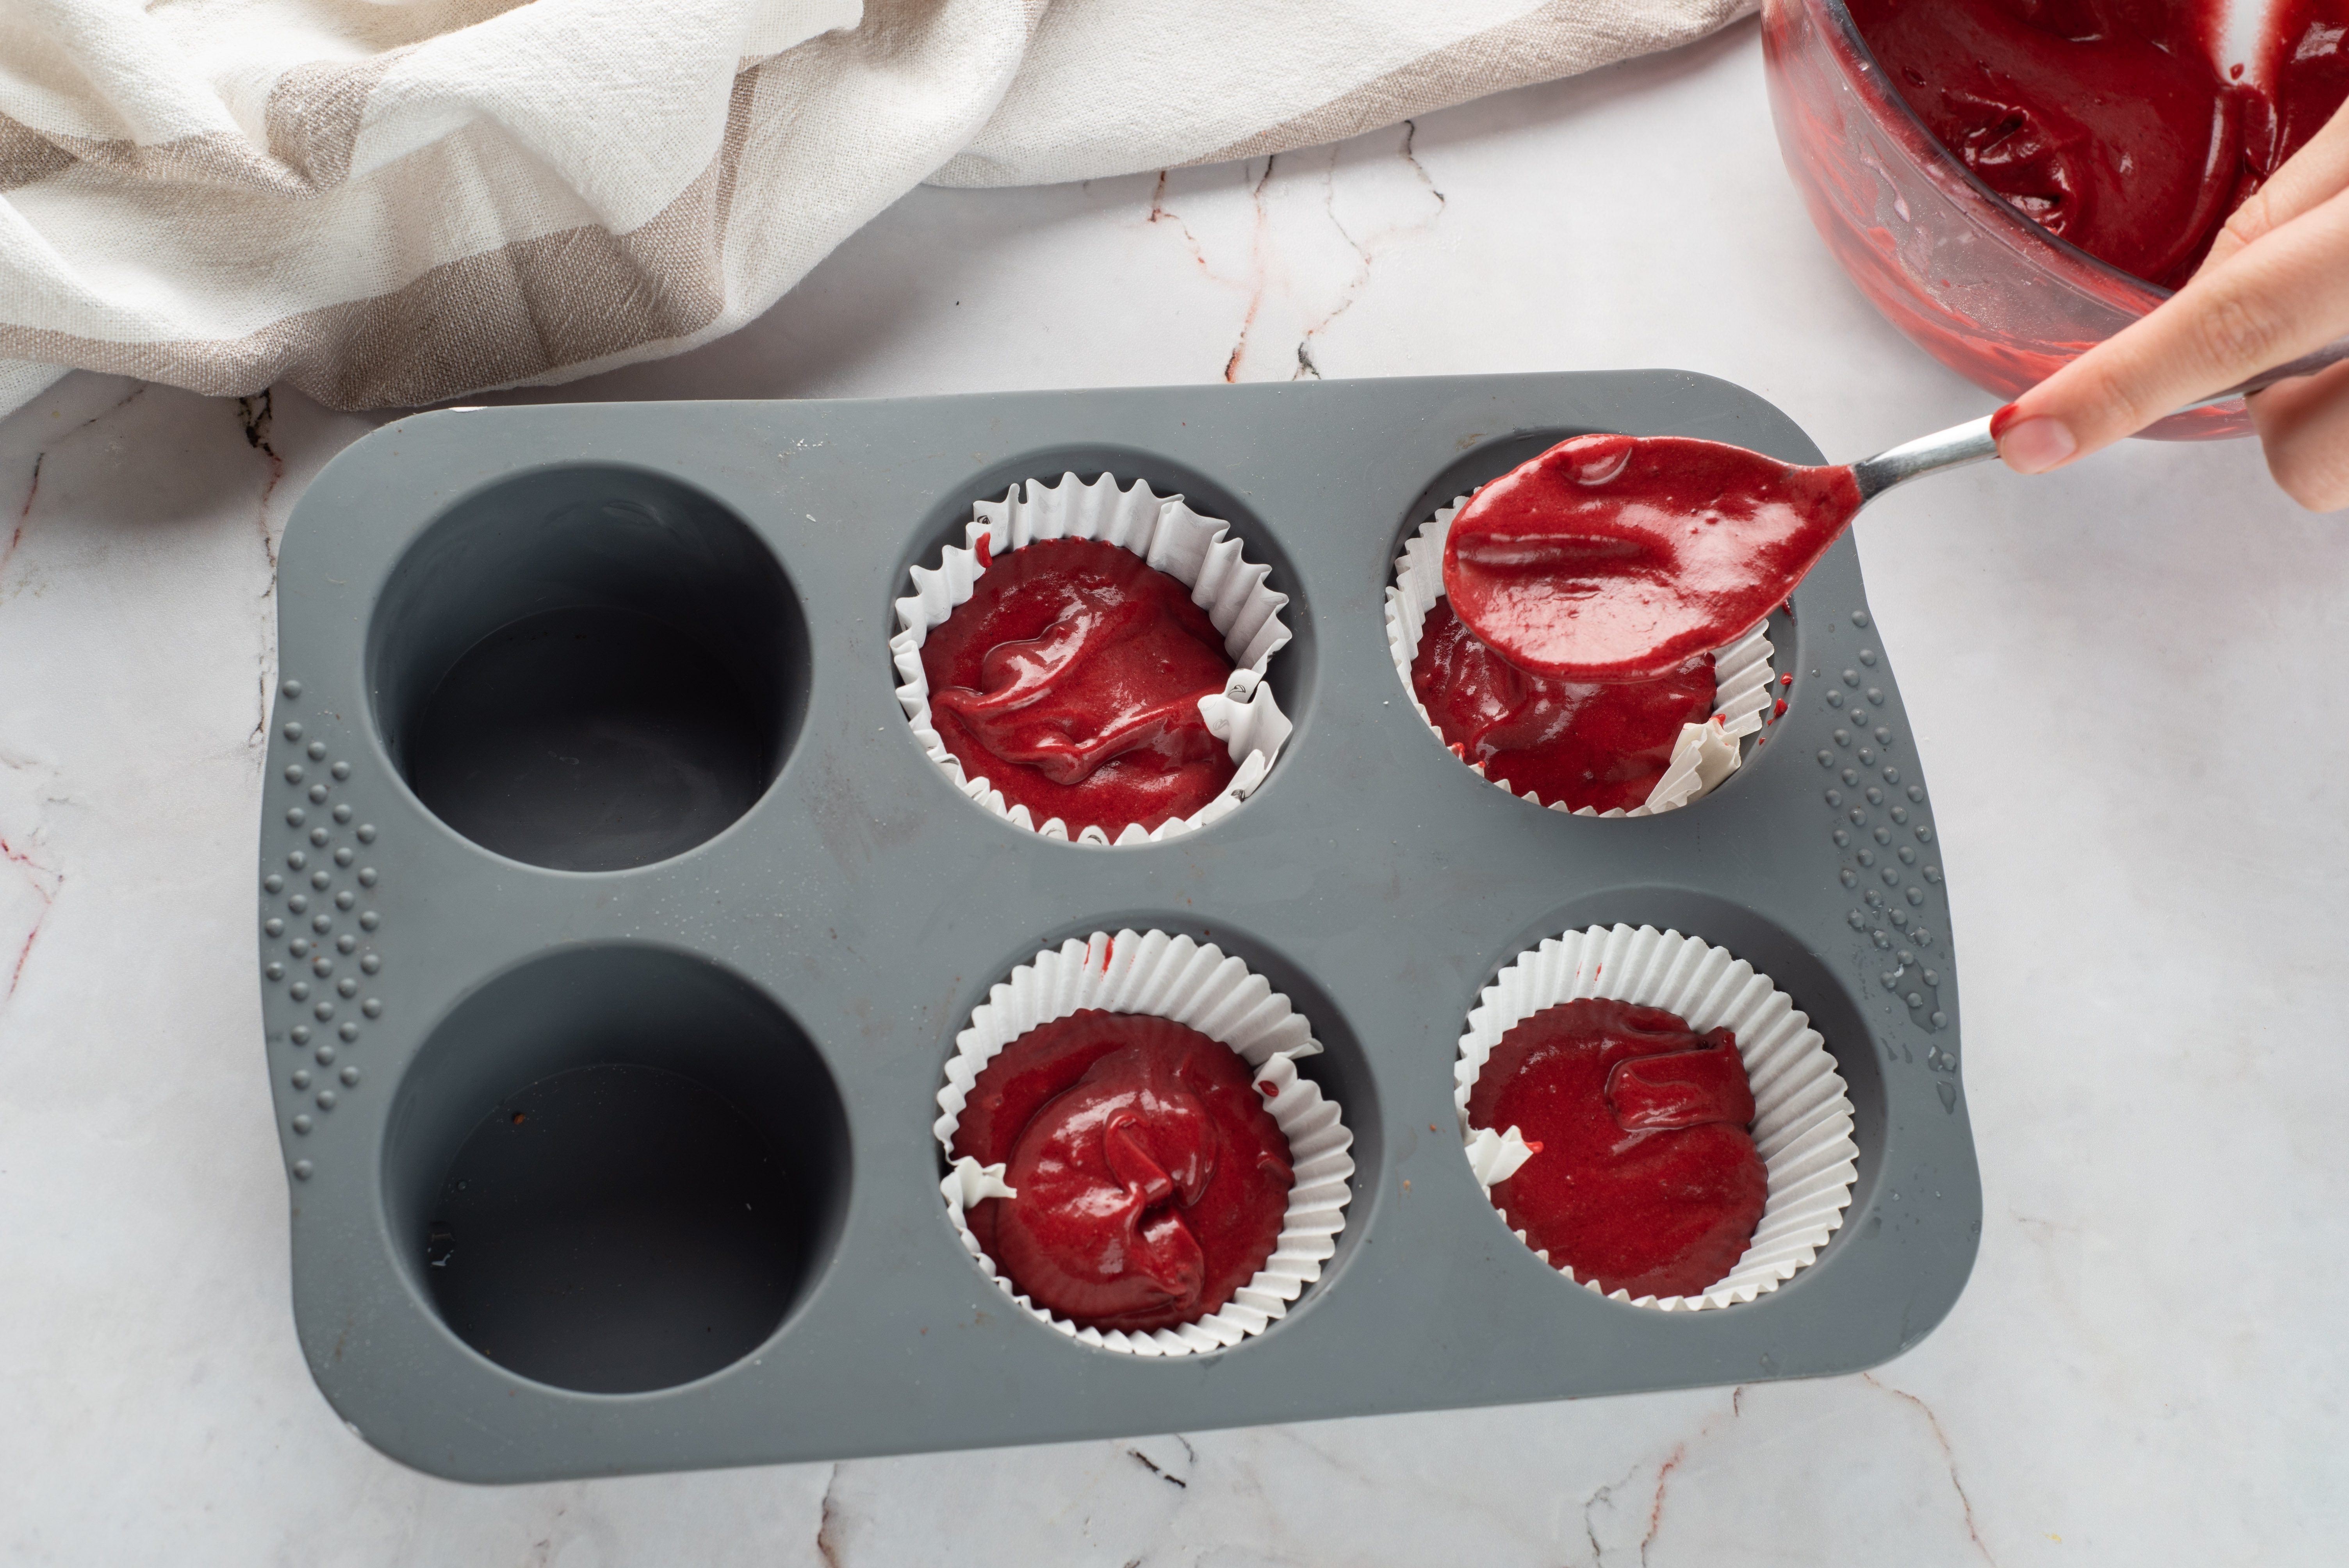
Line the outer edge of a muffin tin with four cupcake liners. Pour the batter into the liners.
;Resize,width=712;)
Line the outer edge of a muffin tin with four cupcake liners. Pour the batter into the liners.
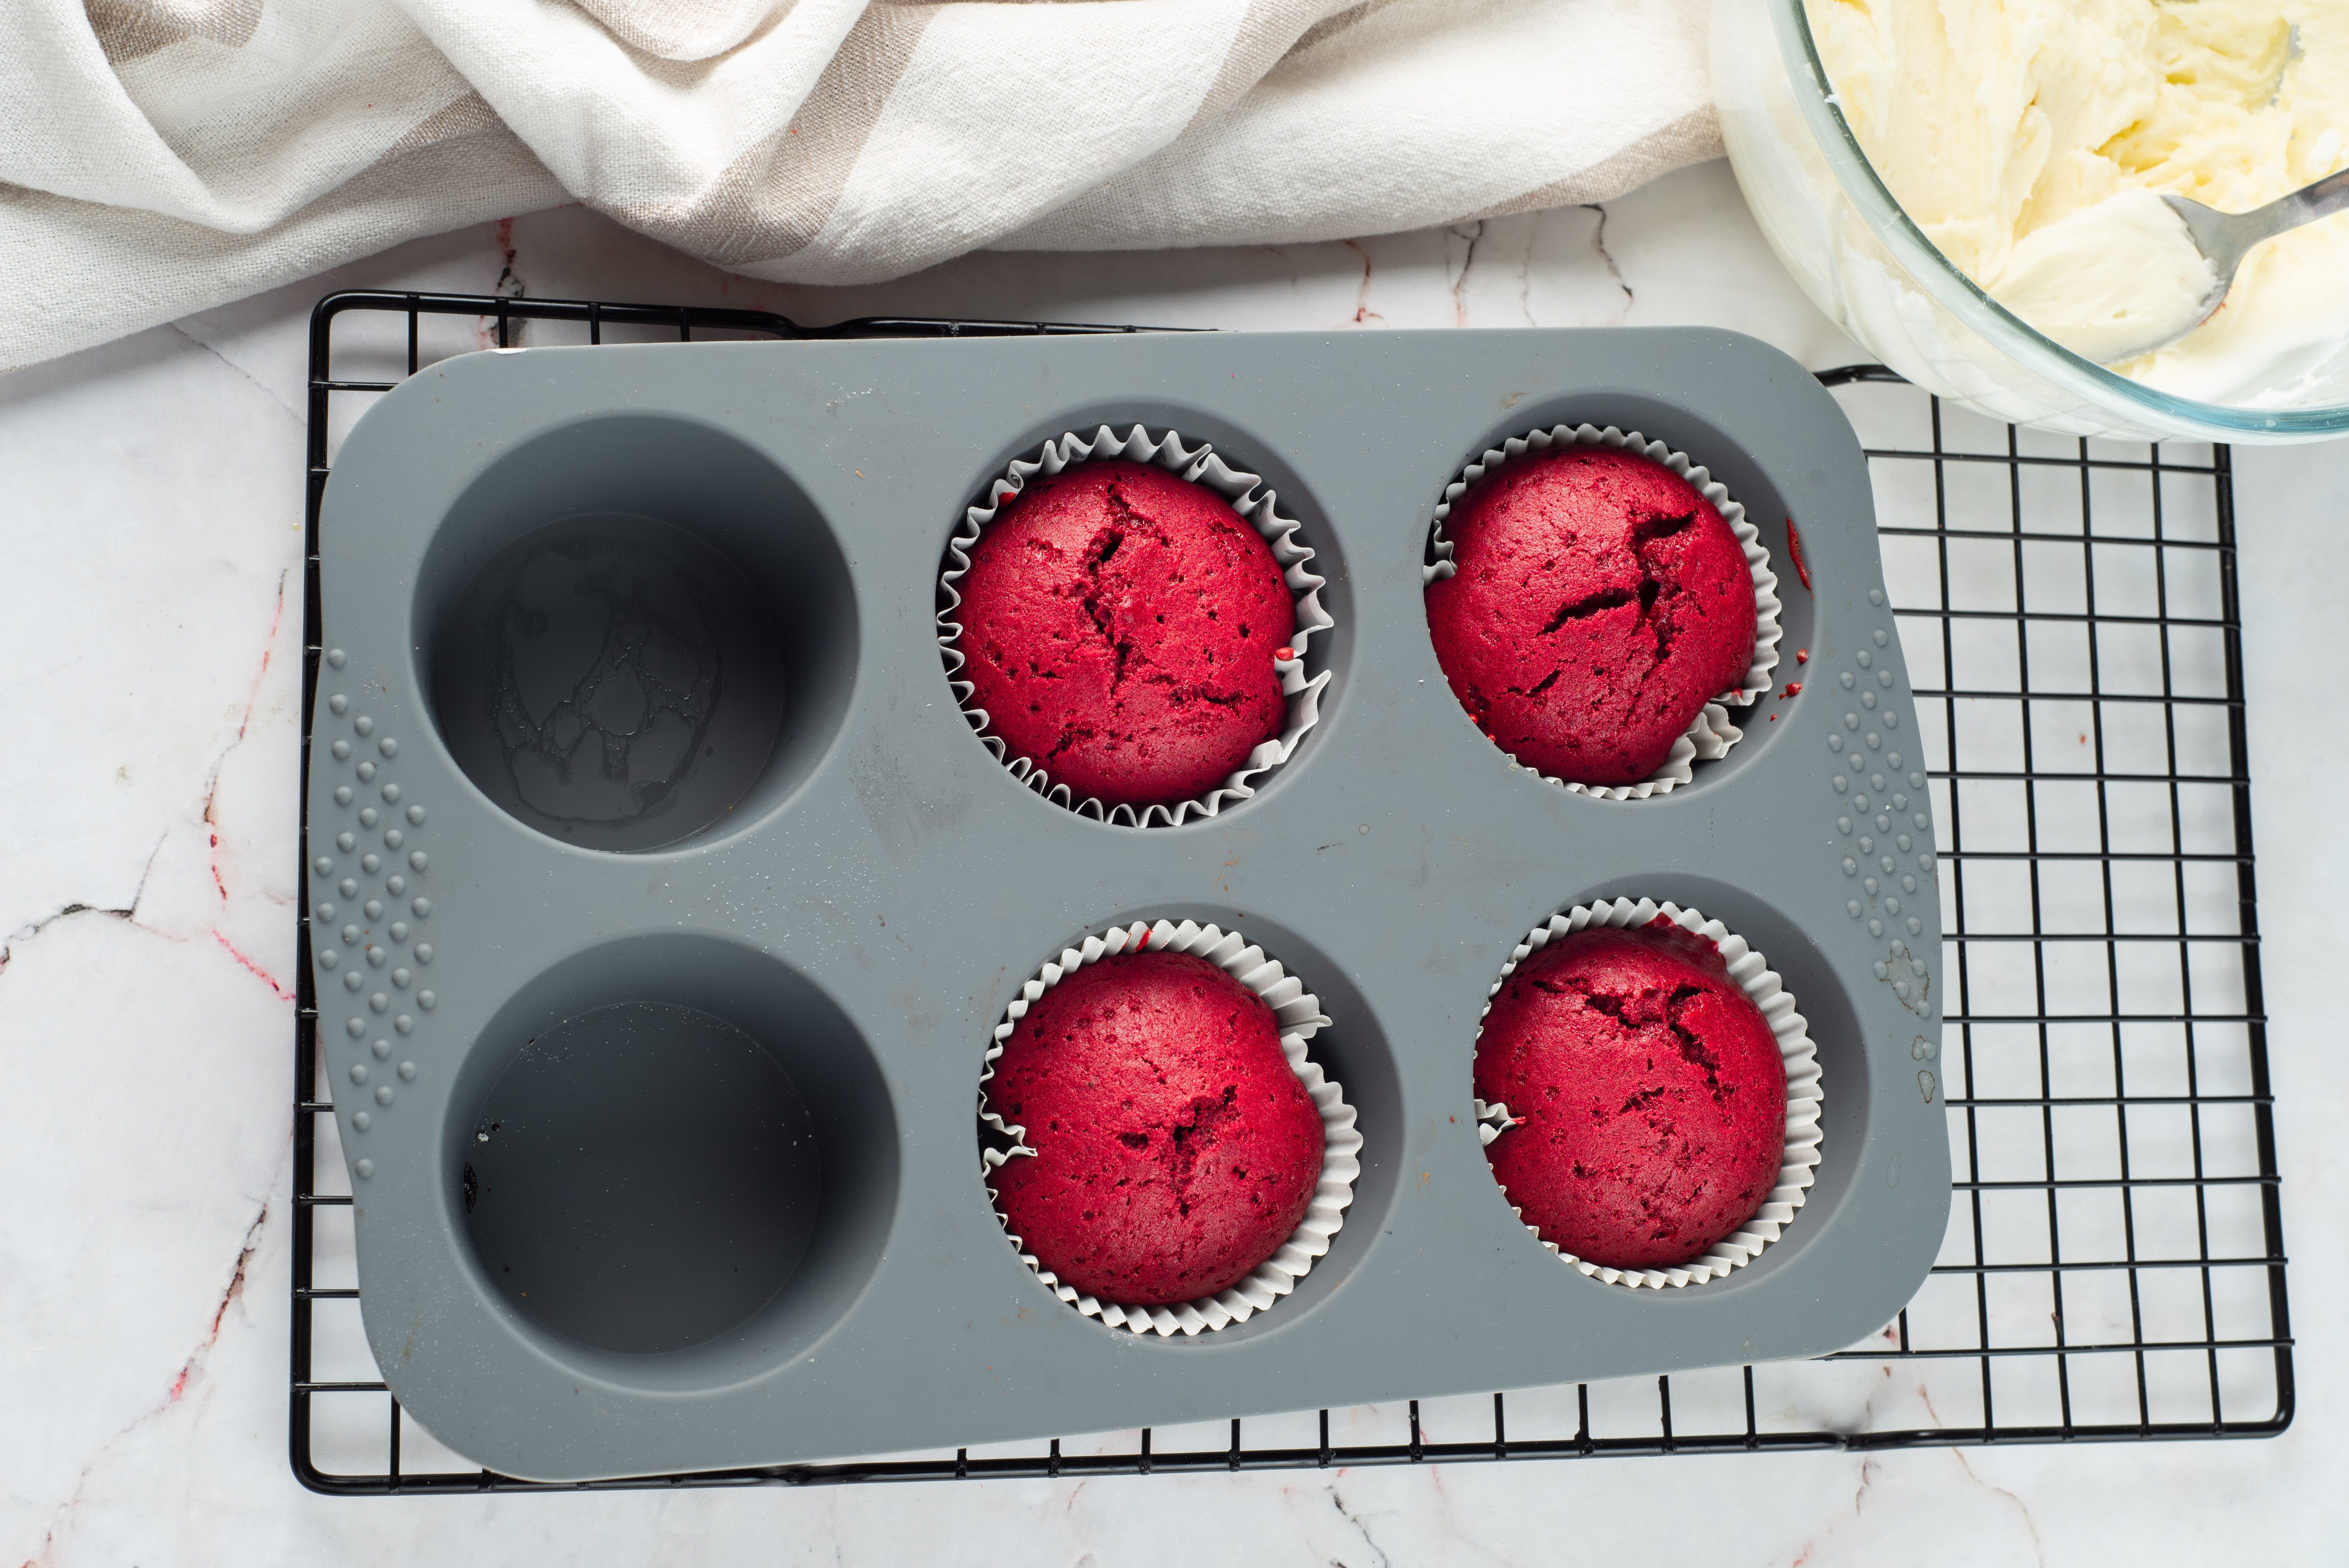
Bake for 20 to 22 minutes. The muffins are done baking when a toothpick inserted into the center comes out clean and crumb-free. Then remove the muffin tin from the oven and set it on a rack to cool completely.
;Resize,width=712;)
Bake for 20 to 22 minutes. The muffins are done baking when a toothpick inserted into the center comes out clean and crumb-free. Then remove the muffin tin from the oven and set it on a rack to cool completely.
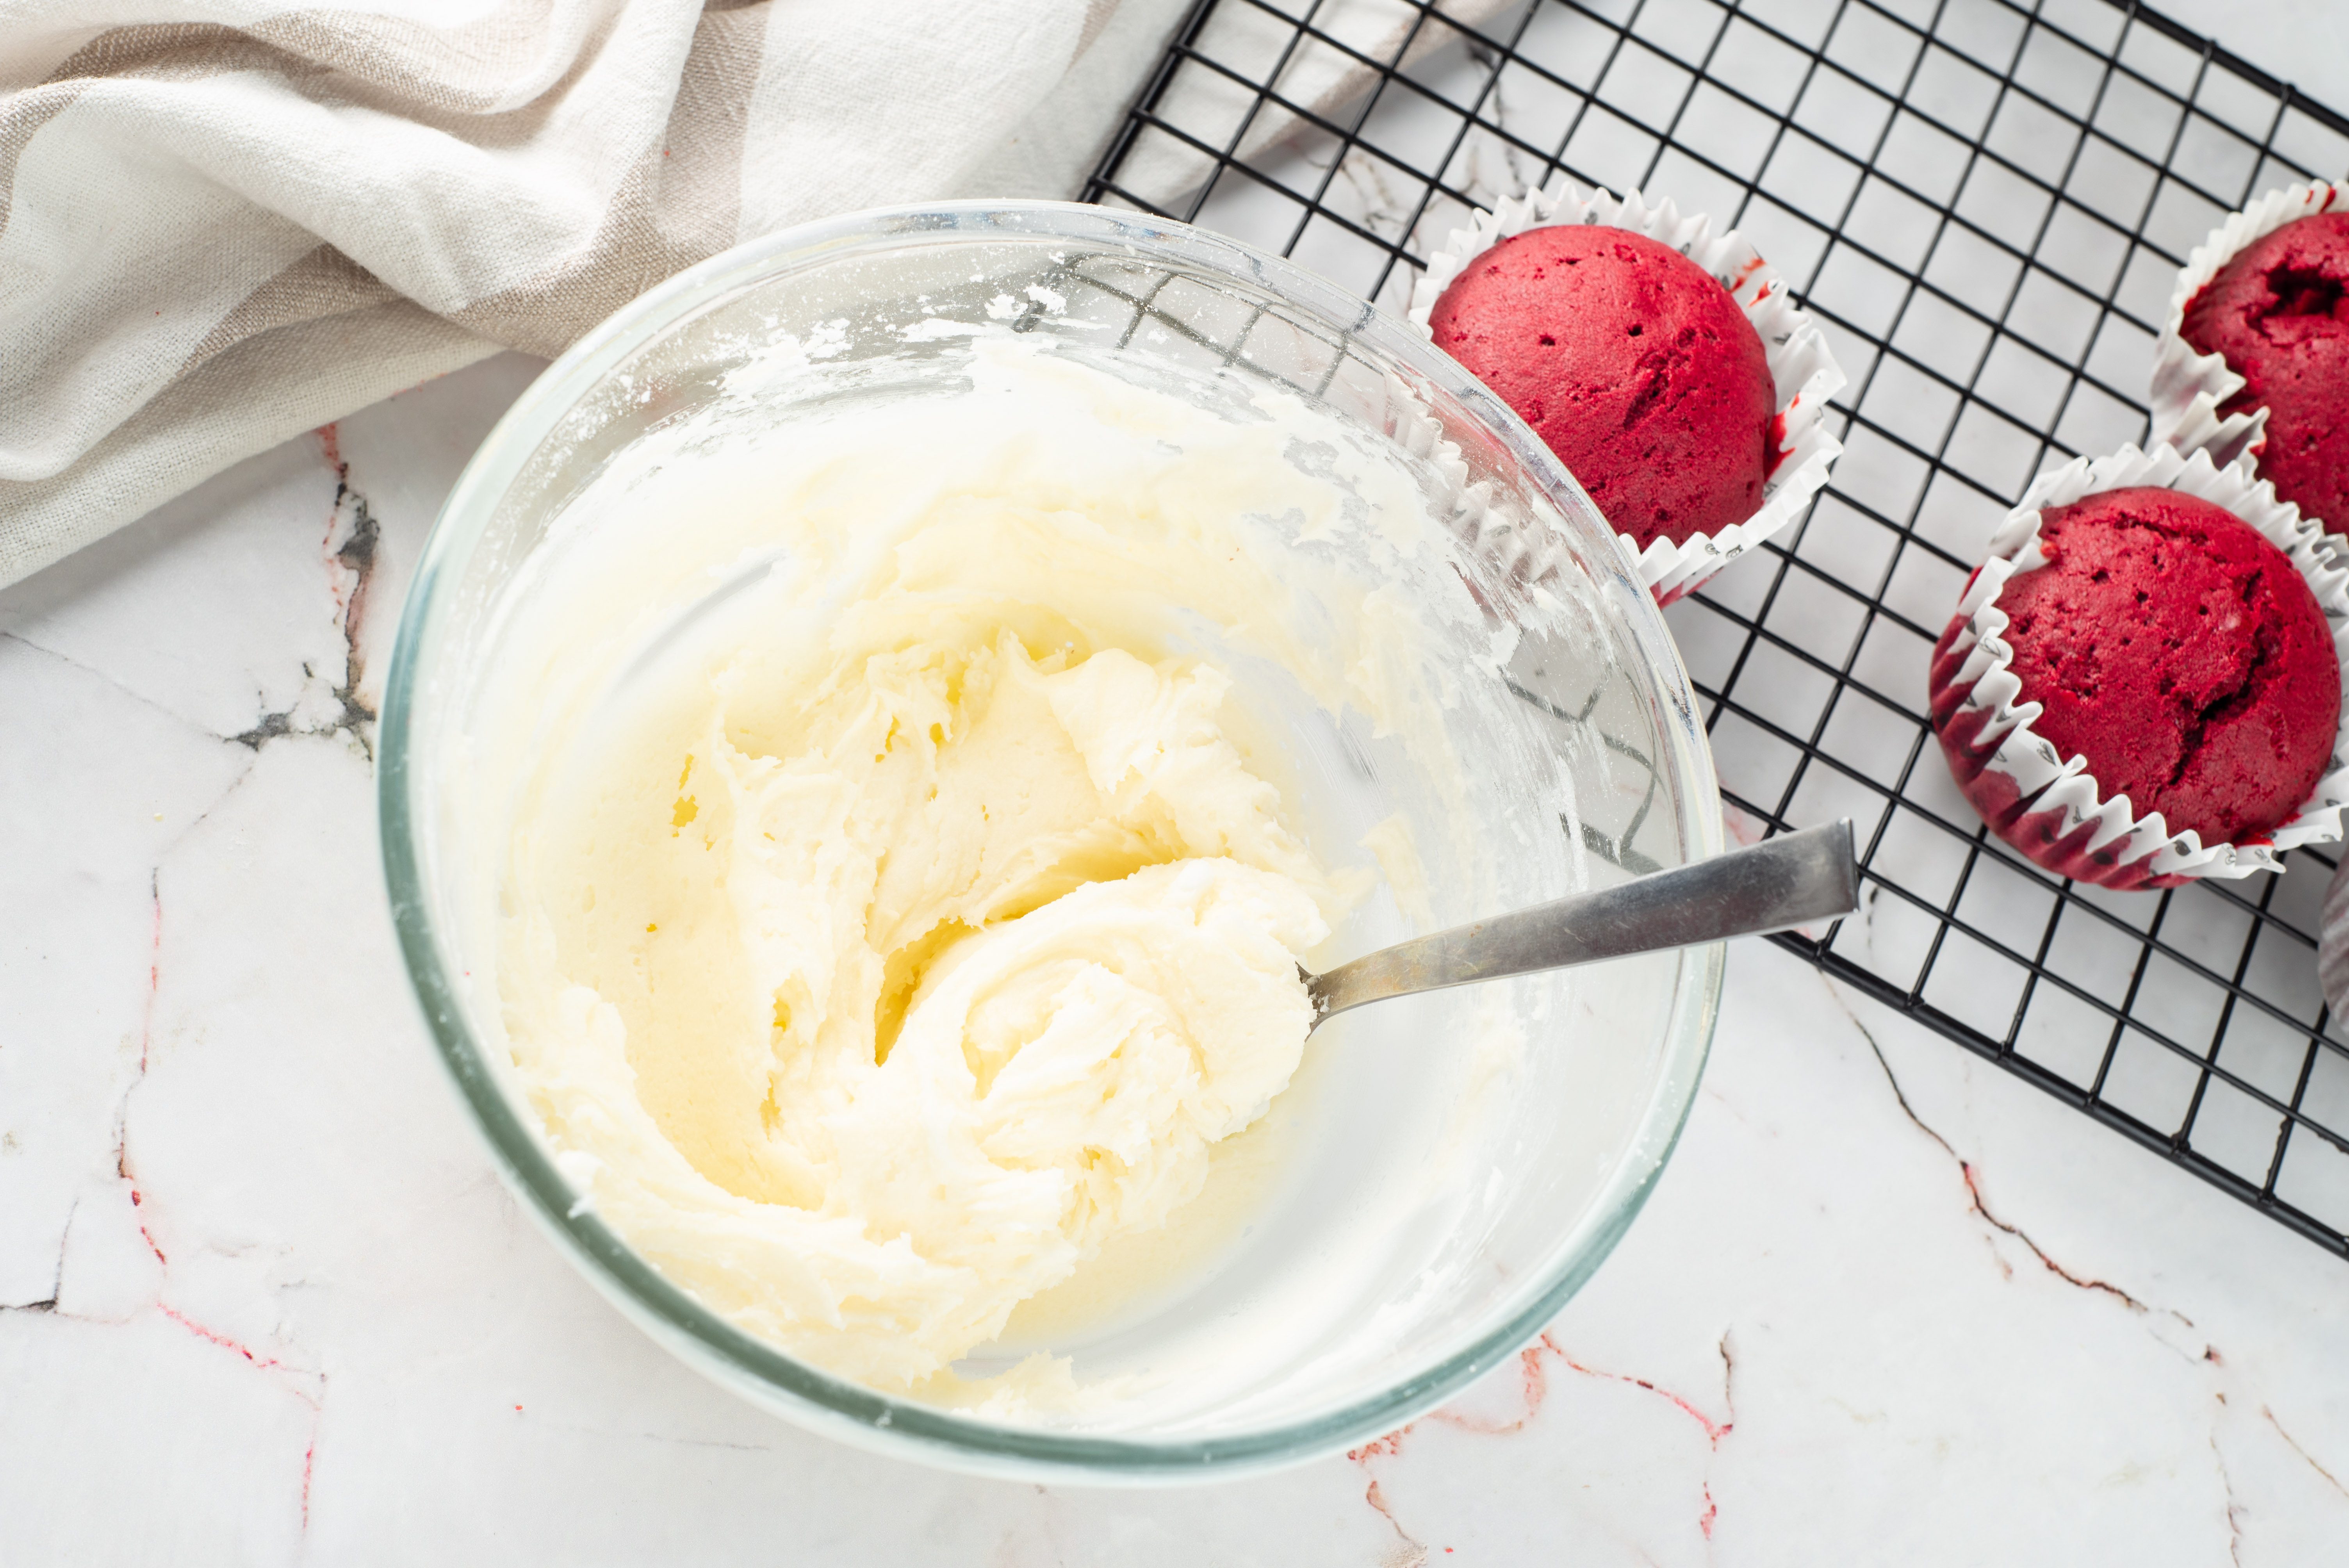
Mix cream cheese and powdered sugar in a bowl.
;Resize,width=712;)
Mix cream cheese and powdered sugar in a bowl.
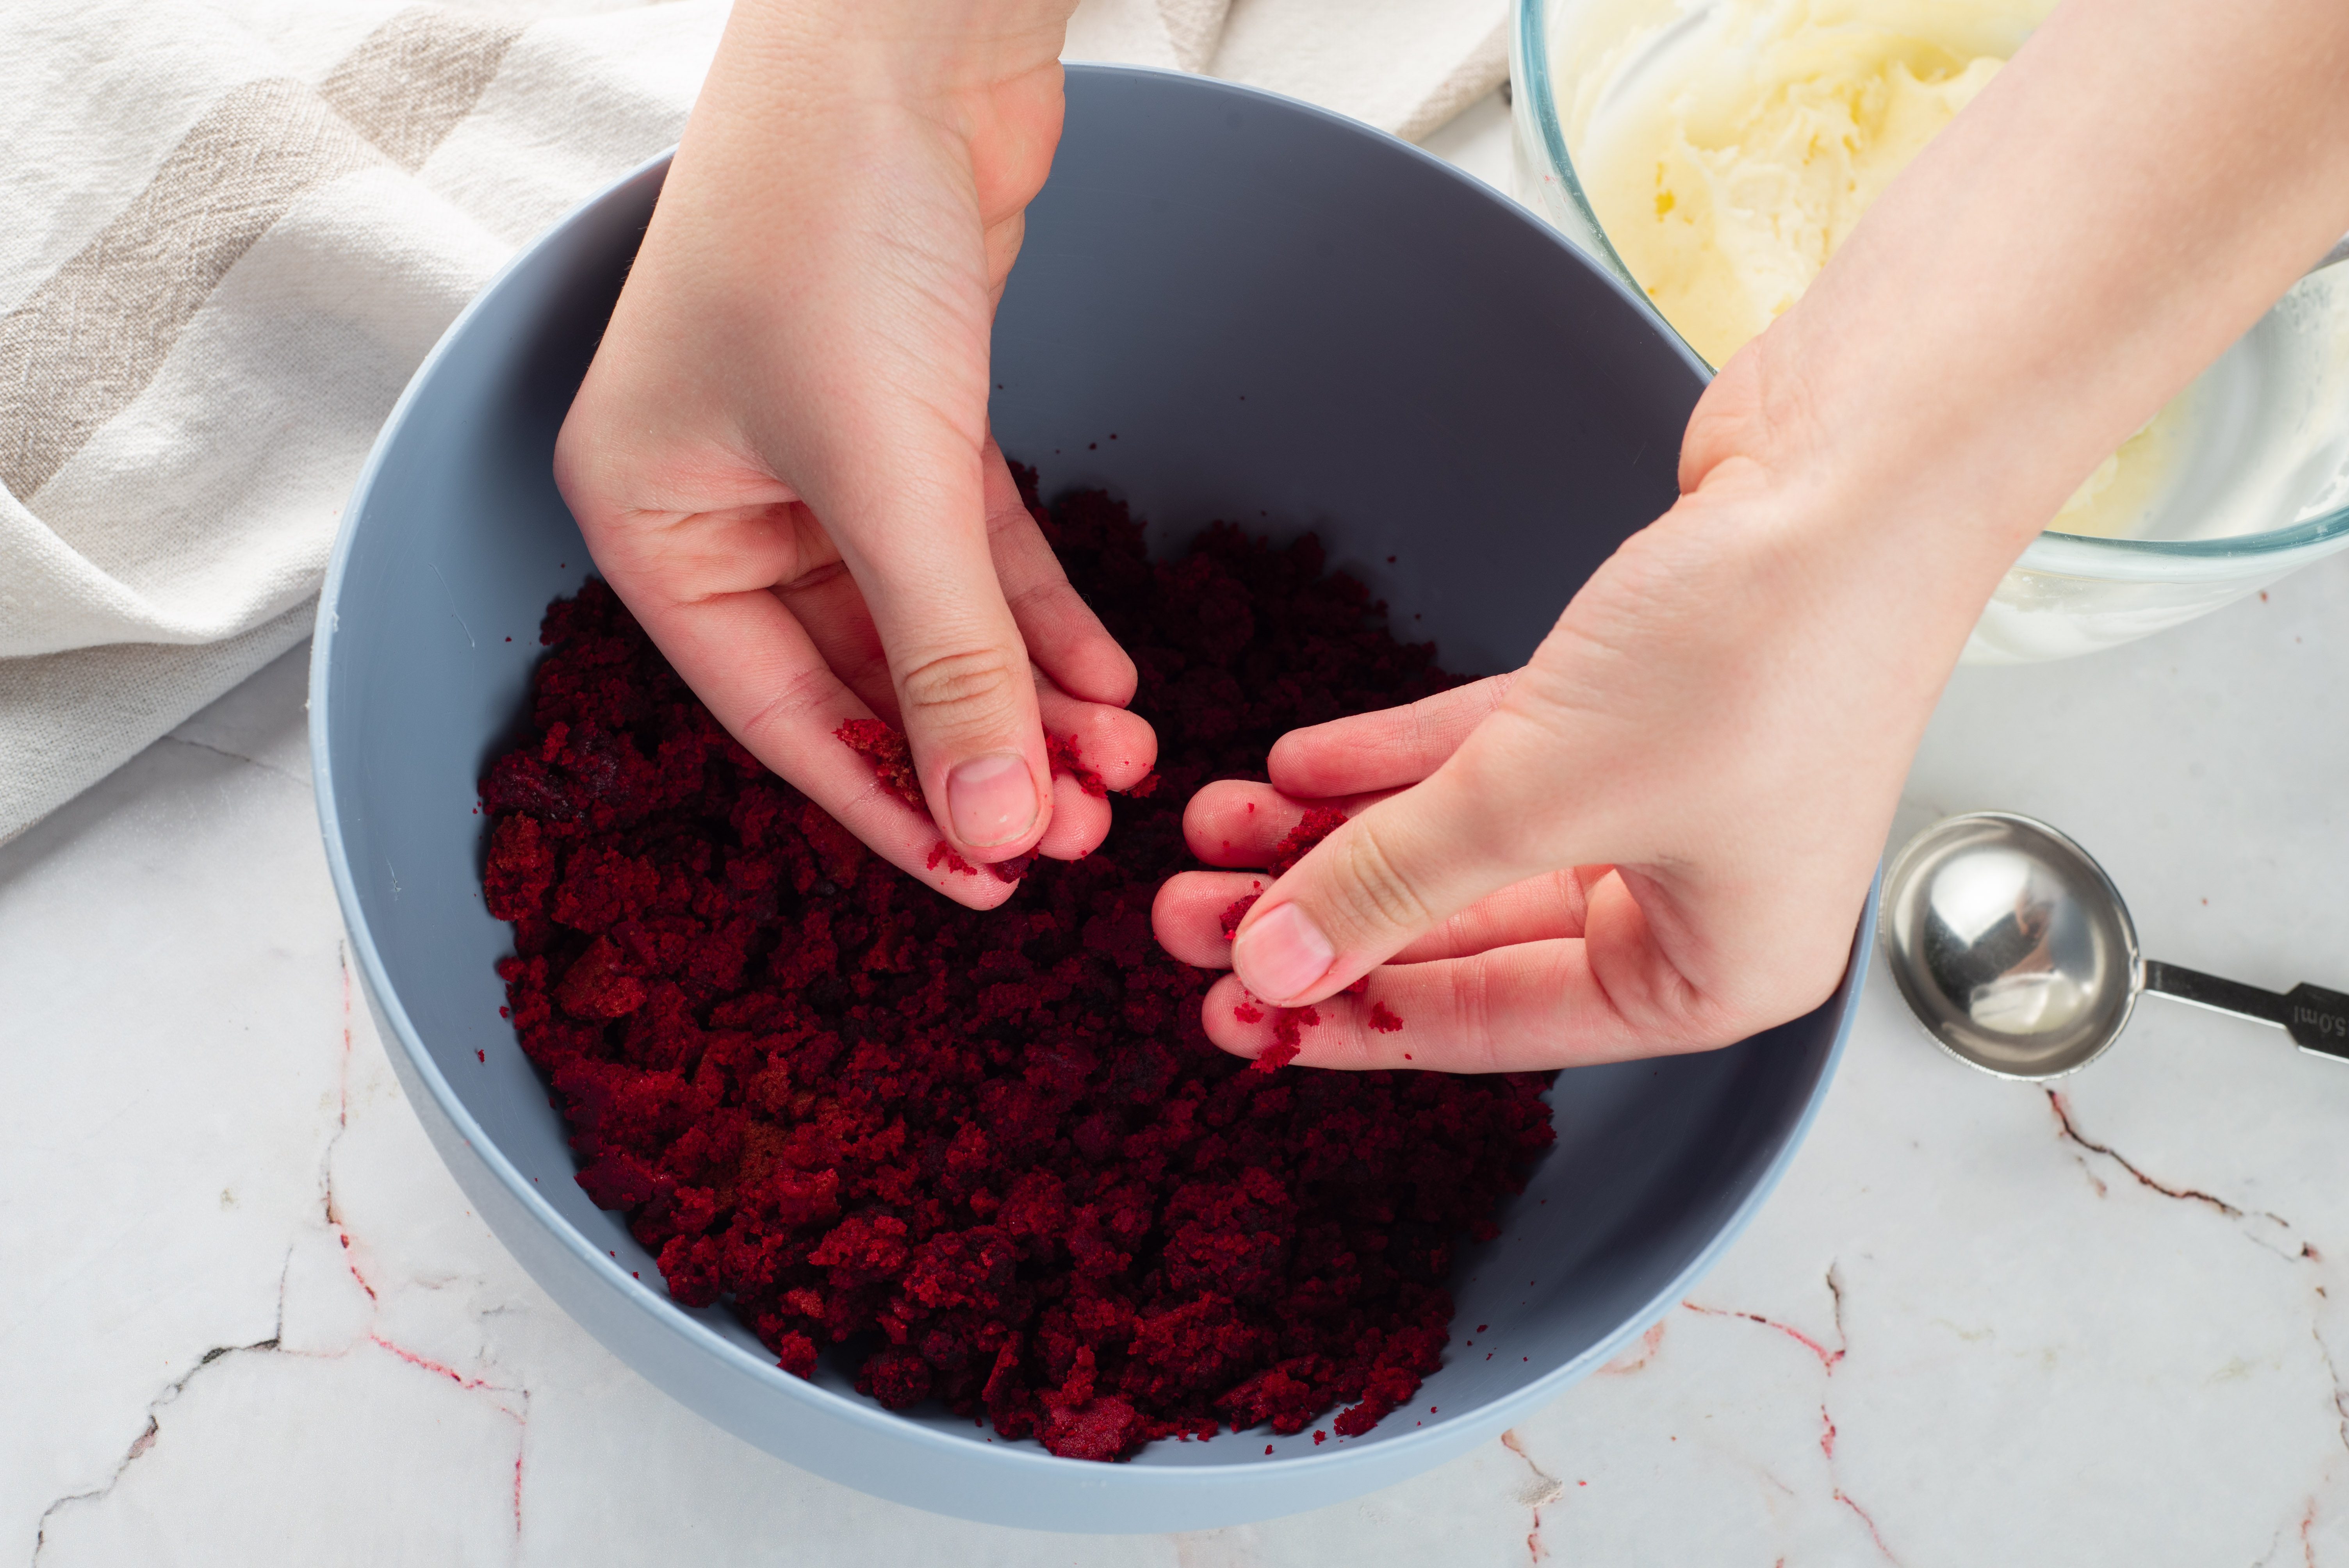
When the muffins are cool, break them into fine crumbs in a bowl.
;Resize,width=712;)
When the muffins are cool, break them into fine crumbs in a bowl.
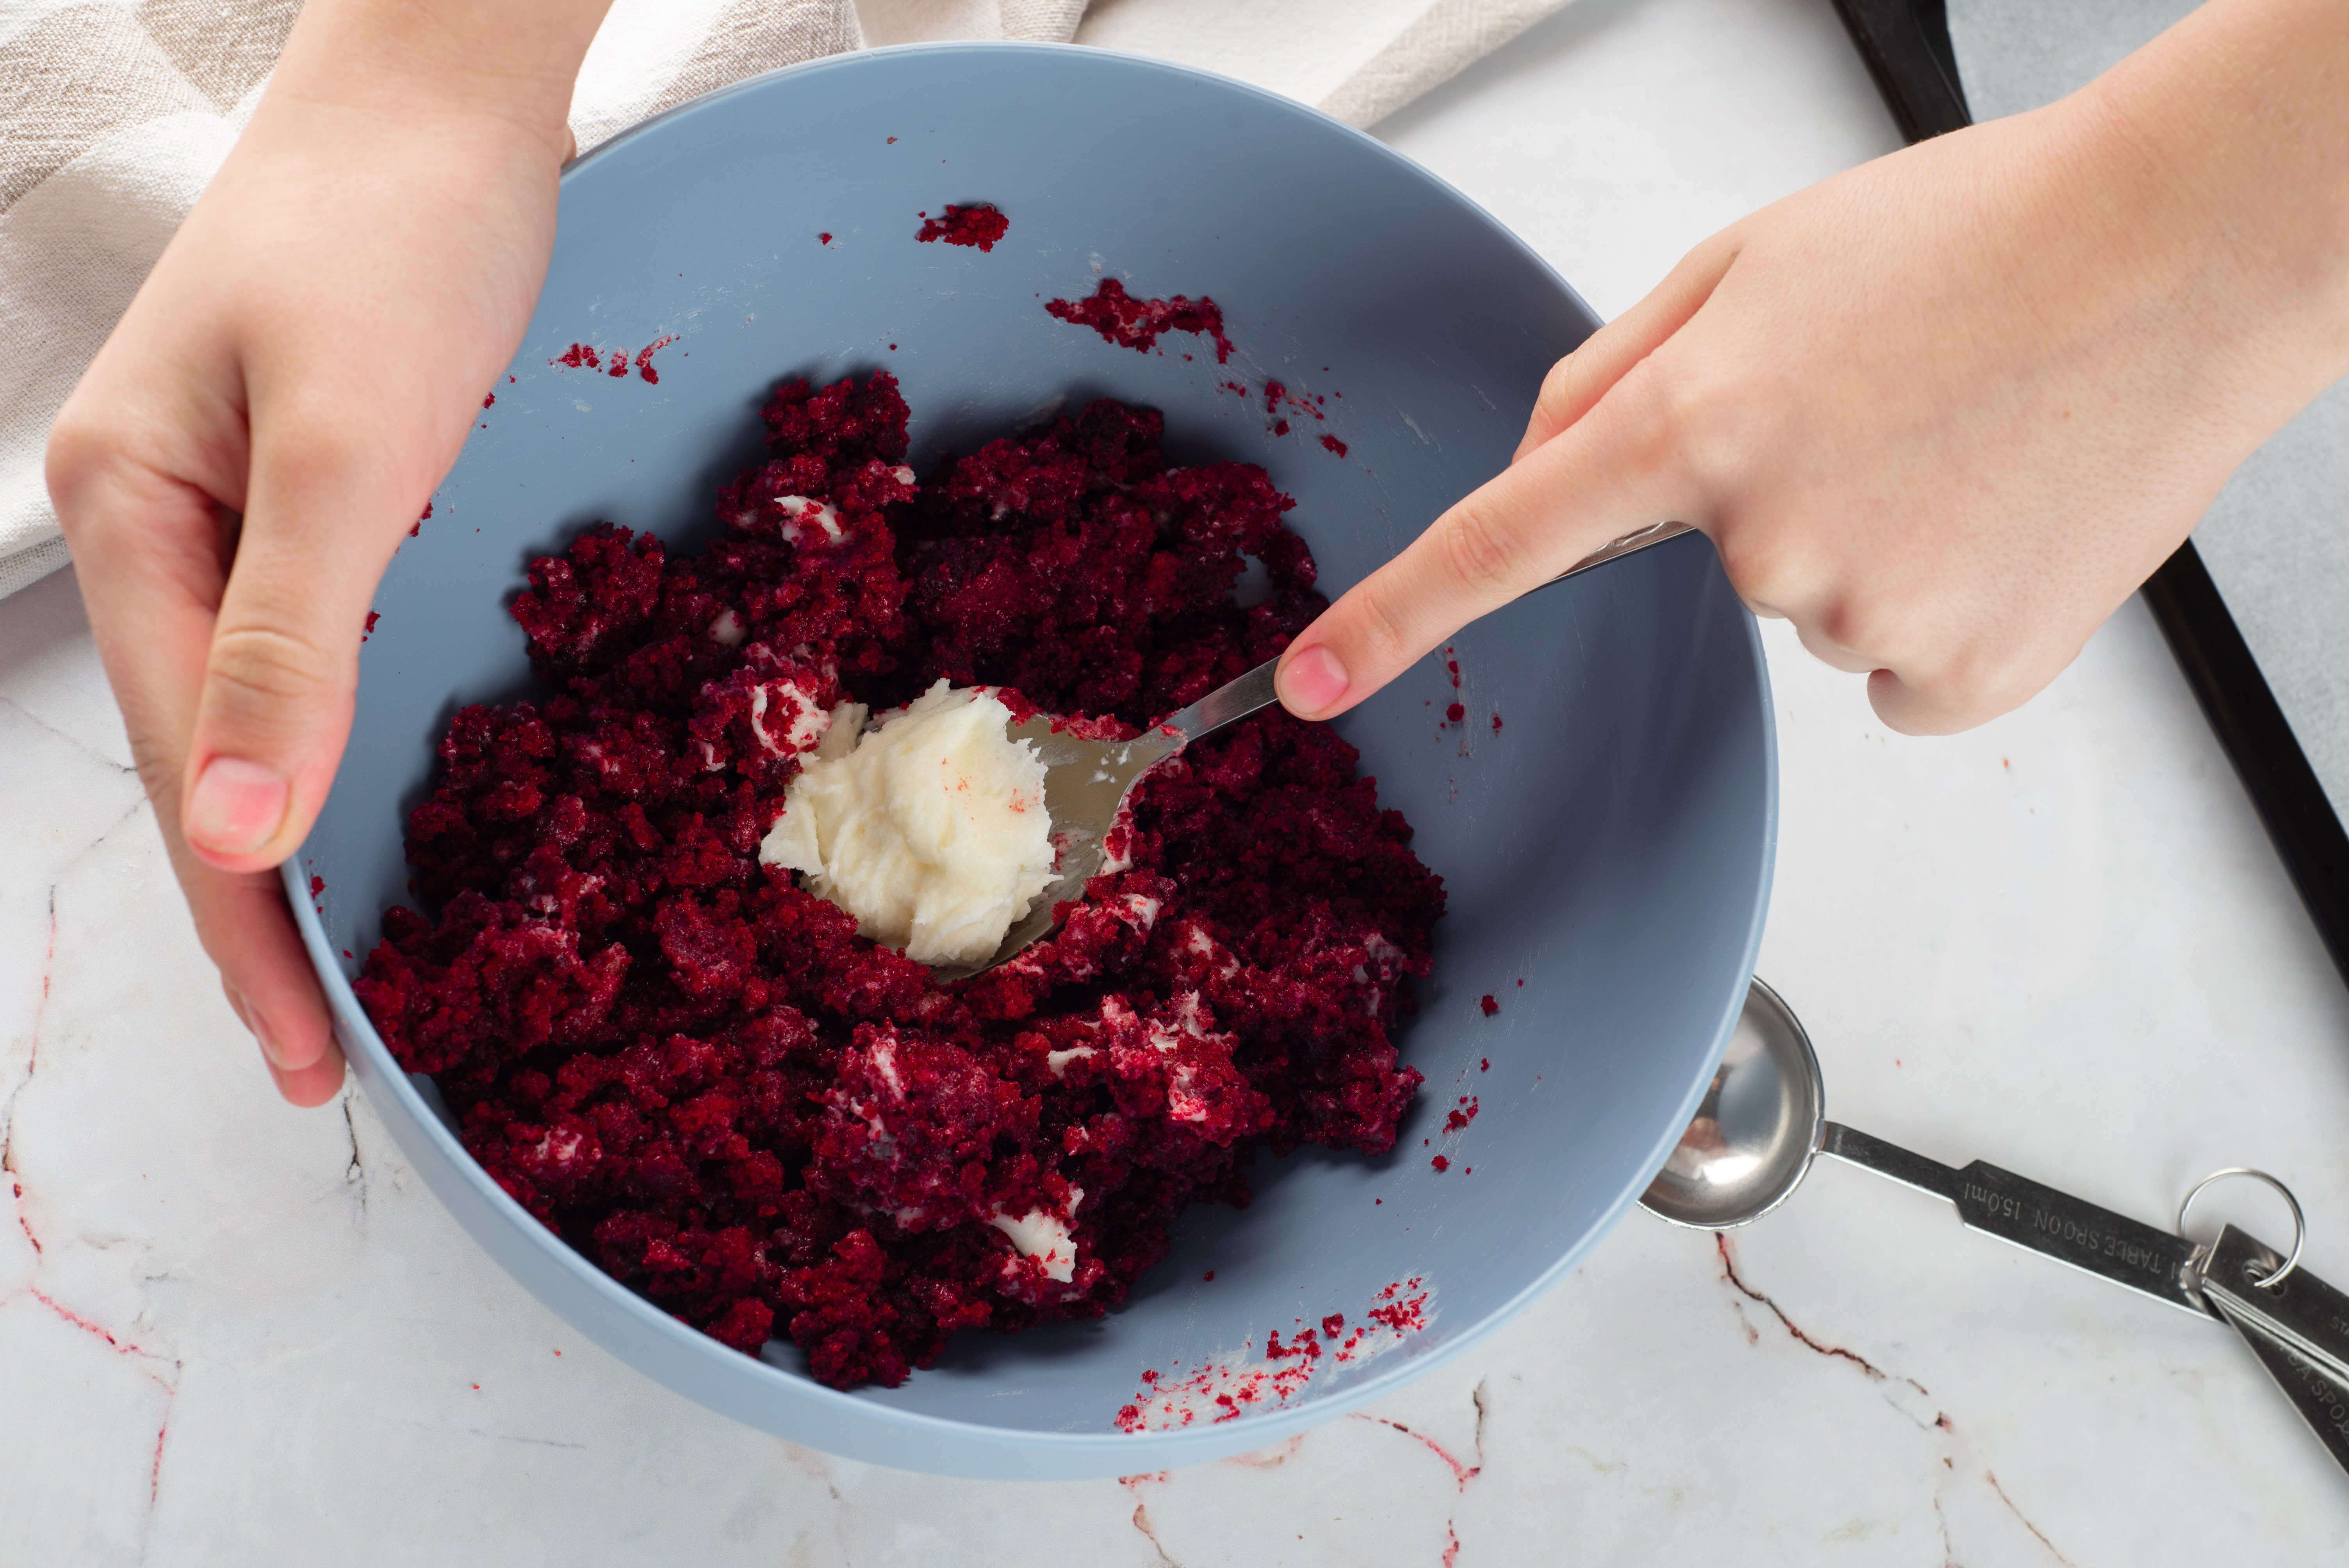
Stir the cream cheese mixture into the red velvet crumbs.
;Resize,width=712;)
Stir the cream cheese mixture into the red velvet crumbs.
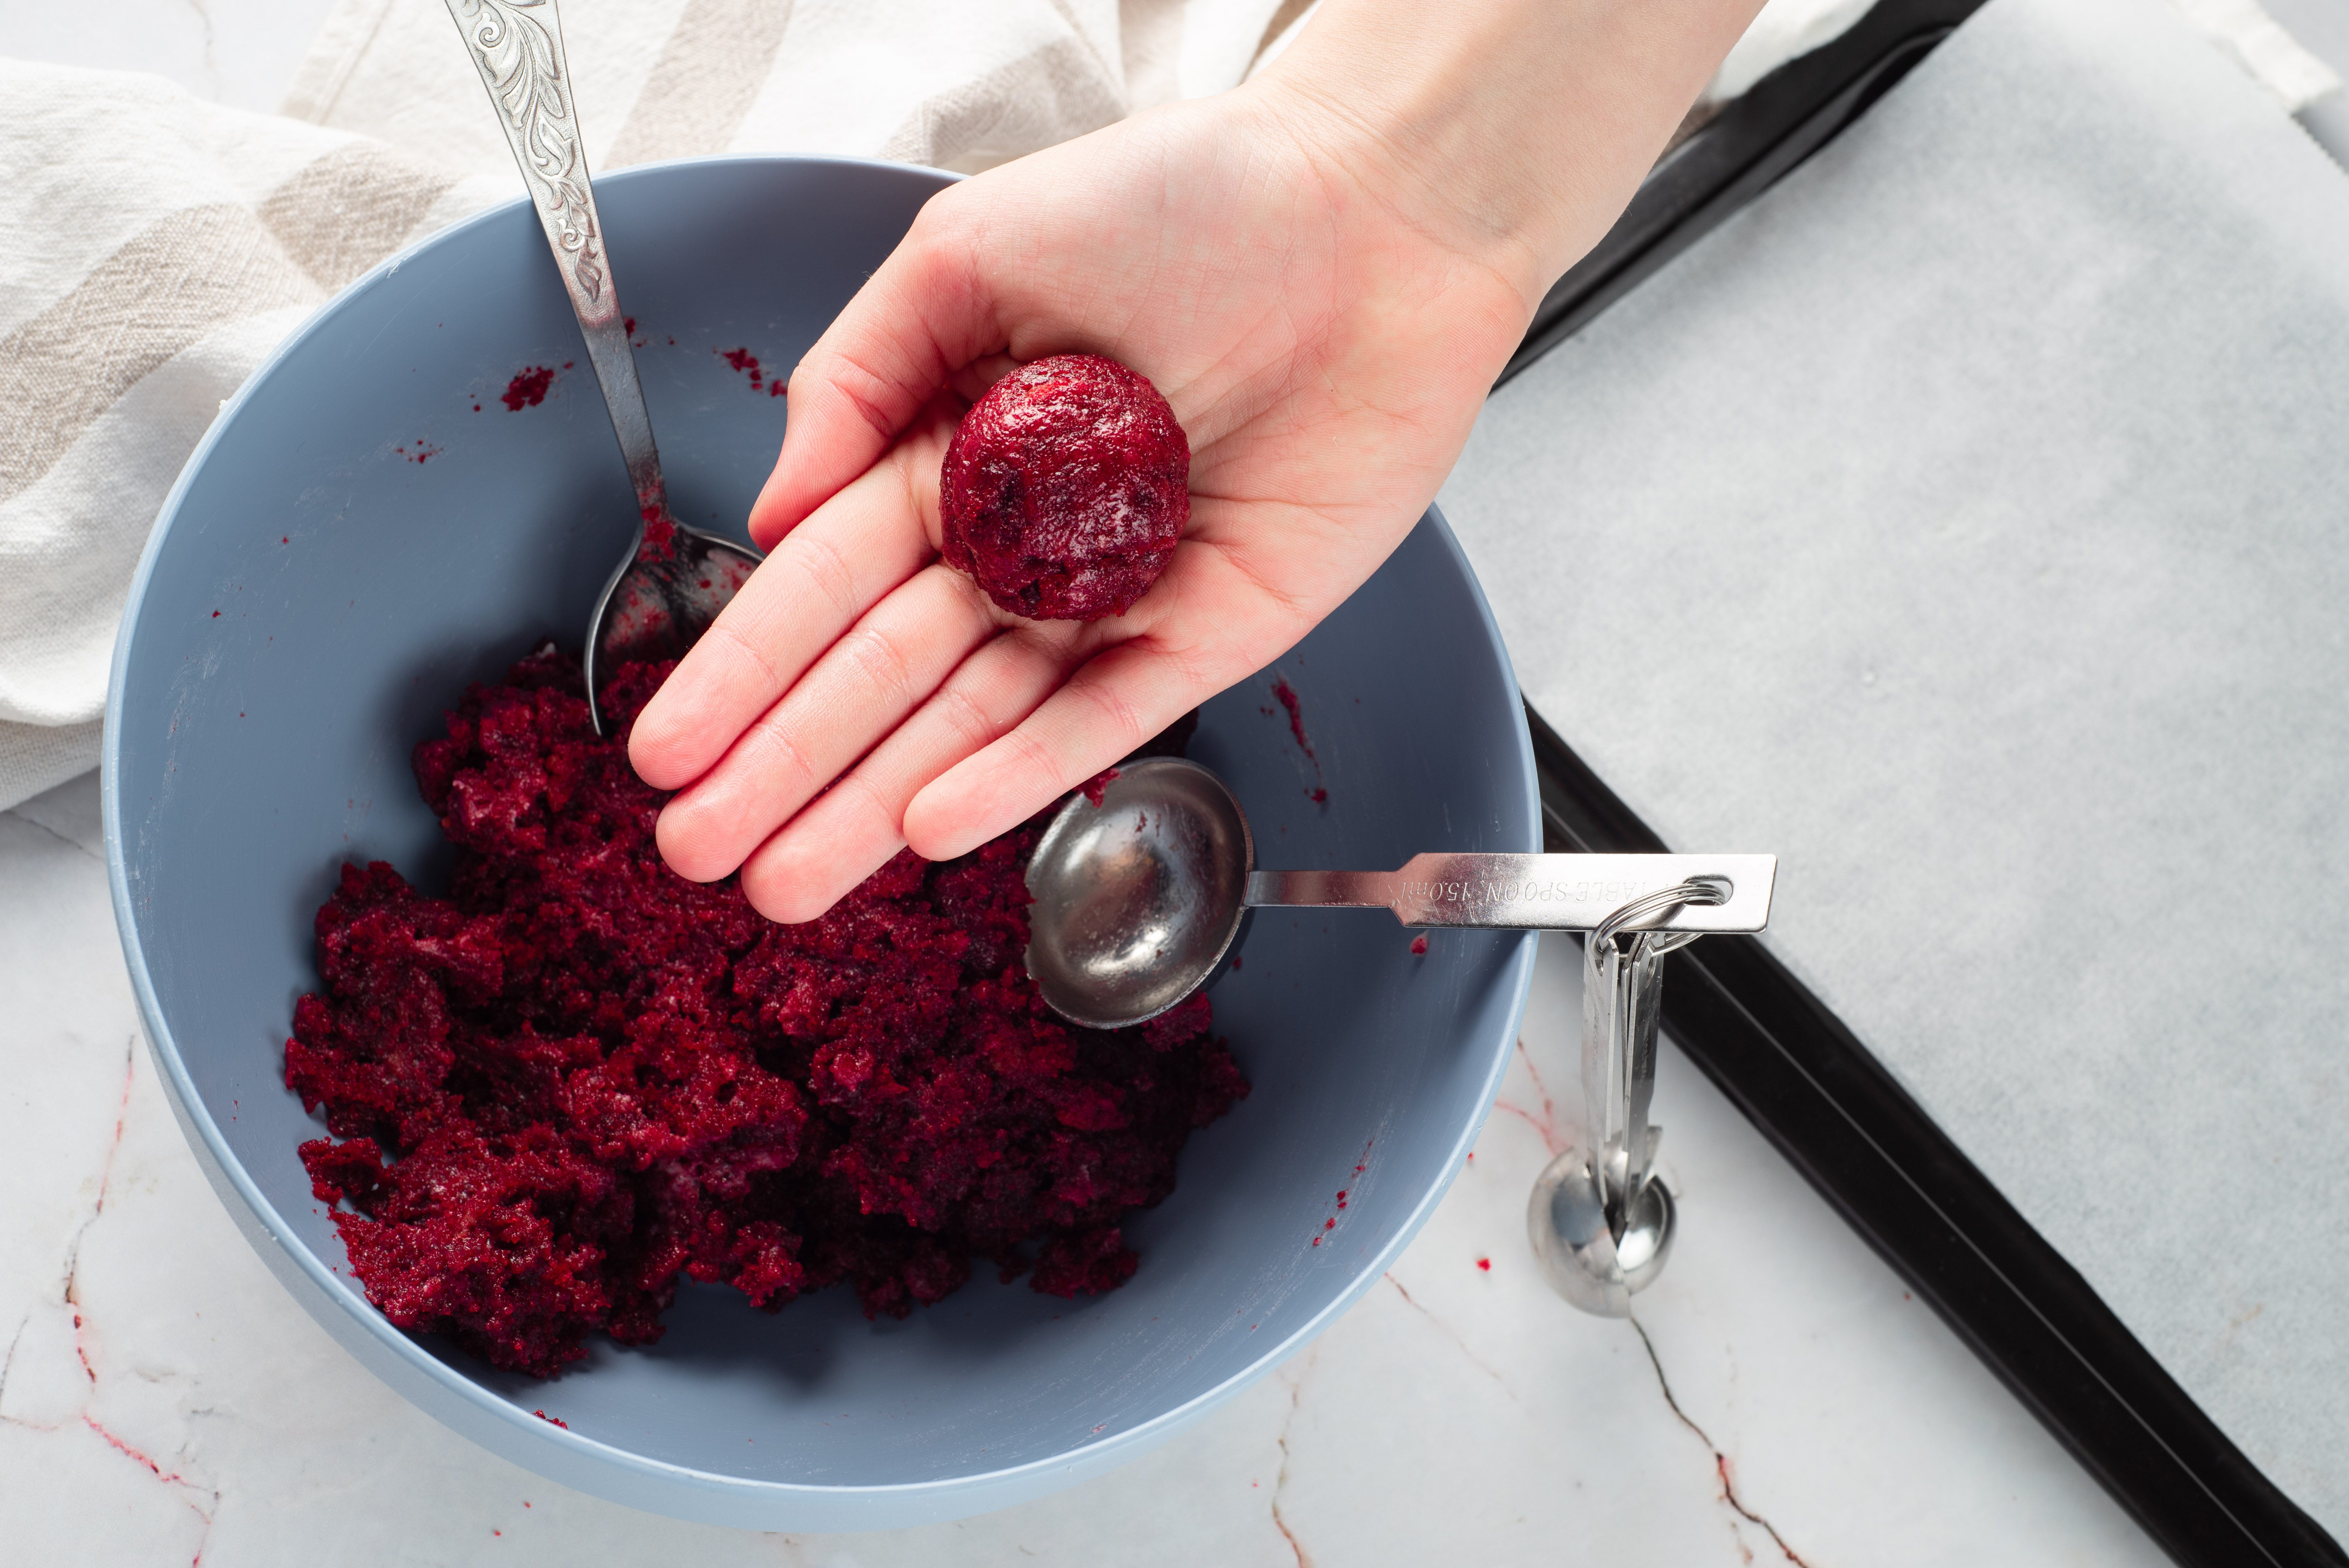
Take out a scoopful of the mixture with a cookie scoop. Shape it into a ball, then set it on a plate.
;Resize,width=712;)
Take out a scoopful of the mixture with a cookie scoop. Shape it into a ball, then set it on a plate.
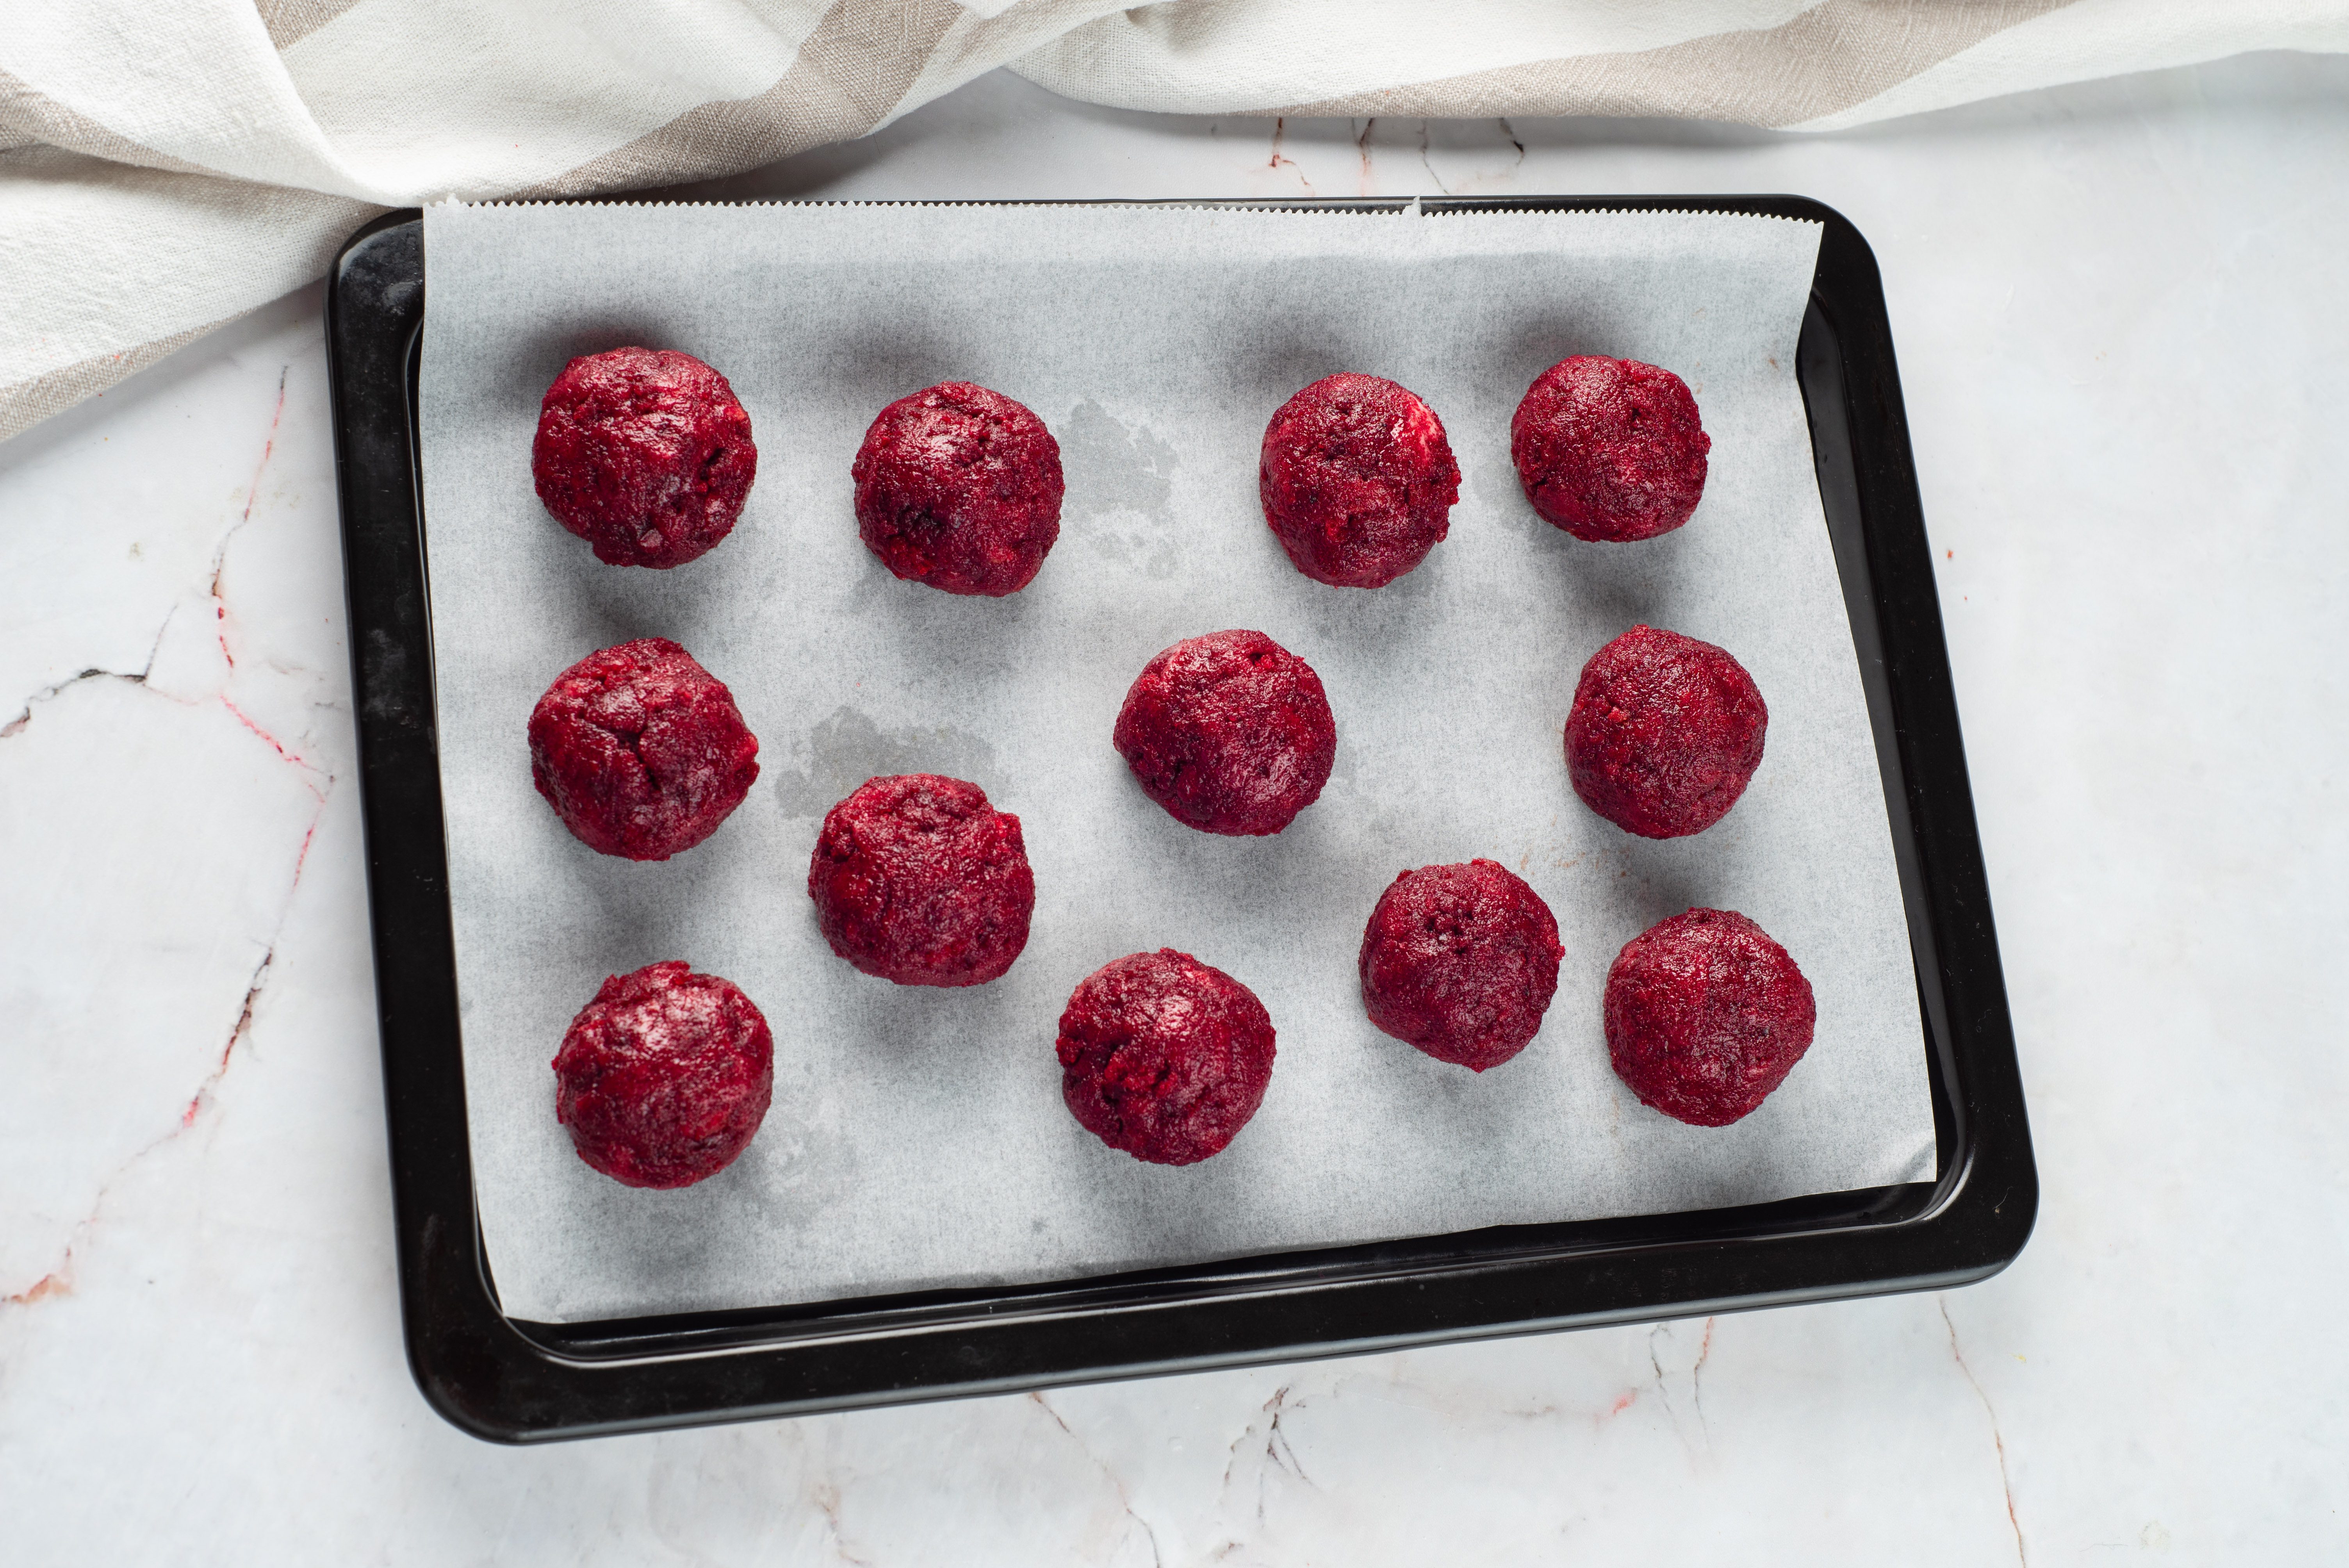
Repeat with the remaining batter, then put the plate in the freezer for at least four hours.
;Resize,width=712;)
Repeat with the remaining batter, then put the plate in the freezer for at least four hours.
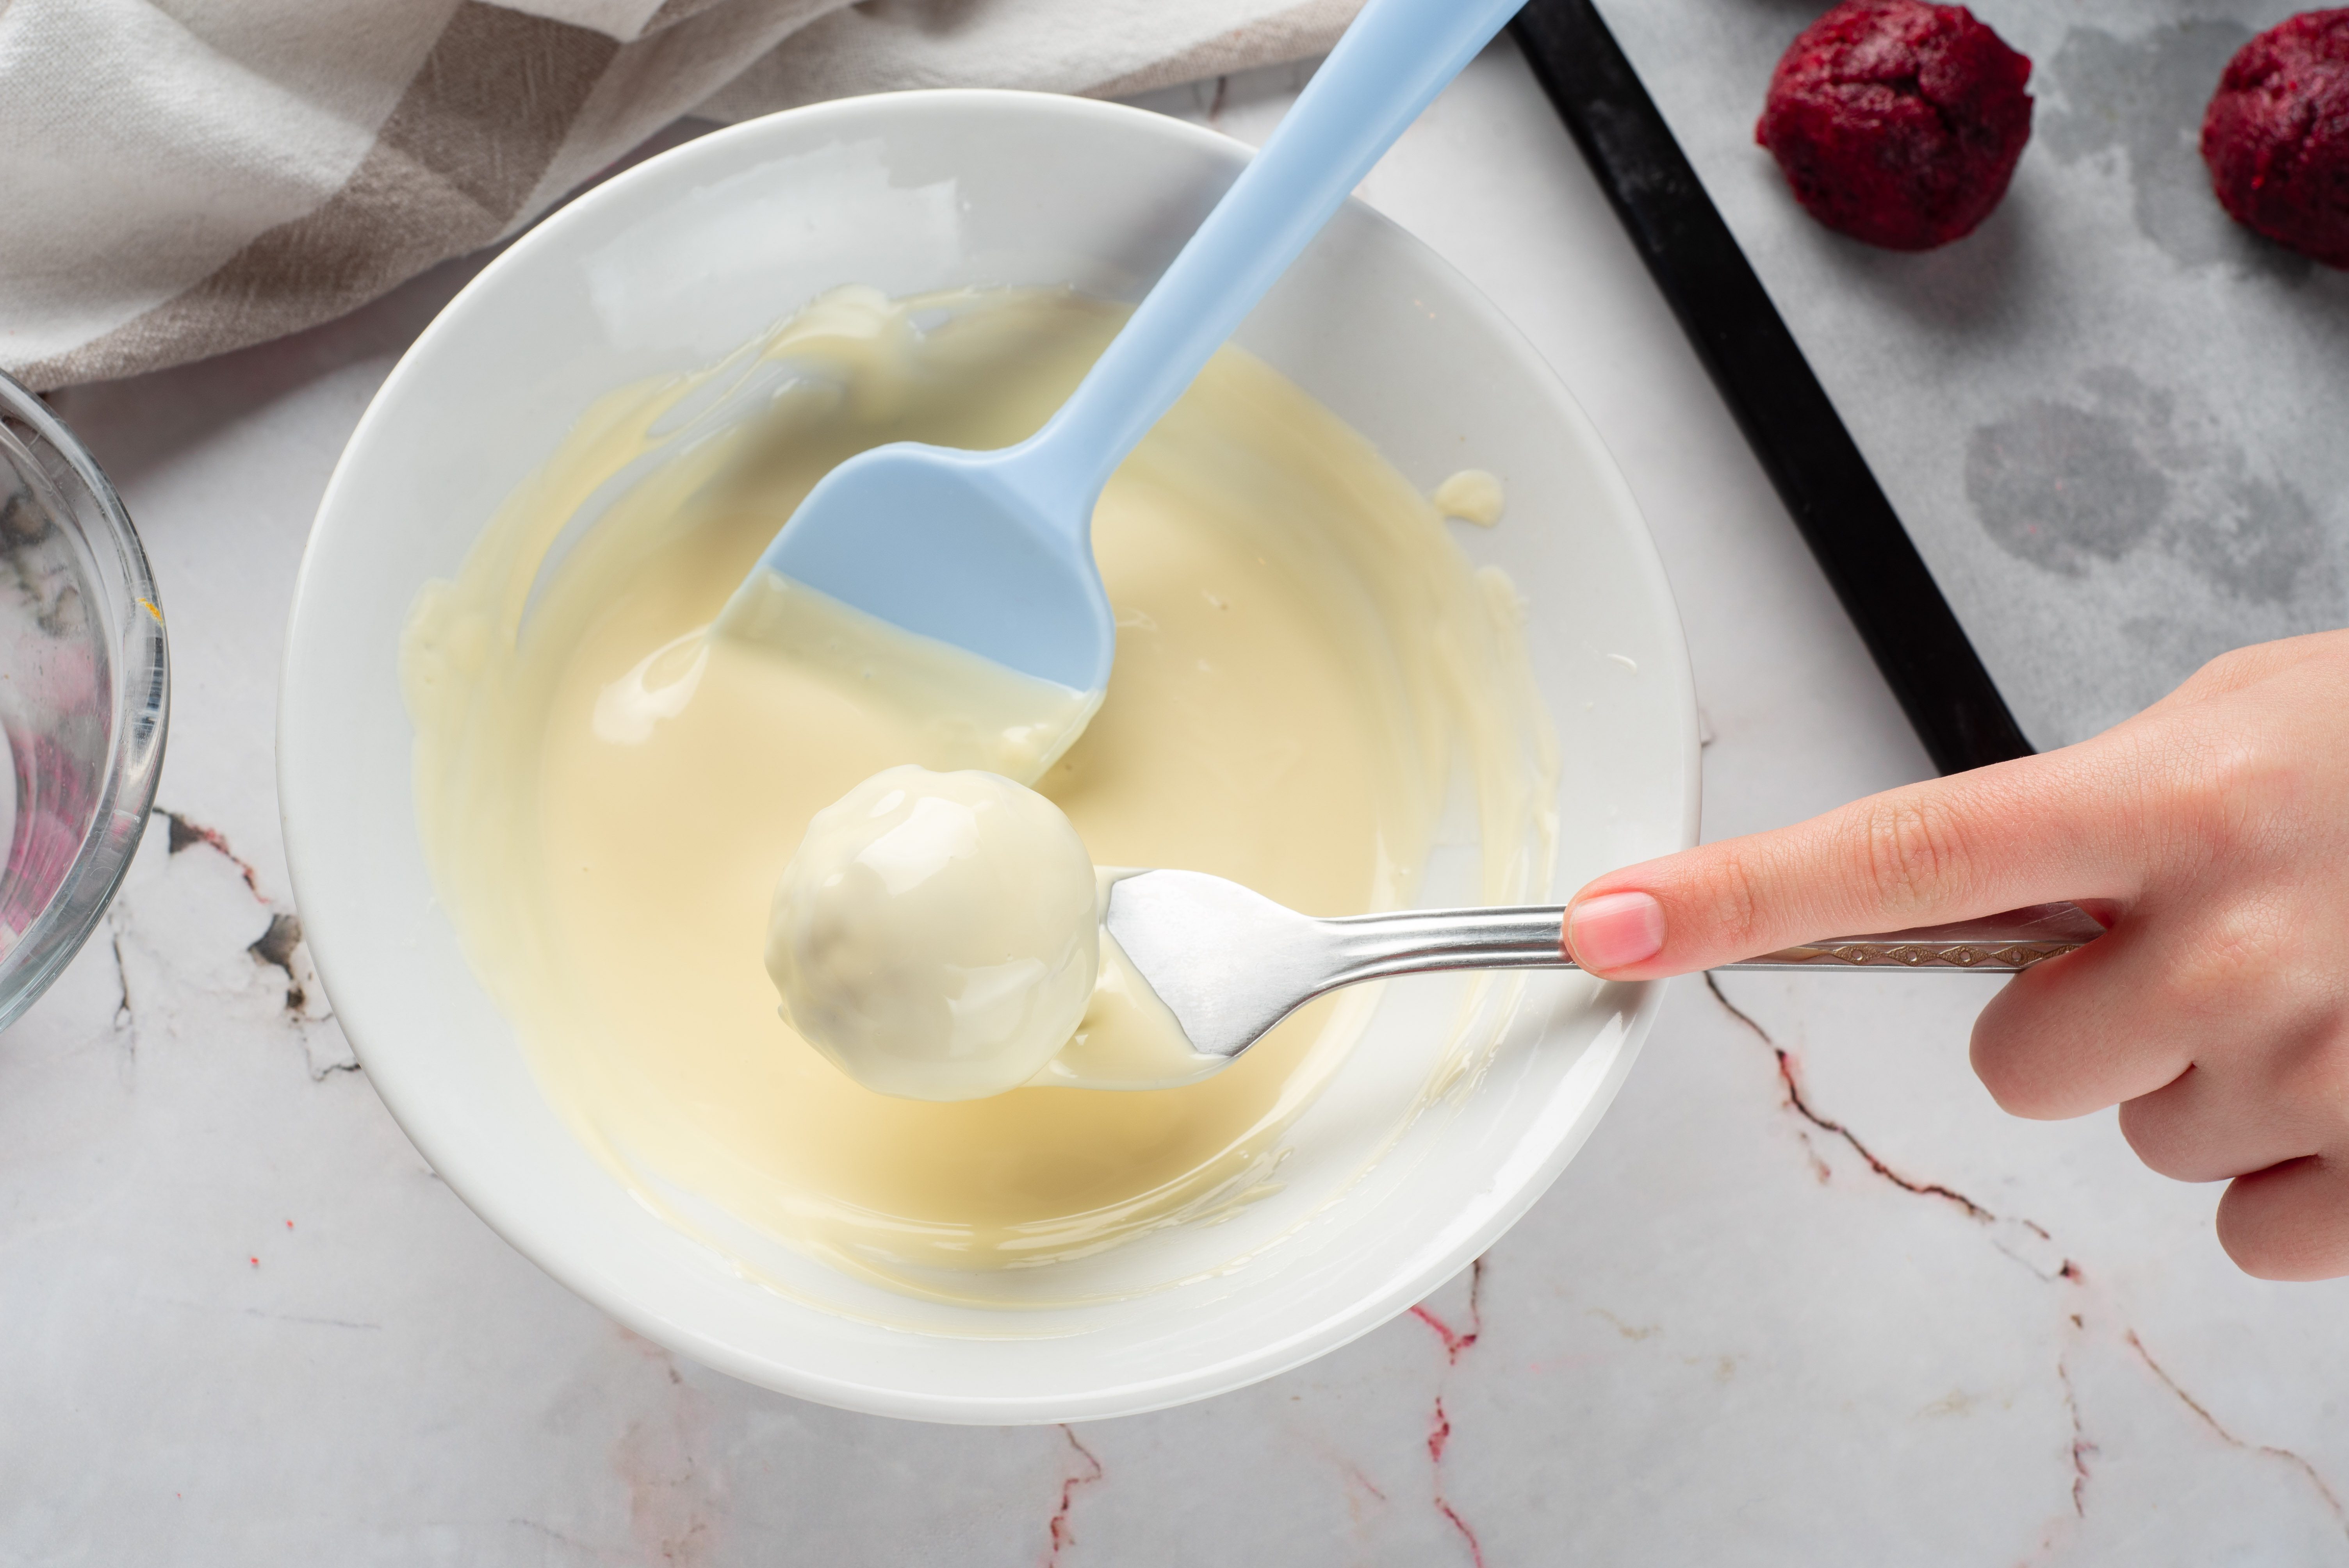
Melt the white chocolate pieces in a microwave-safe bowl in 30-second intervals, stirring between each. Dip each cake ball into the white chocolate.
;Resize,width=712;)
Melt the white chocolate pieces in a microwave-safe bowl in 30-second intervals, stirring between each. Dip each cake ball into the white chocolate.
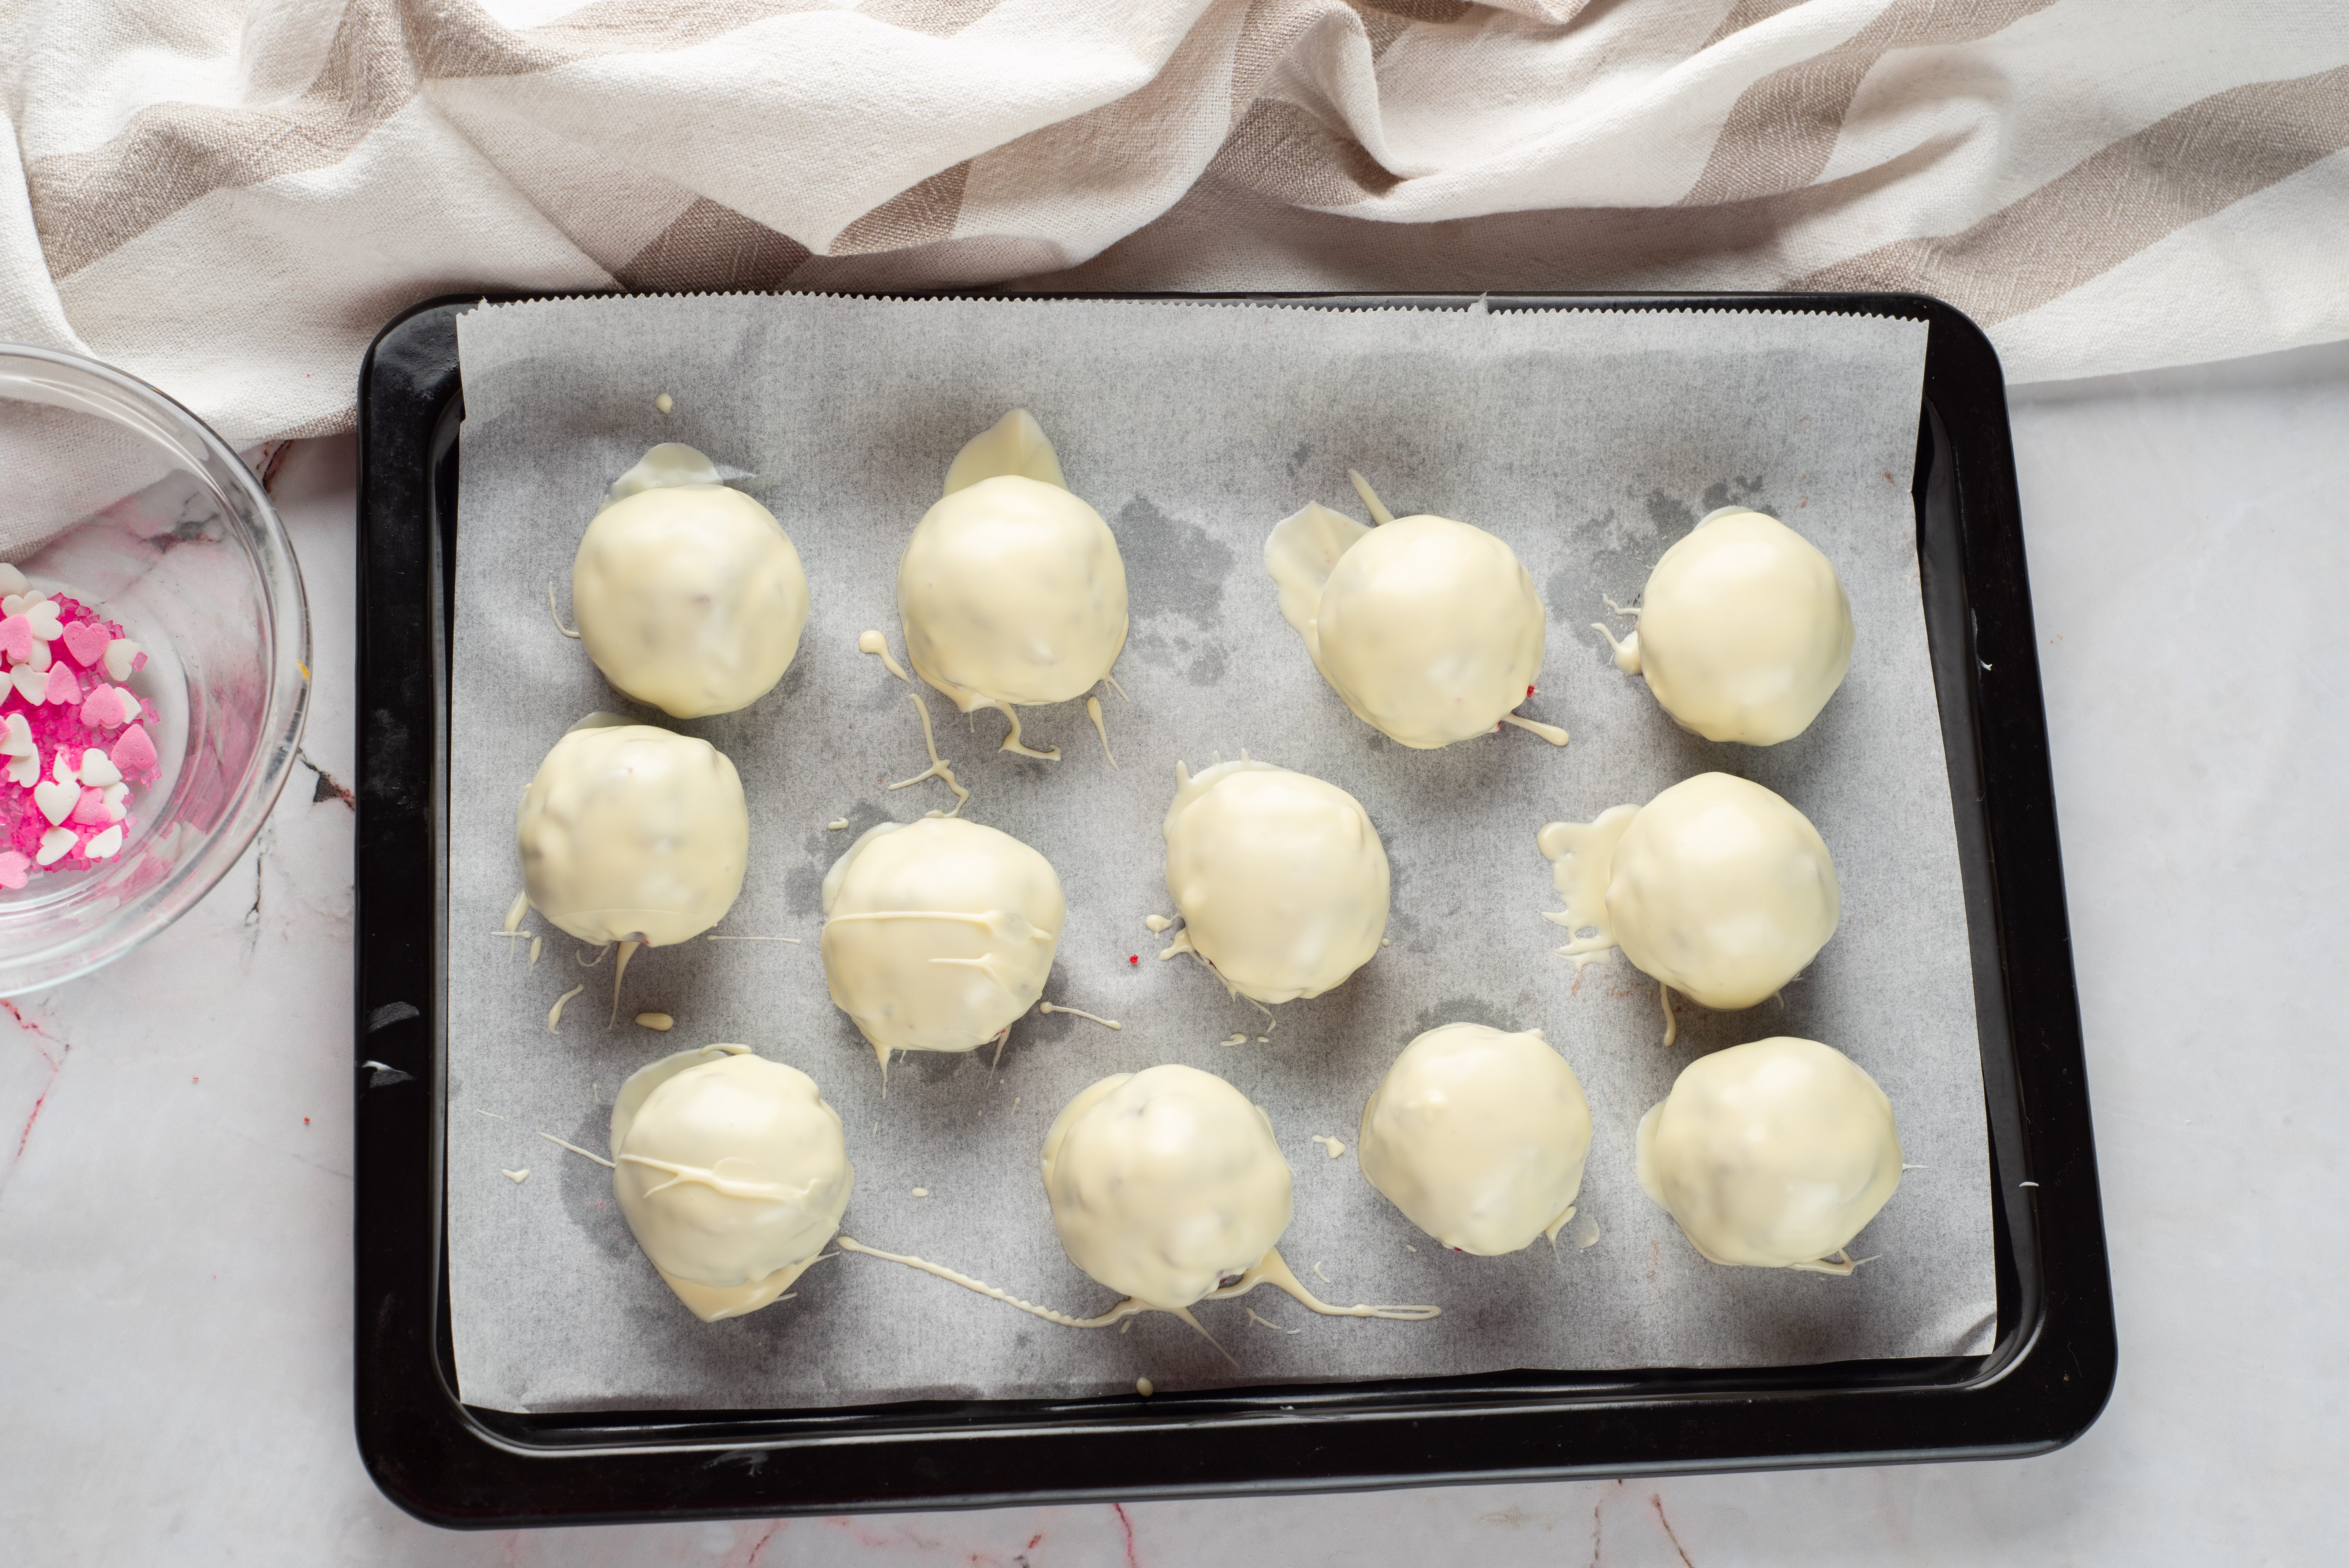
Let the balls set on a parchment paper-lined tray.
;Resize,width=712;)
Let the balls set on a parchment paper-lined tray.
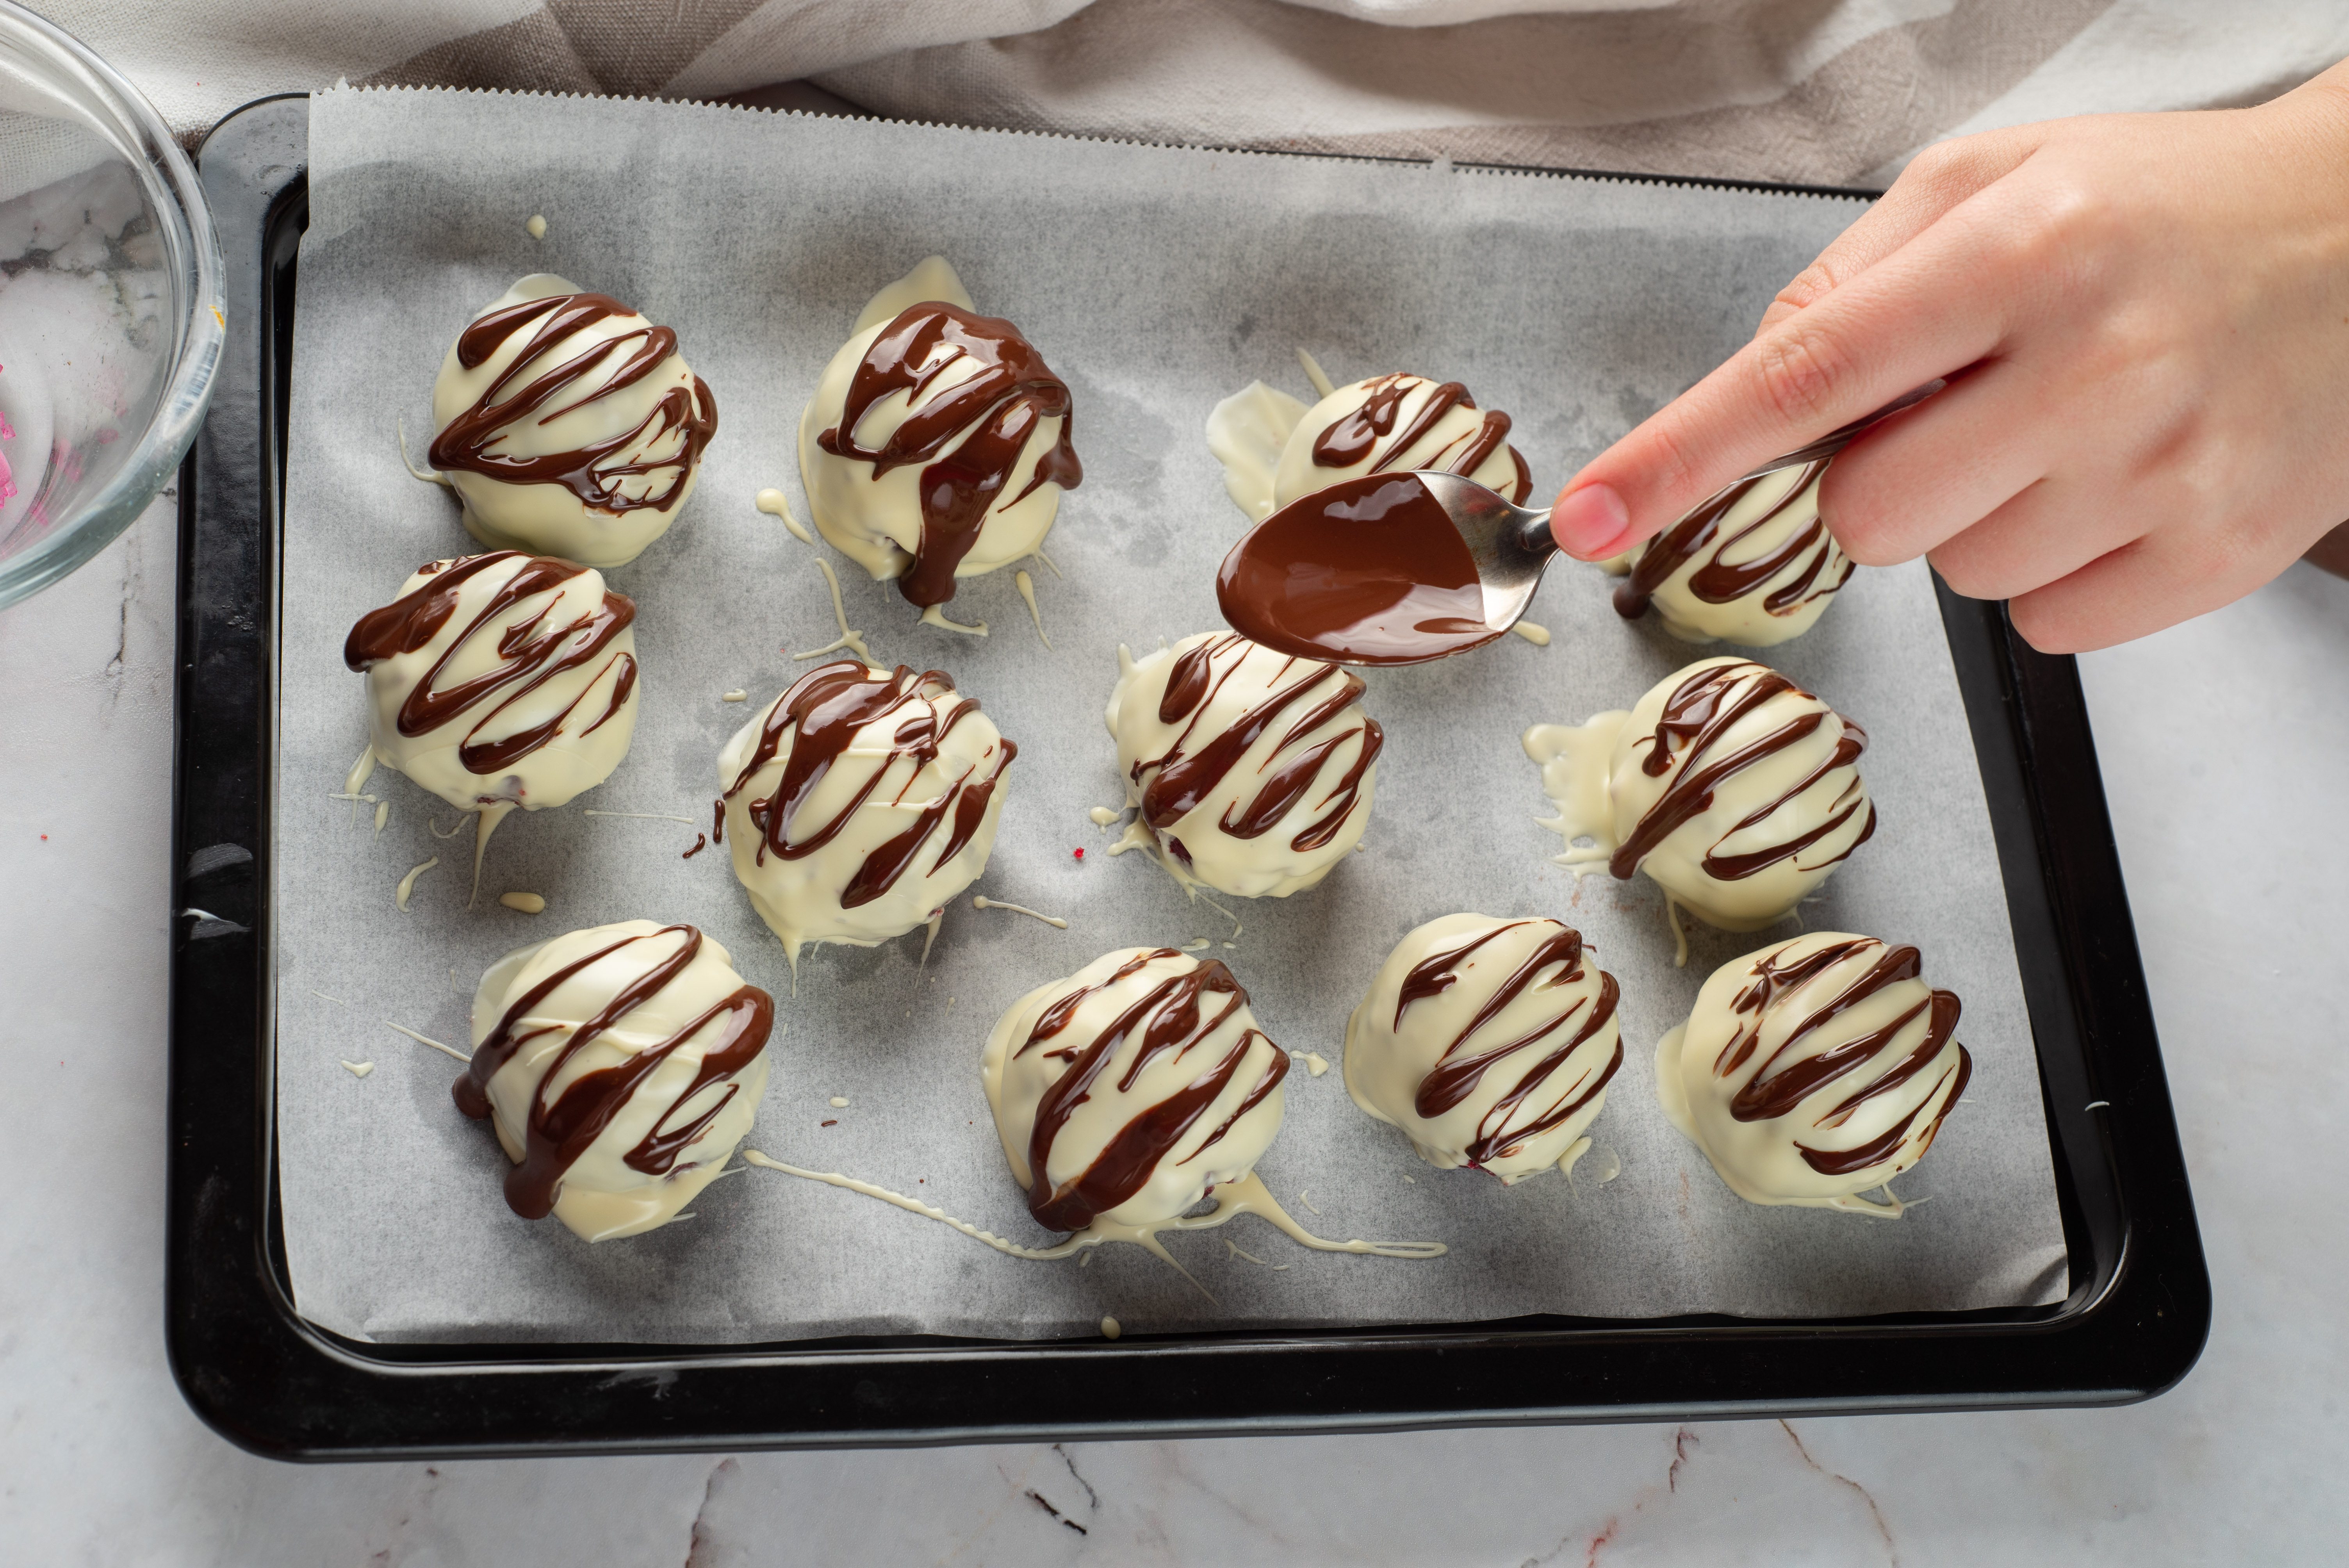
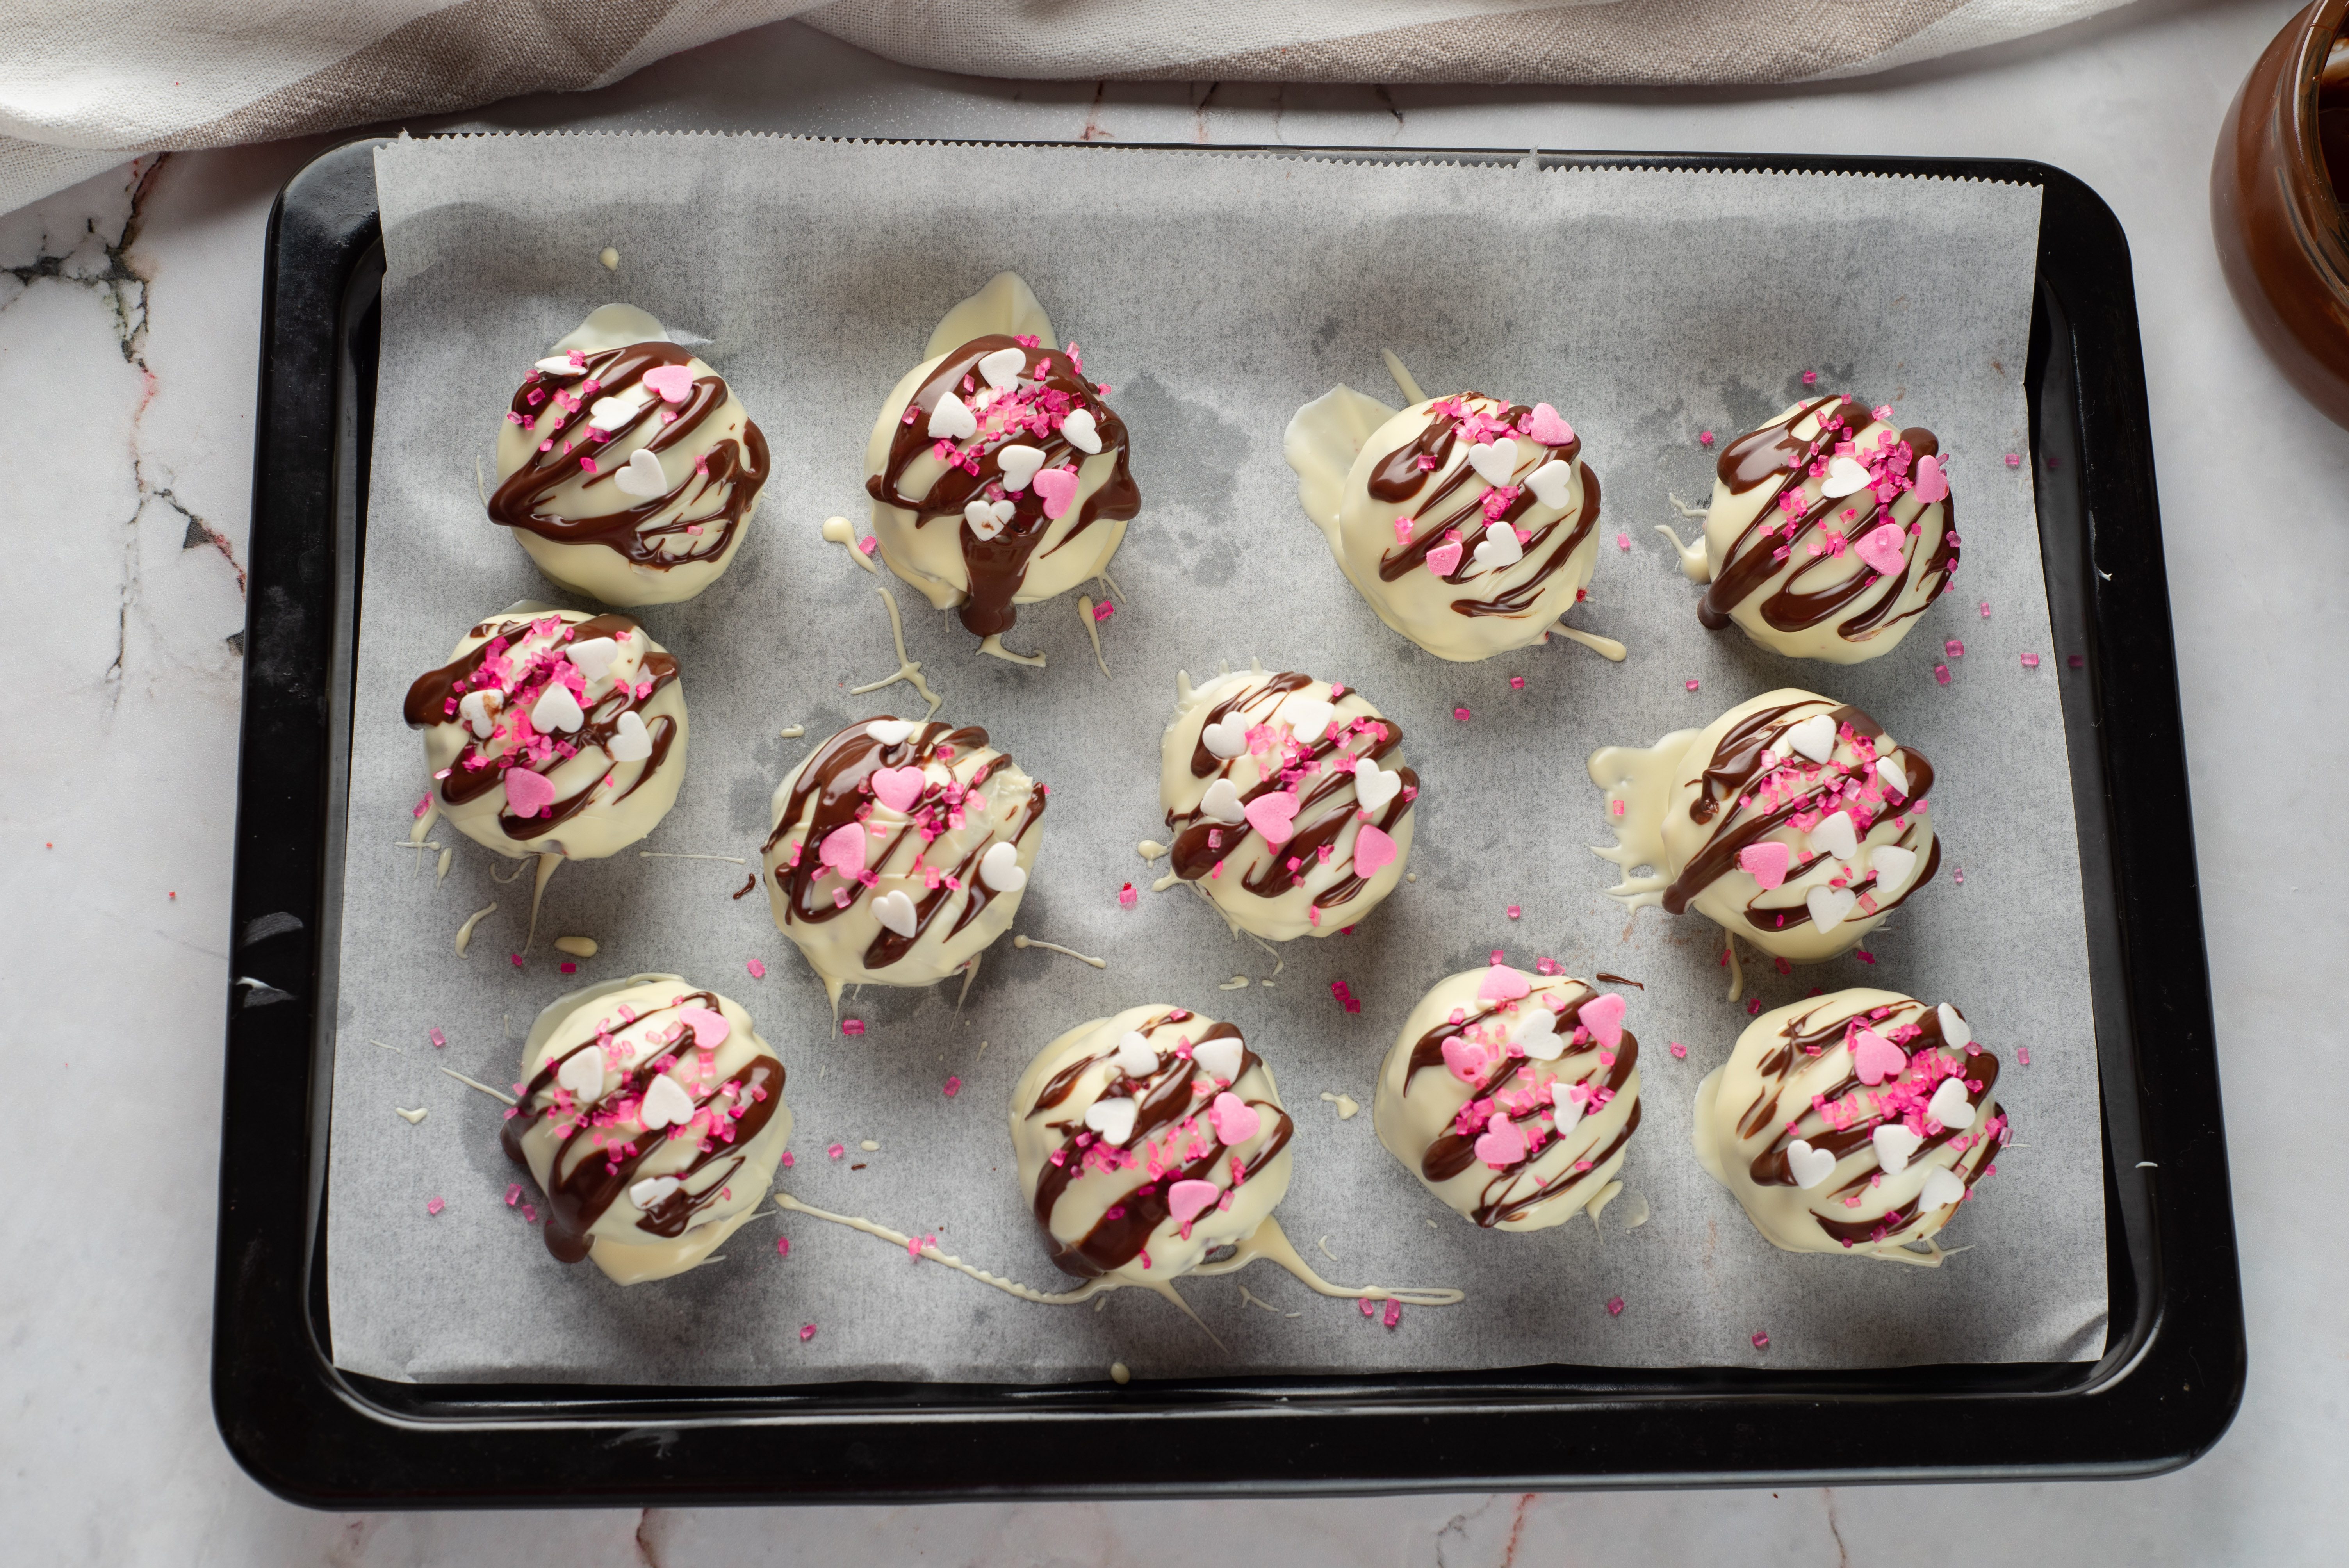
Decorate the red velvet cake balls with some drizzles of melted dark chocolate.
;Resize,width=712;)
Decorate the red velvet cake balls with some drizzles of melted dark chocolate.
Top with Valentine sprinkles and mini hearts, if using.
;Resize,width=712;)
Top with Valentine sprinkles and mini hearts, if using.
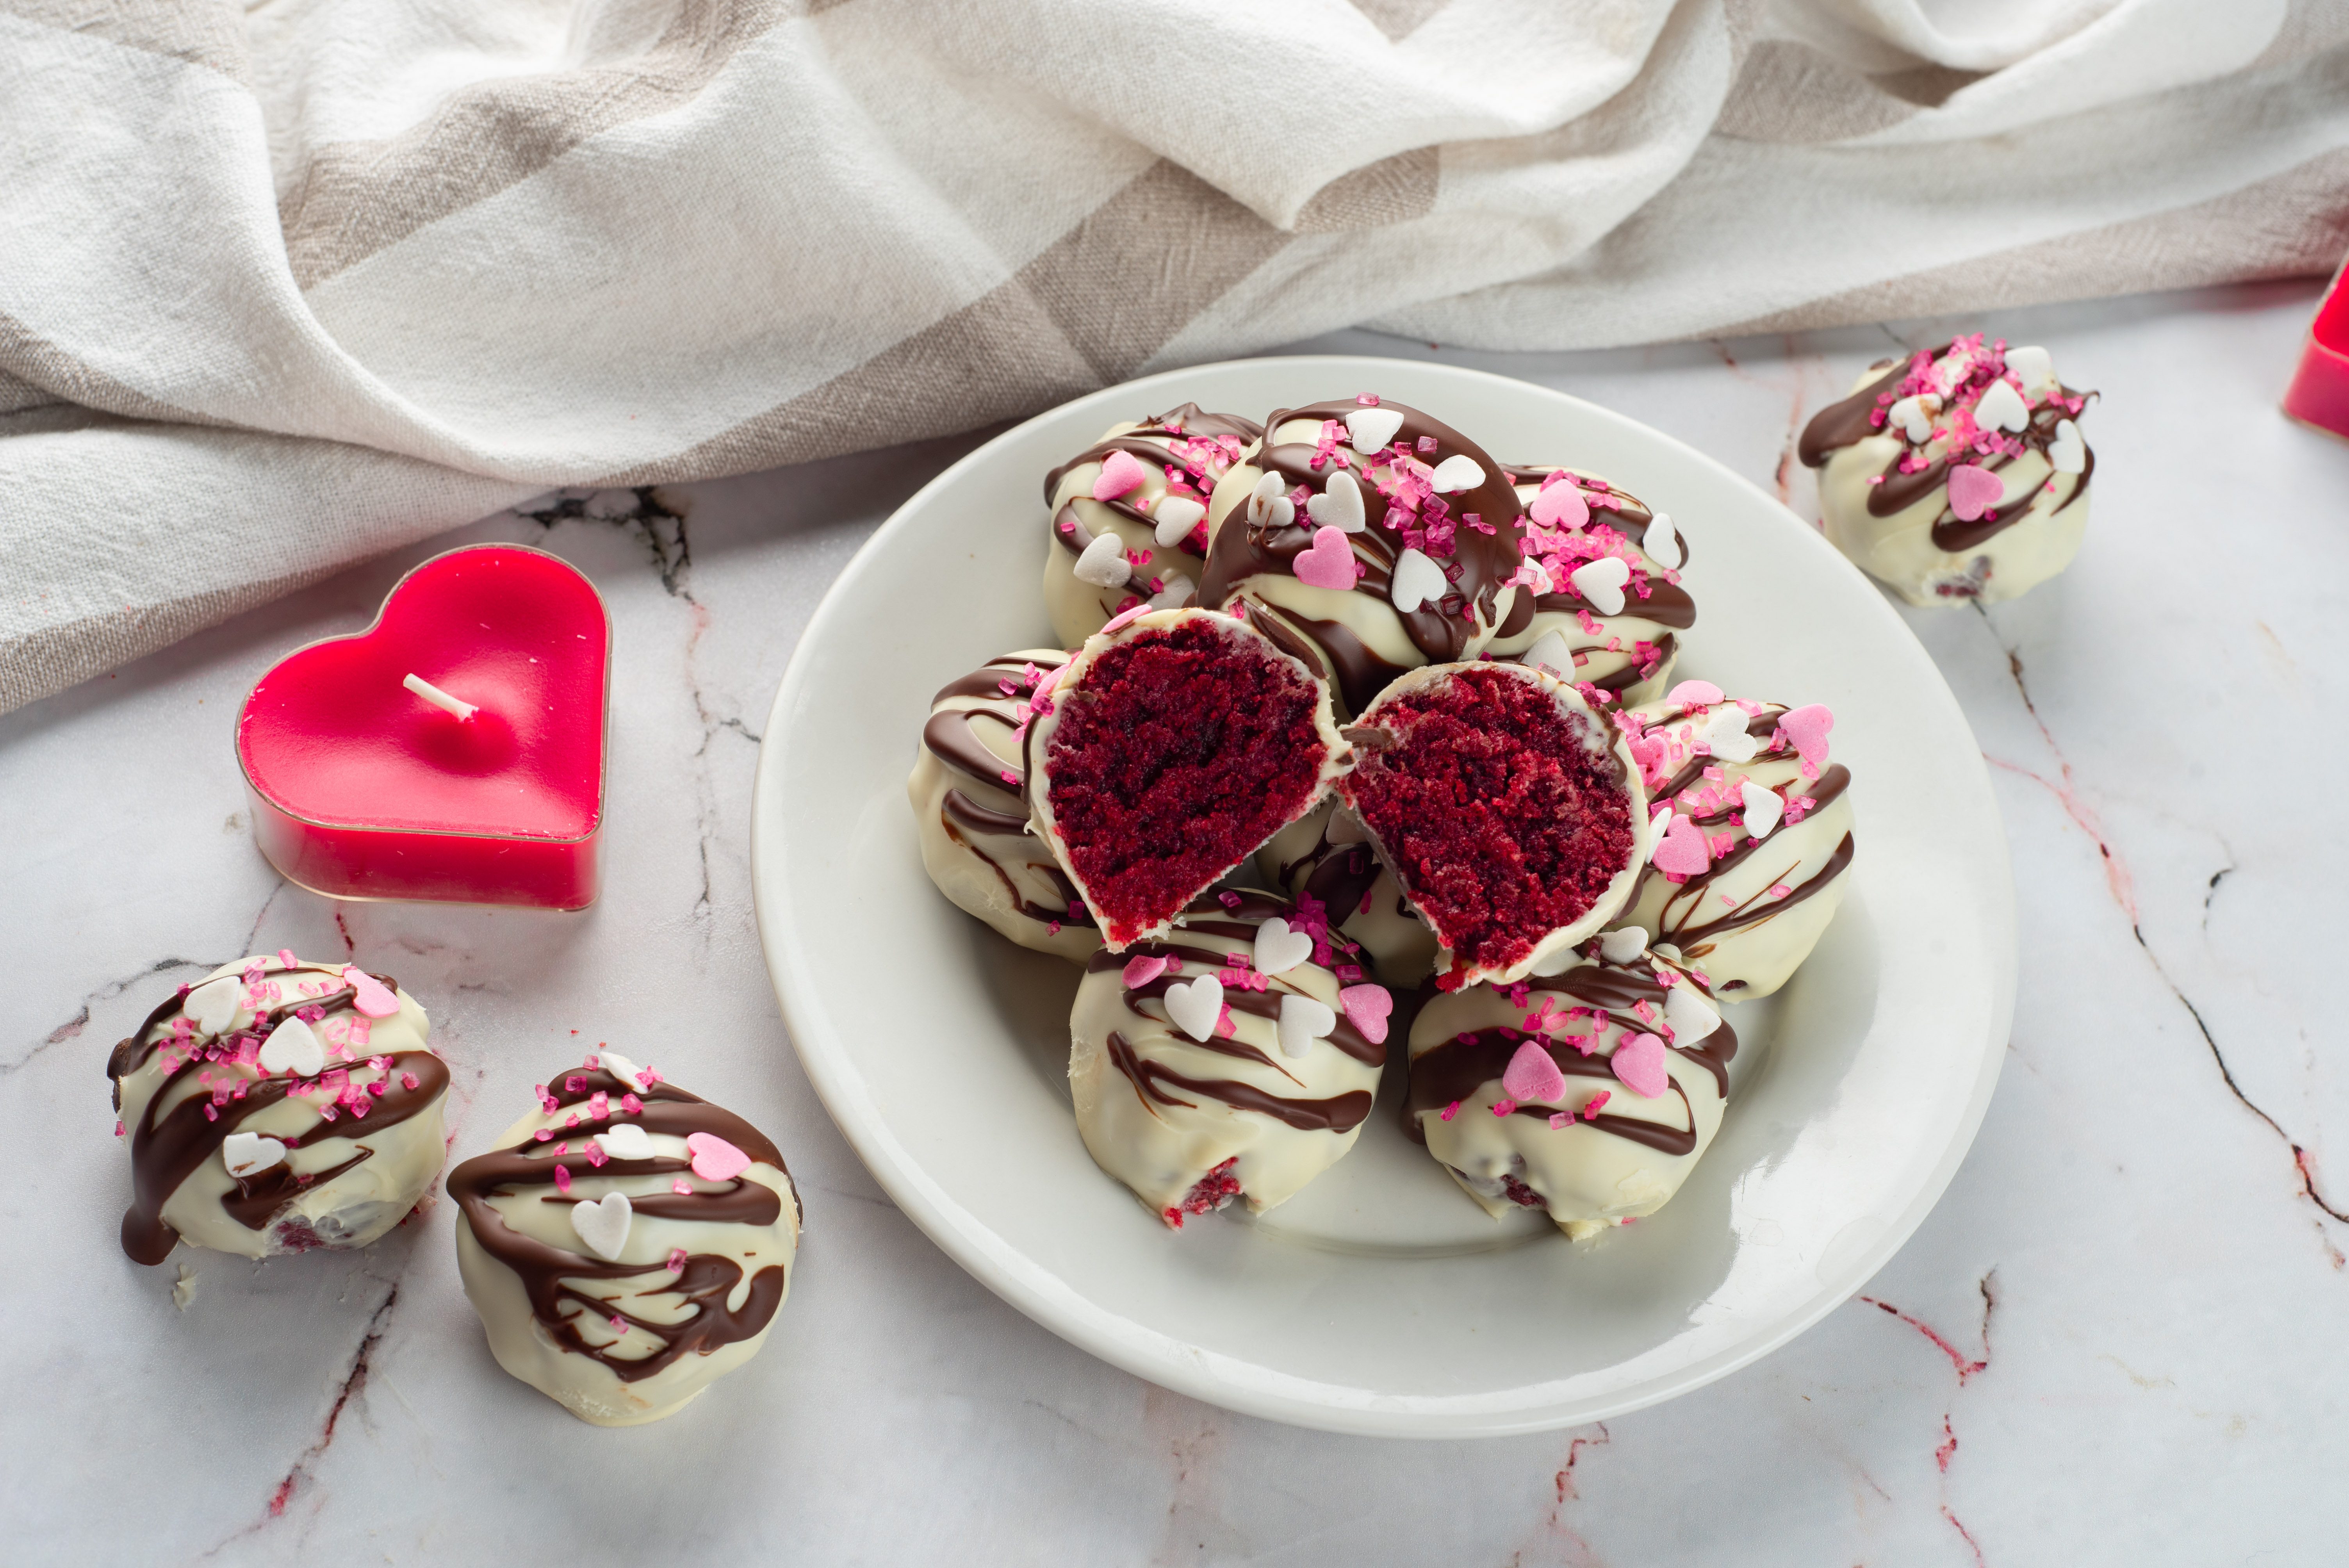
Serve and enjoy!
;Resize,width=767;)
