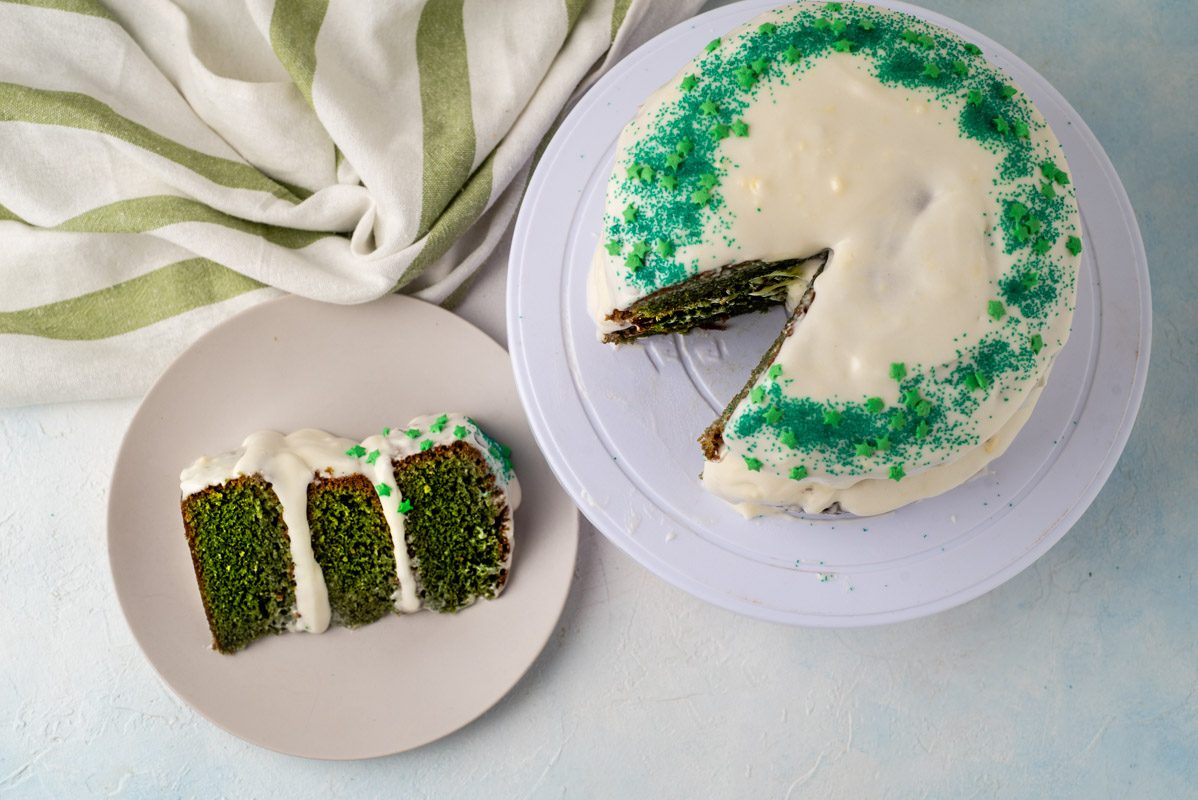
White Velvet Cake: an easy recipe for a beautiful, fluffy cake
;)
Ingredients
If you're a fan of classic red velvet cake (and who isn't?) you need to try this easy white velvet cake recipe. It's the all-white version of classic red velvet cake and has the same luscious, velvety texture and moist, tender crumb.
White velvet cake is a phenomenal cake to make for birthday parties, holidays, and other special occasions – anytime you're hosting friends and family and want to impress your guests. Anyone can make white velvet cake with relative ease. Even novice bakers will master this simple, elegant cake in no time flat.
What is White Velvet Cake?
White velvet cake is the all-white version of red velvet cake. It's made with all the same ingredients, minus the red food dye. It's different from basic vanilla cake because it uses cake flour and oil, which makes it lighter and more moist. It's soft, tender, with thick, rich frosting which makes it ideal for birthday parties. You can decorate it however you like, or keep it simple and stick to the lovely all-white version.

What Does White Velvet Cake Taste Like?
White velvet cake is essentially a vanilla cake. The cake itself is lightly sweet and decorated with rich frosting, and it has a light, airy texture and is incredibly moist.
White Velvet Cake Frosting Ideas
Either buttercream, marshmallow, or cream cheese frosting work on white velvet cake. You can add different flavorings to jazz it up, but vanilla is the go-to choice for white velvet cake.

Tips for the Best White Velvet Cake
Make your baking even easier by using a boxed cake mix instead of working entirely from scratch.
Don't overmix the batter.
Be sure to line the cake pans with parchment paper rounds. It'll make removing the cakes much easier.
If you don't have buttermilk, you can add some lemon juice or vinegar to regular milk and let it stand for several minutes to make a substitute, however, when possible use buttermilk.
You'll know when your cakes are done when a toothpick inserted into the center comes out mostly clean.
Use a neutral oil like vegetable or canola oil to make your cake. While you could swap it out for butter, using oil will make your white velvet cake ultra-moist and tender.
For a gorgeous, delicious twist, add raspberry filling to your white velvet cake. When assembling the cake, add a layer of filling over the bottom of the cake, then add the frosting, then add the second layer of cake and frost and decorate.
You can add food dye to turn your white velvet cake into any color you like. Blue, green, yellow, purple, and so on.
Turn your white velvet cake into cupcakes for party-friendly treats everyone will adore. Line a muffin tin with liners. Pour the batter 2/3 into each liner. Bake for 10 to 15 minutes at 350F.
How to Store White Velvet Cake
Cover or keep your white velvet cake in an airtight container at room temperature for up to 3 days.
How to Make White Velvet Cake

Preheat your oven to 350F. Spray two 9-inch cake pans with cooking spray. Lightly flour them then line the bottom of the pans with parchment paper.

Sift the dry ingredients in a large bowl. Whisk to combine and set aside.

Beat vegetable oil, shortening, and vanilla with a handheld mixer until light and fluffy.

Whisk in the eggs one at a time.

Whisk until smooth.

Mix 1/3 of the flour mixture, then ½ the buttermilk into the oil mixture, alternating between the two.

Mix until completely combined, smooth, and lump-free.

Pour the batter into the cake pans. Bake for 30 to 35 minutes.

Remove from the oven and let cool in the pans for 10 to 15 minutes, then remove from pans and set on a rack to cool completely.

Meanwhile, make your favorite frosting.

Once cooled frost the first layer with frosting.

Place the other layer on top and decorate with frosting.

Slice, serve and enjoy!
Notes
Use room temperature ingredients.
;Resize,width=767;)
;Resize,width=712;)

;Resize,width=712;)
